The Ultimate Guide to Holiday Entertaining with Cheese
By: Bree Hester
The Ultimate Guide to Holiday Entertaining with Cheese: Which cheeses to buy, how much cheese to buy, how to serve cheese, ways to use cheese, and festive recipe ideas for holiday entertaining.
Whether I’m entertaining a crowd or serving my family a simple holiday meal, you know cheese is going to be involved. Cheese is one of the most versatile and easy-to-use ingredients available. It can be served on its own, shredded, melted, whipped… cheese can do anything!
If you are new to cooking or entertaining, you probably have some questions about cheese. Consider this your go-to cheese resource for the holidays.
How to Buy Cheese //
Ask yourself, what are you buying cheese for? Are you going to be cooking with it? Is it going to be melted or crumbled on top of something? Is it for snacking or a cheeseboard? Knowing what the intended purpose is will guide you in choosing the right varieties.
How many people are you feeding this cheese to? Is it for a recipe? If so, you need to buy enough for the quantity listed in the recipe. Is it for a cheeseboard? Then 1 to 2 ounces per person is enough.
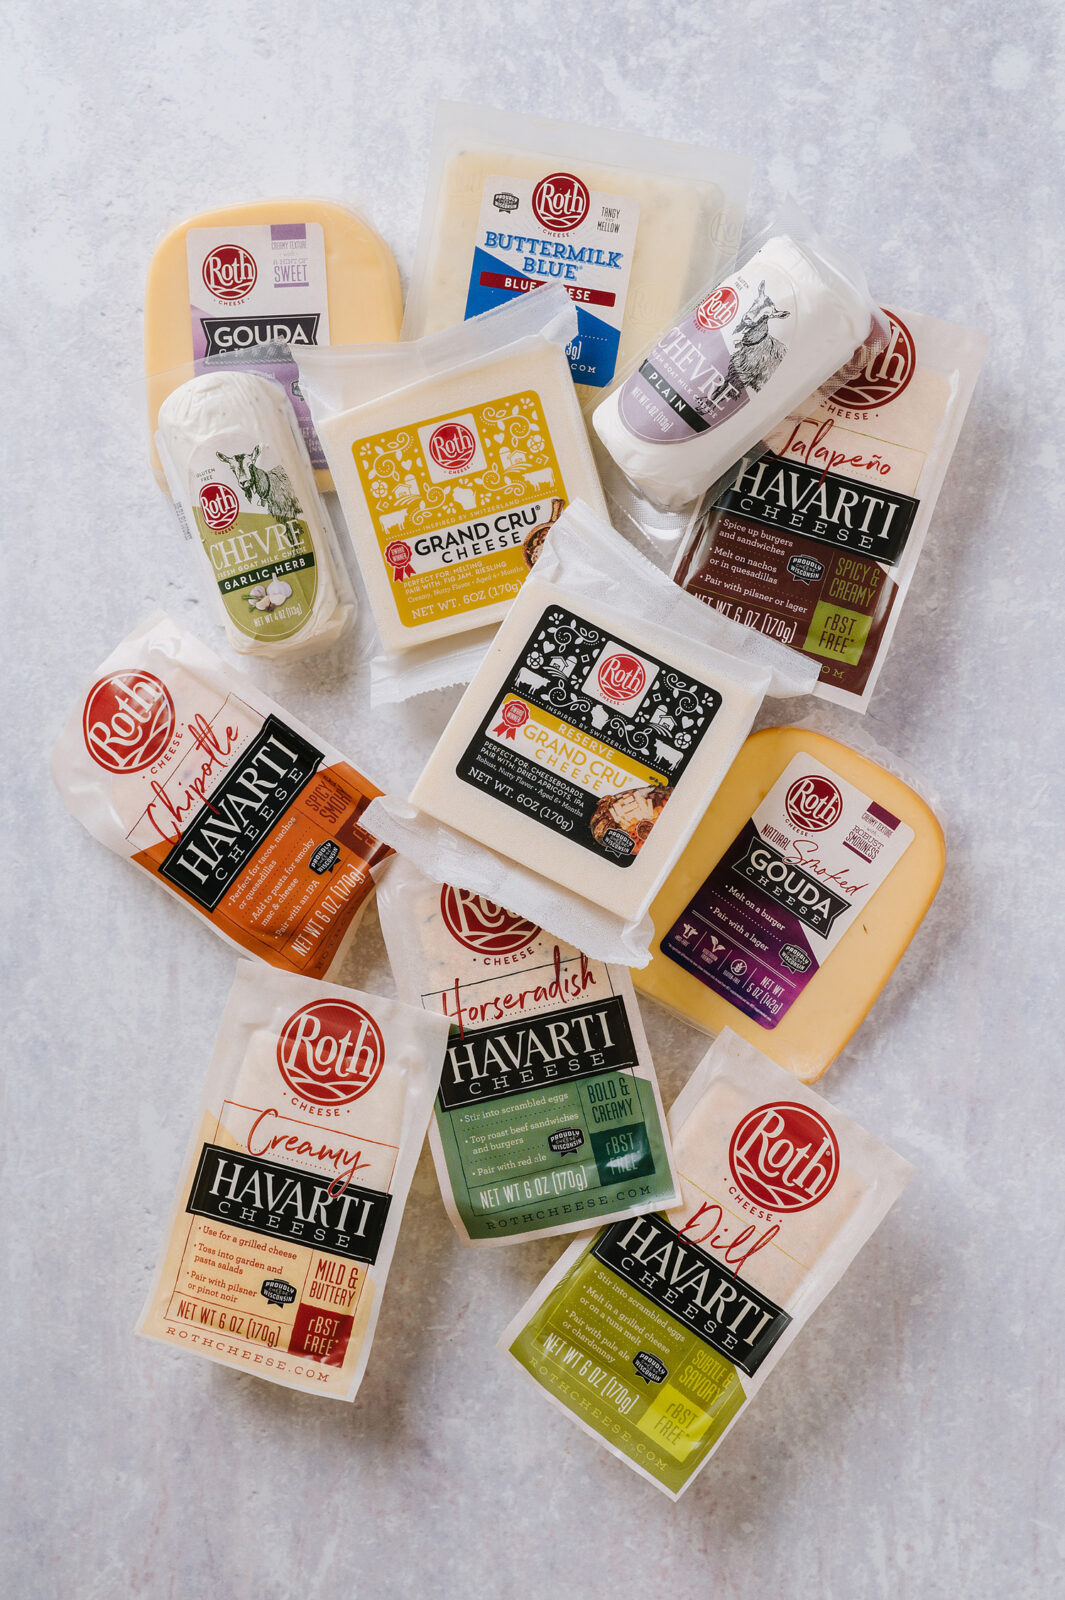
What do you like to eat? Do you like soft cheeses or brine-y cheeses? Hard cheeses? Cheeses made from cow’s milk or goat’s milk? Try buying a few different ones and see what you like about them. If you like Monterey Jack, for example, try Havarti. They are similar in texture, but you might find the flavor of Havarti is more buttery and smooth.
Try something new. Try buying a new variety of cheese each week or month. Buy a small portion and give it a go! Keep a list in the Notes app of your phone of brands and/or varieties you have liked. I do this when I eat a cheese in a restaurant I haven’t tried before and like. (Same with wines.)
Make friends with the person behind the cheese counter. Whether it is a dedicated cheese shop or the person behind the specialty cheese counter, they are a wealth of information and knowledge about cheese. I often go to them for advice. Often they will let you sample before you buy. They are great for pairing ideas as well — like what to pair on a cheeseboard or what wine to drink with the cheese you selected.
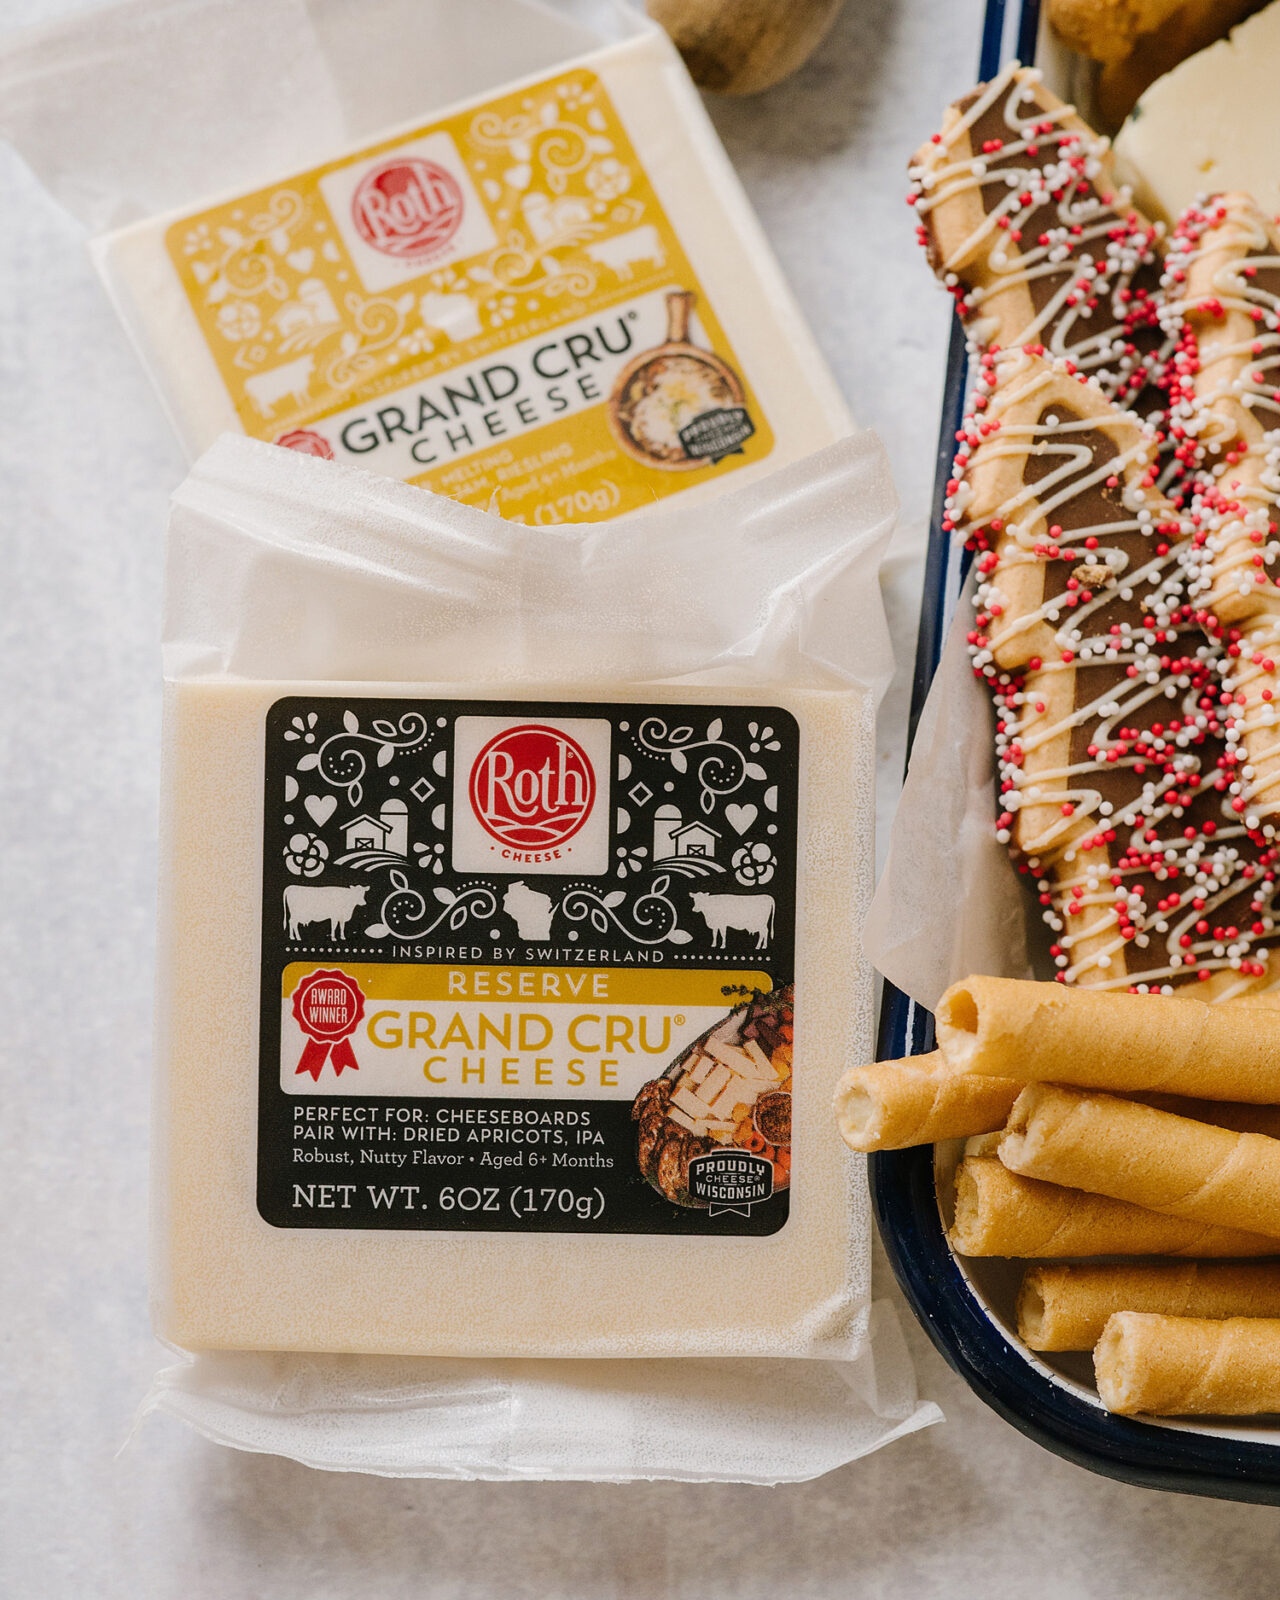
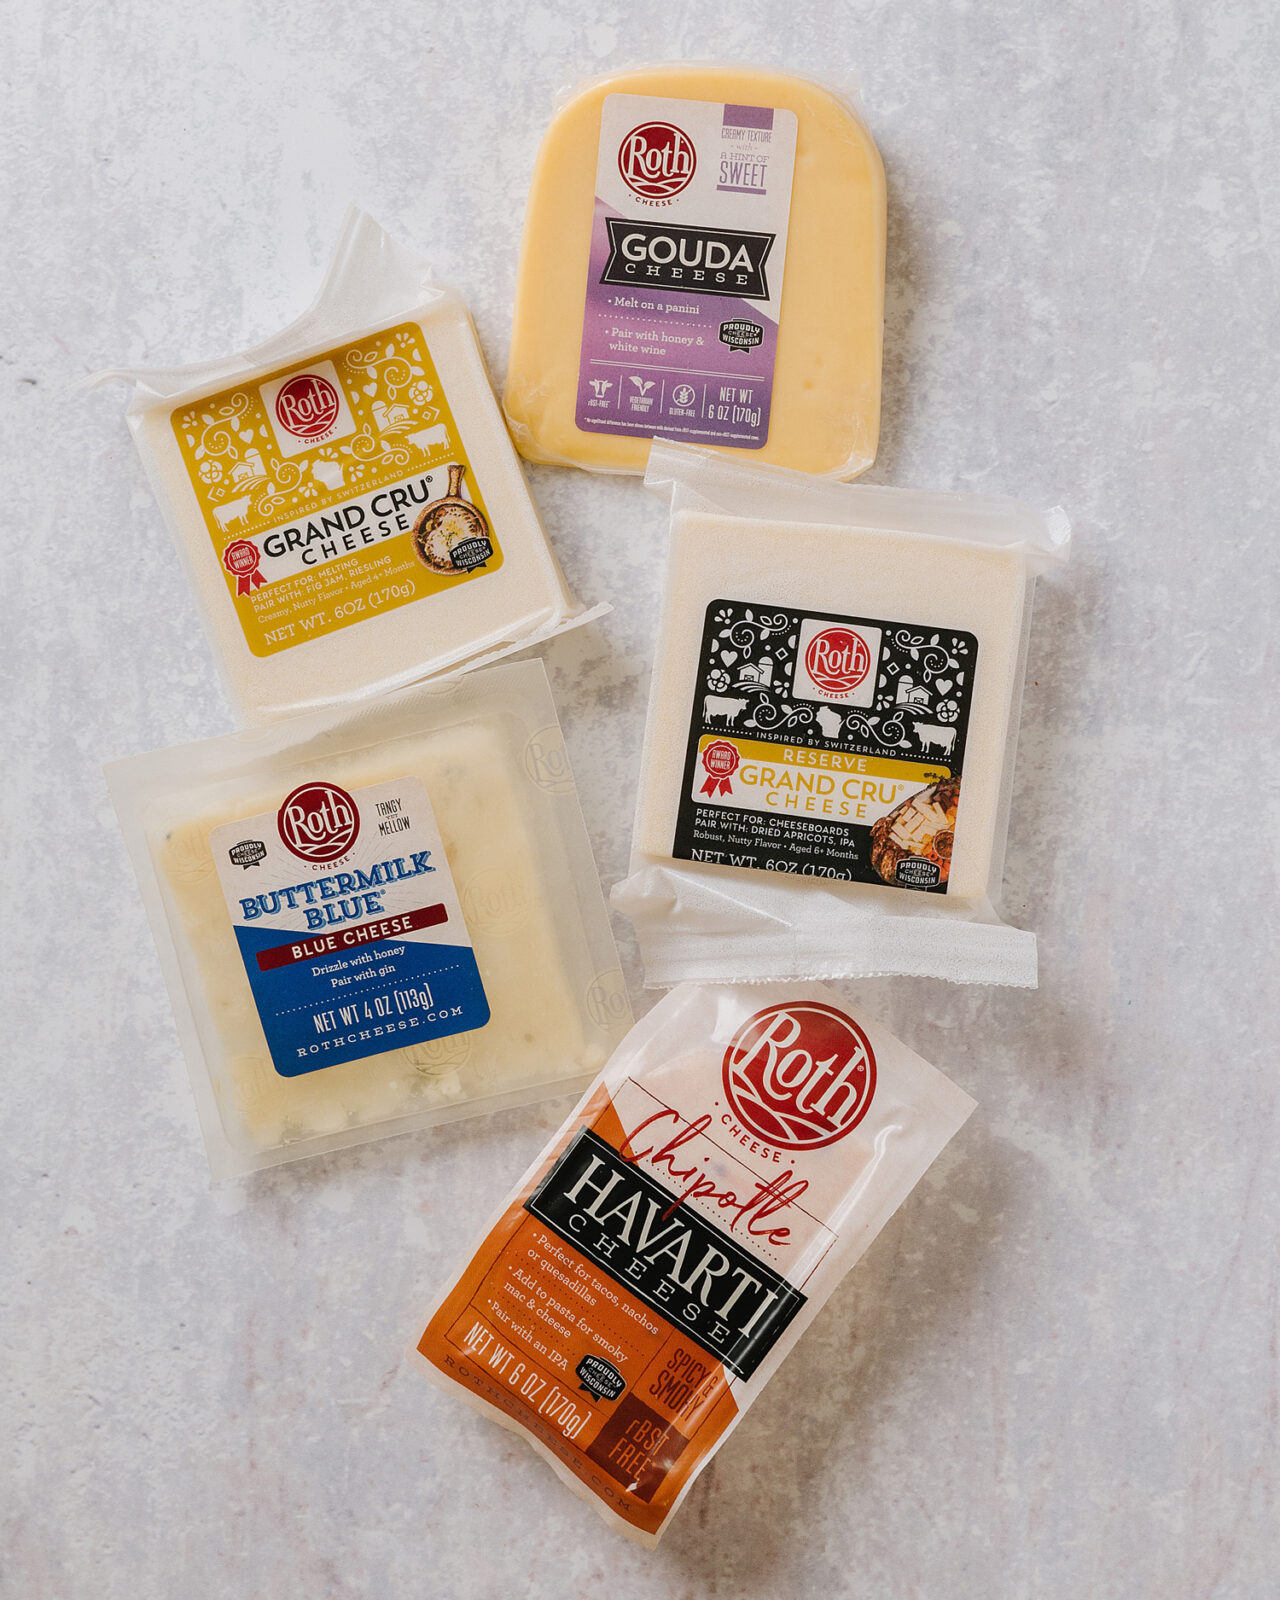
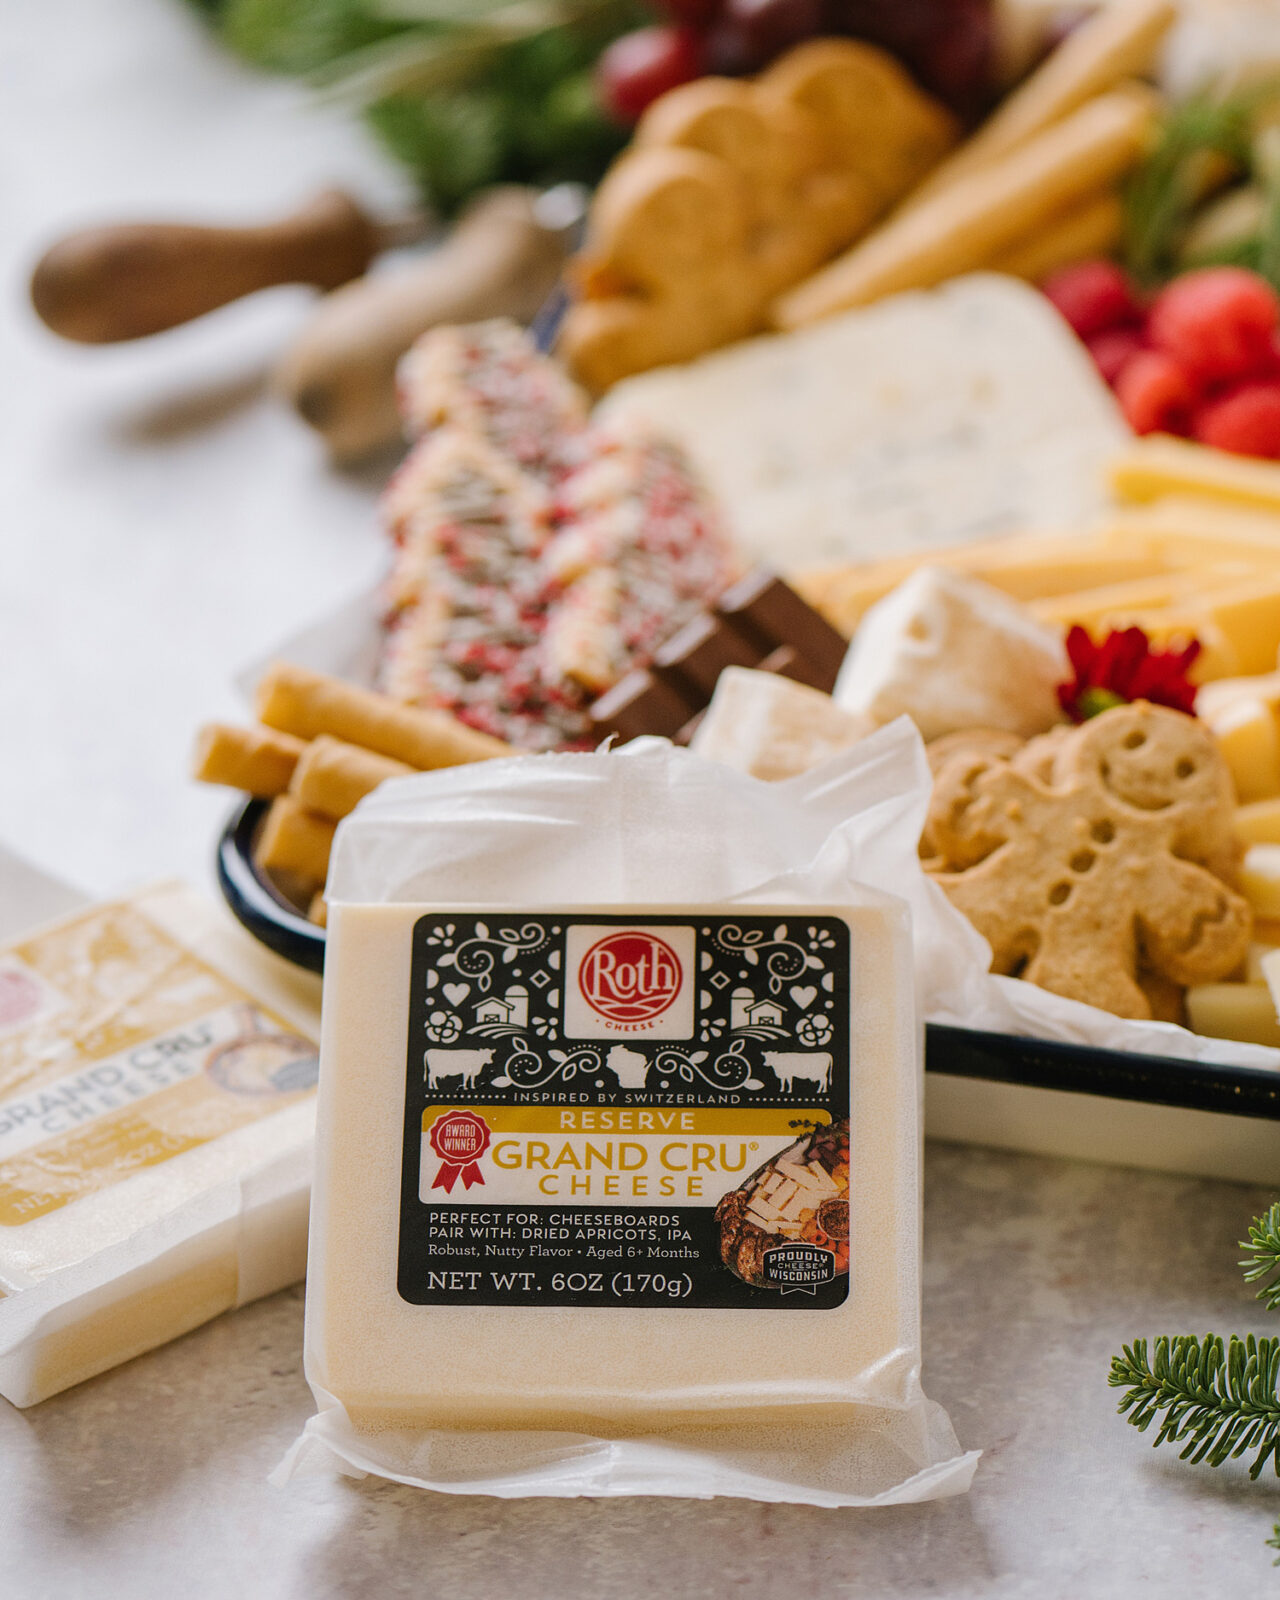
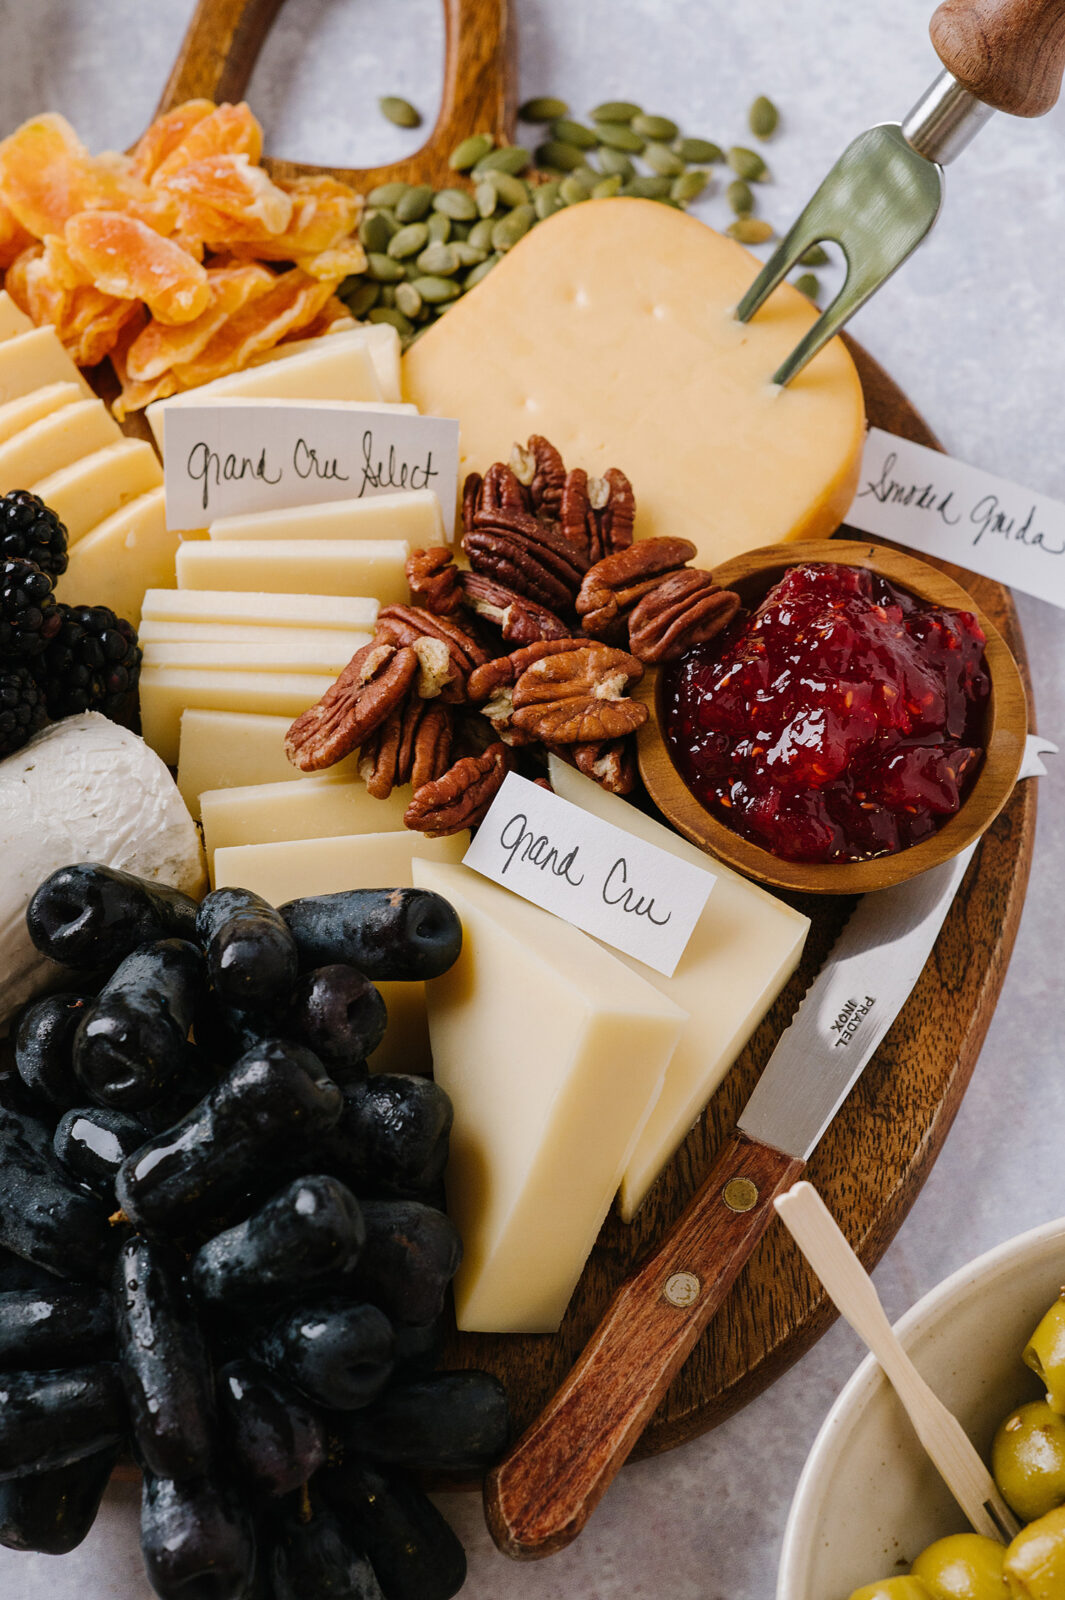
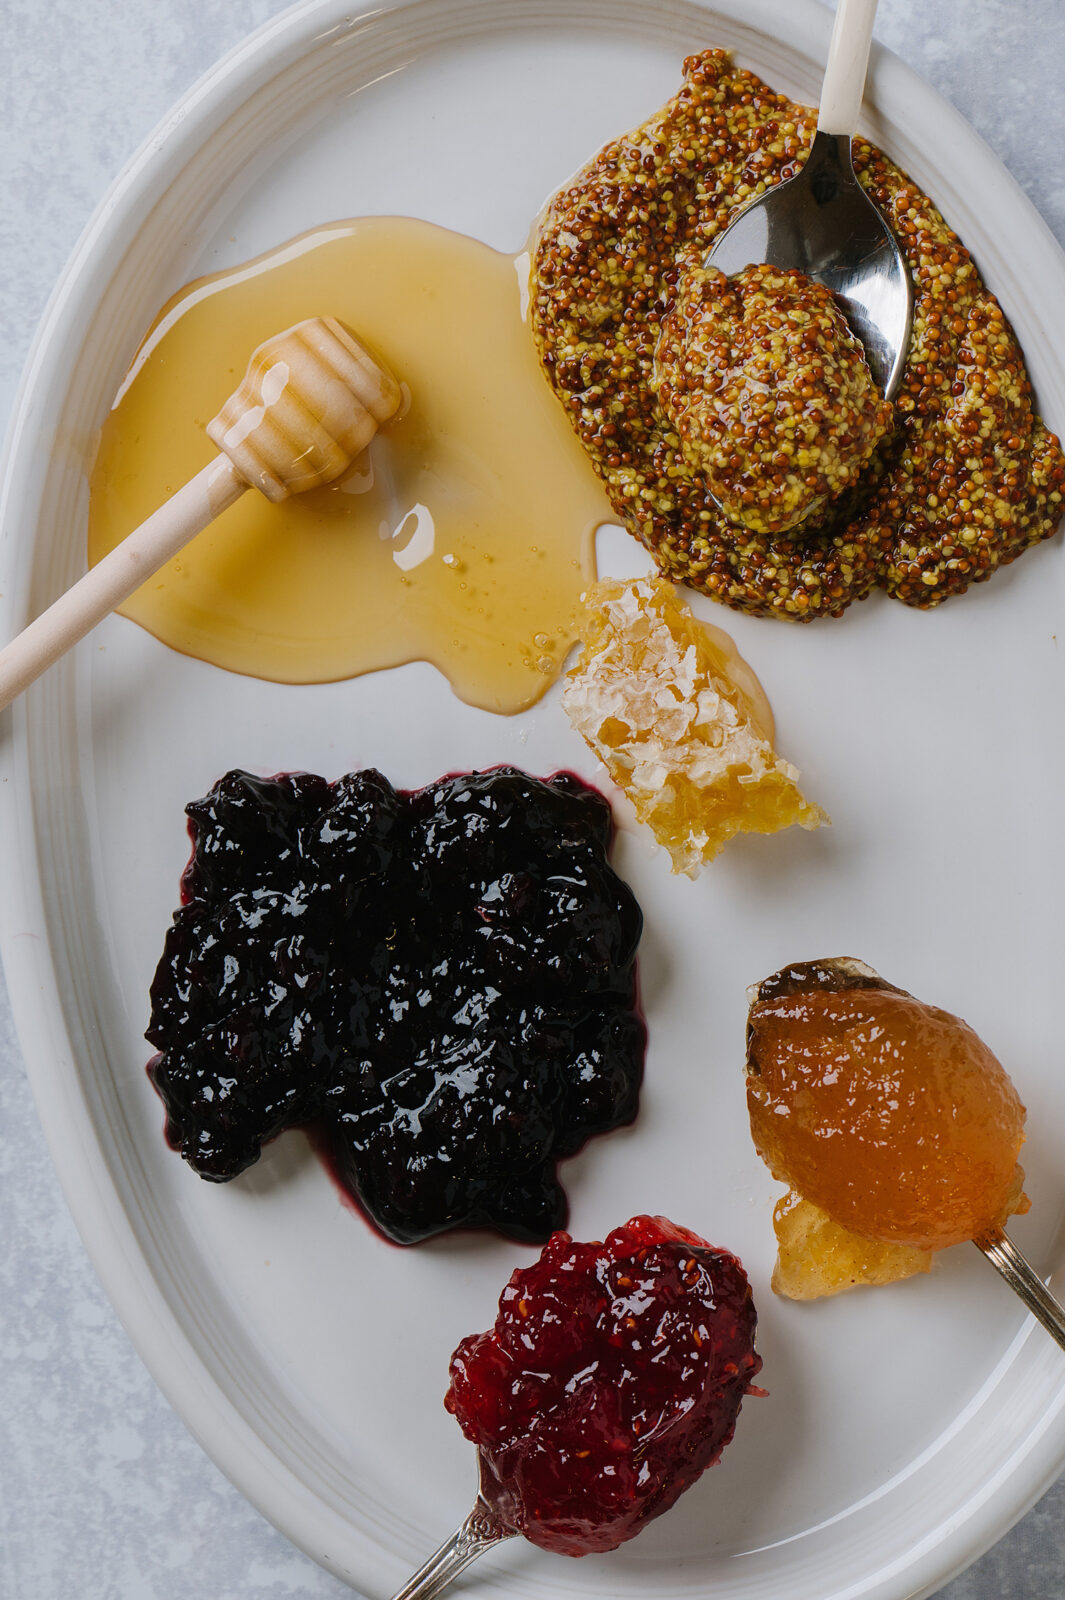
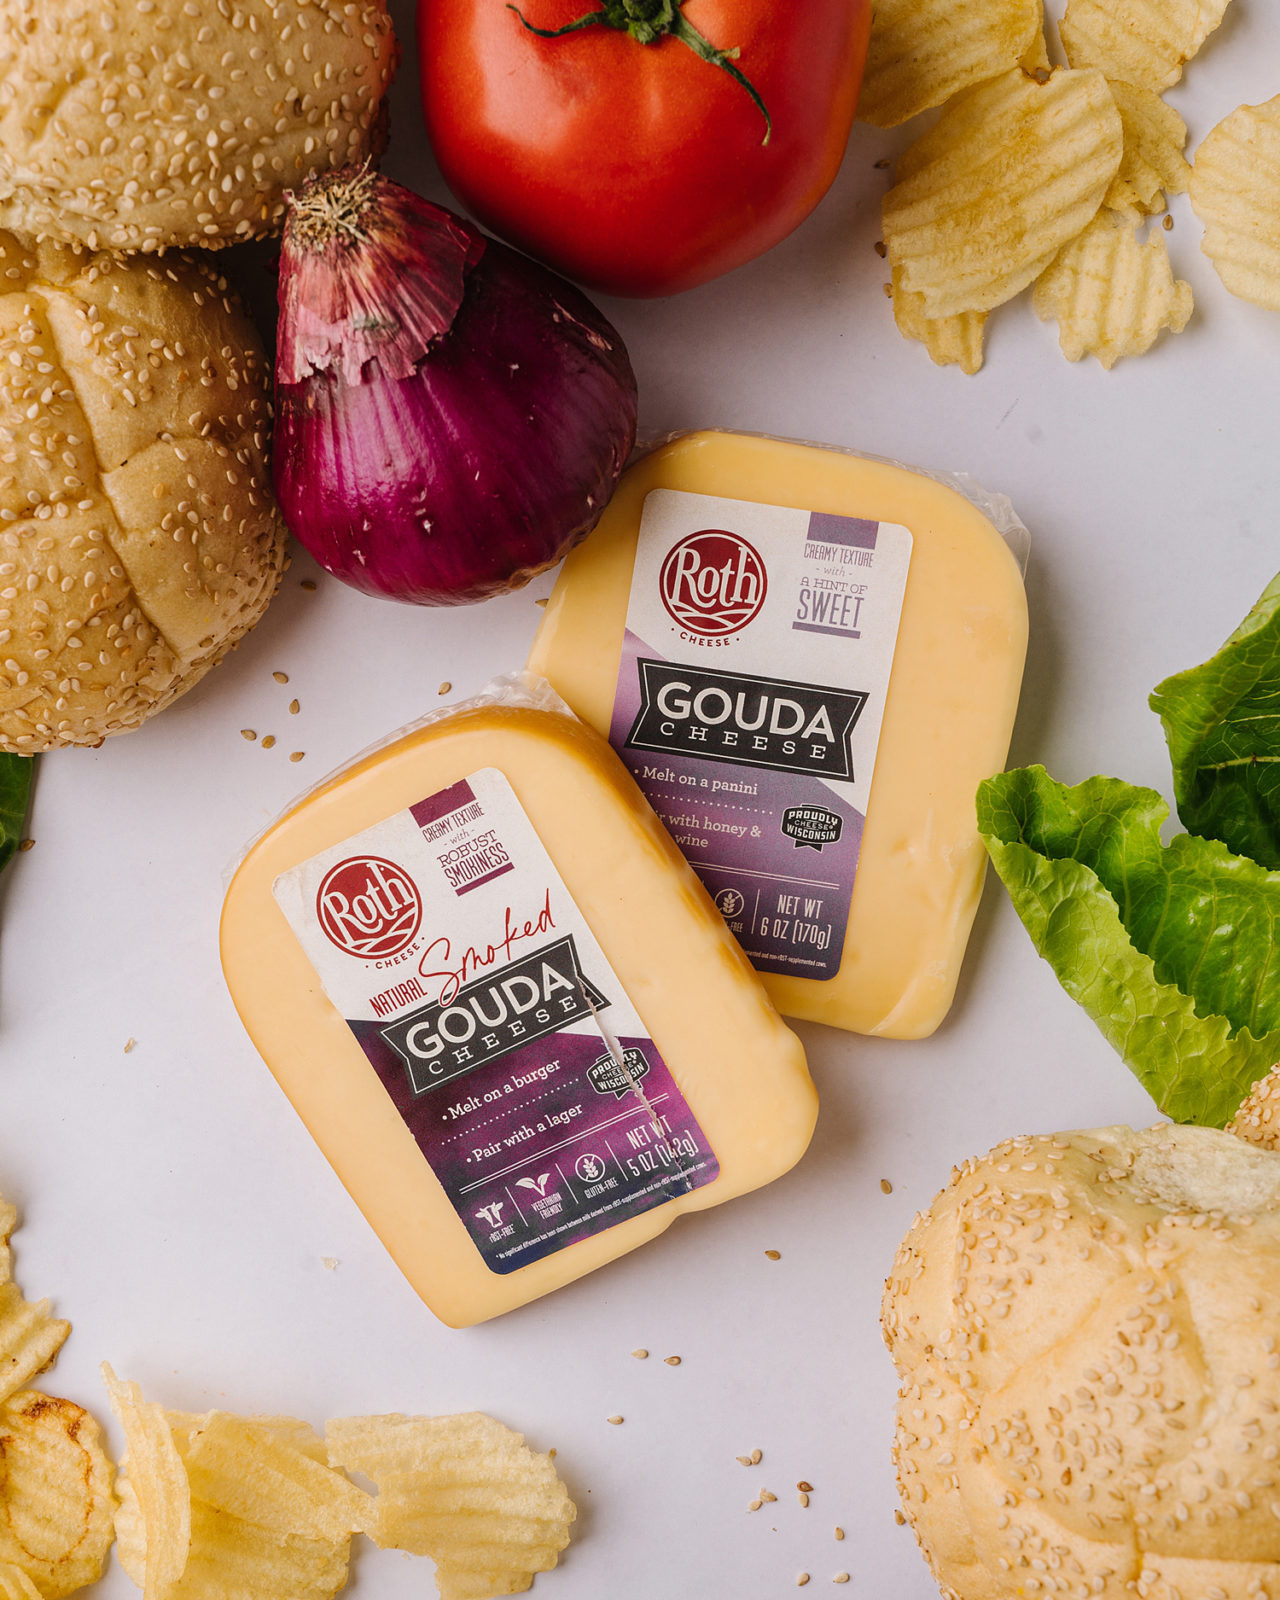
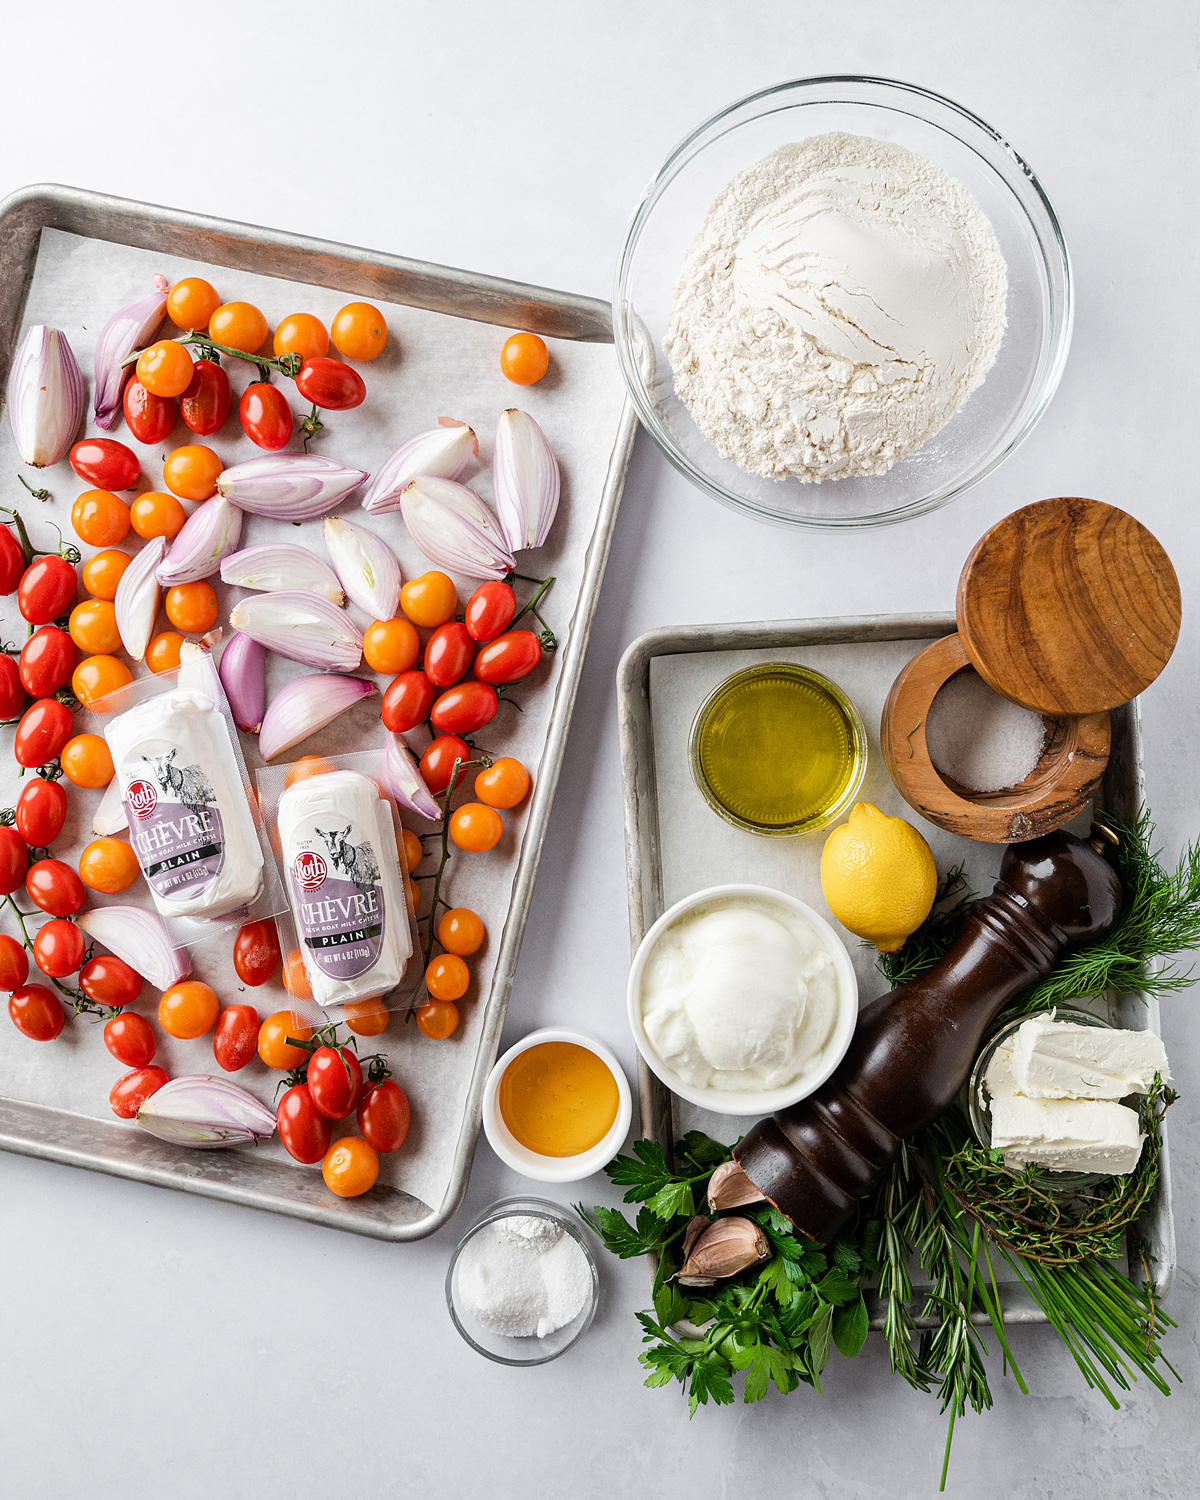
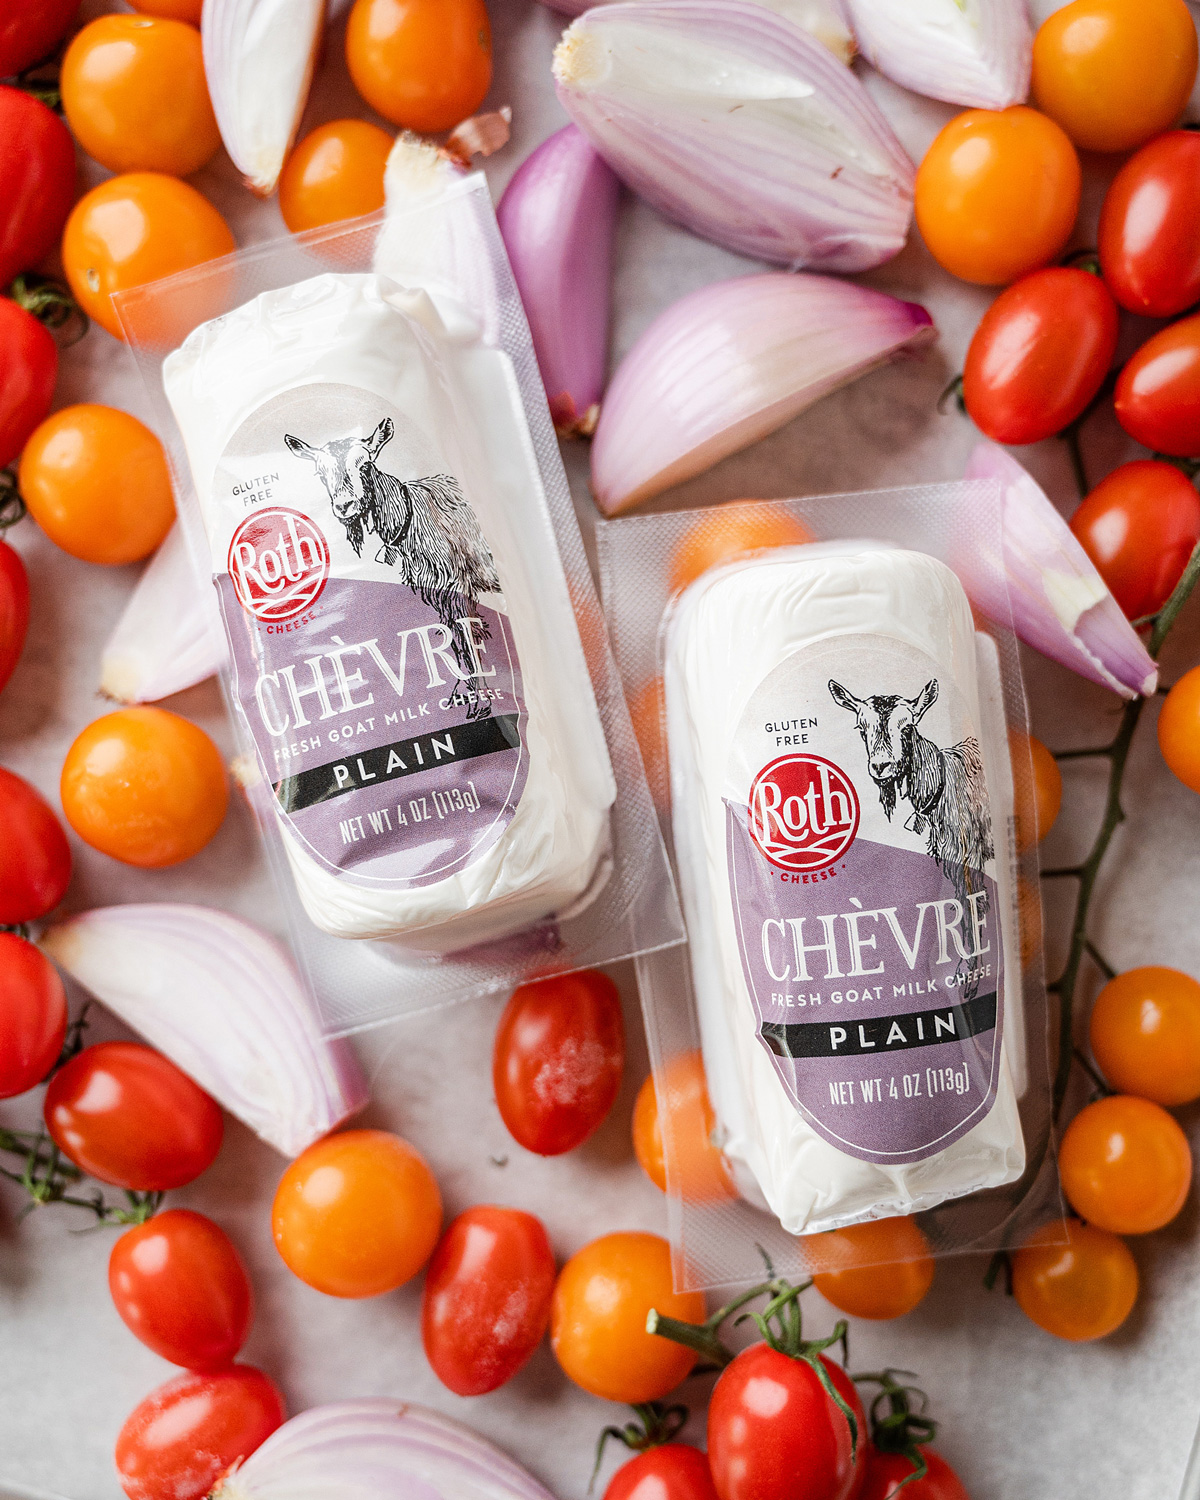
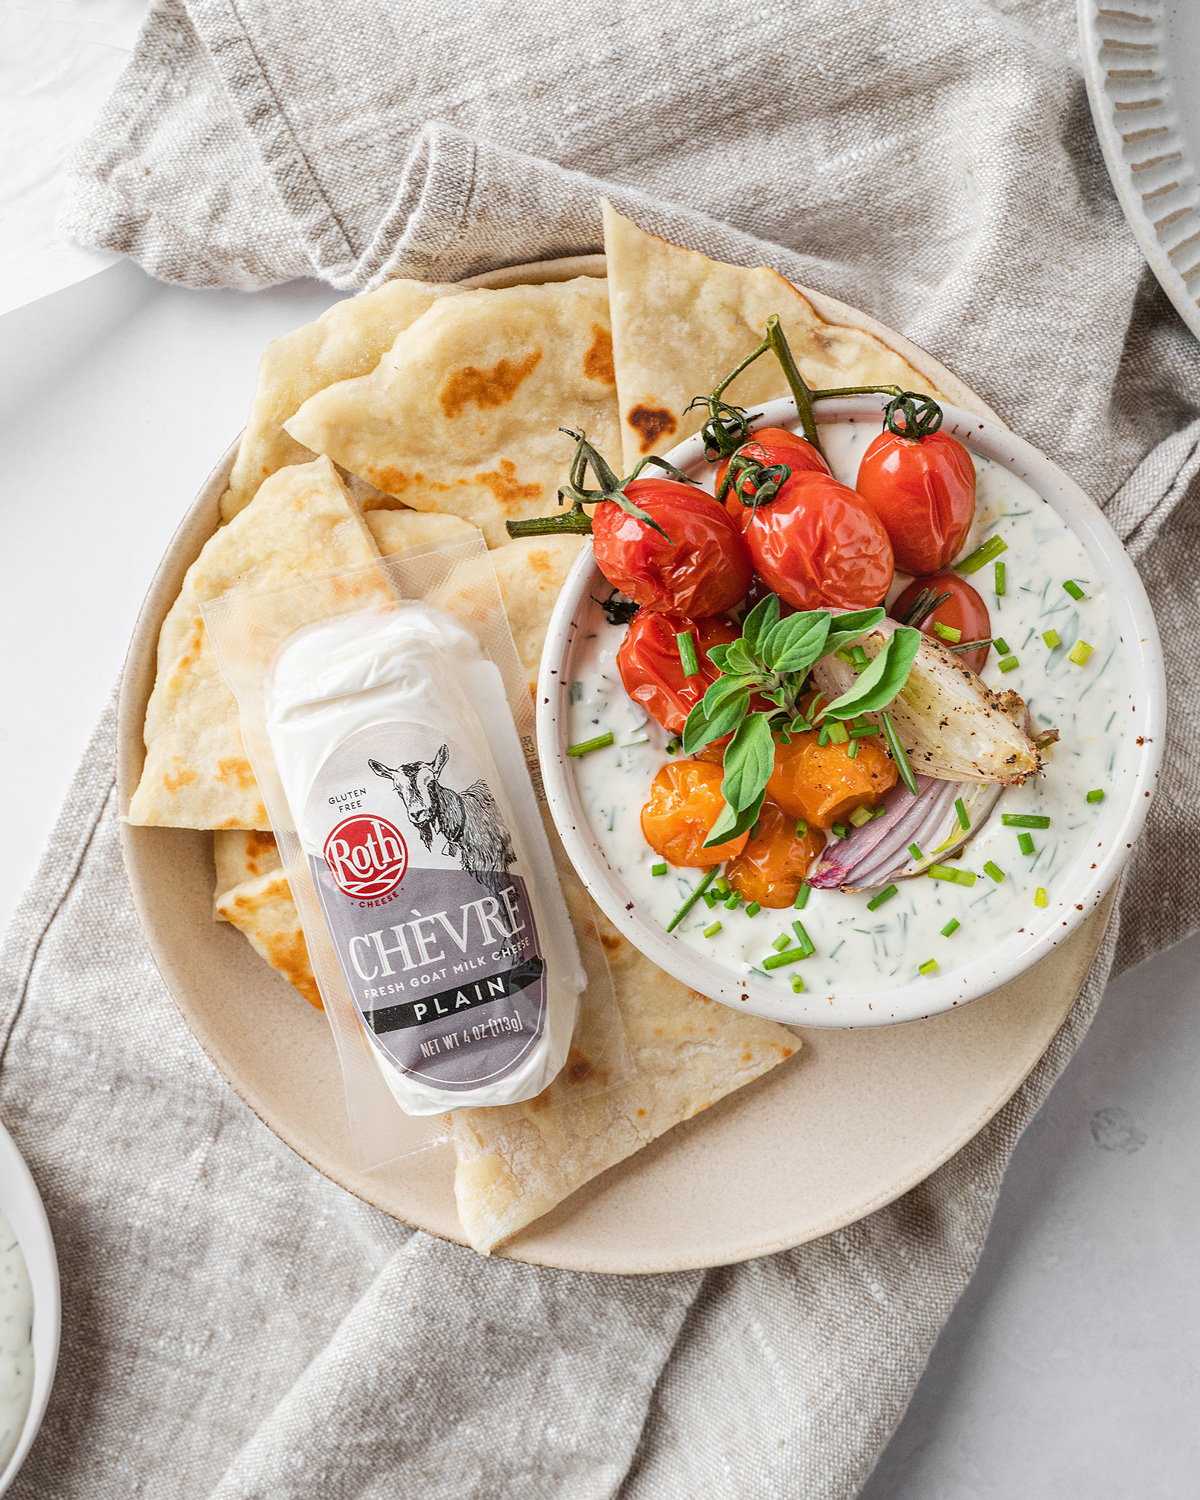
Read the package. Every package of Roth cheese lists tasting notes and/or pairing ideas. For instance, for Grand Cru®, it tells me it is an excellent melting cheese and pairs well with fig jam and riesling wine. It also tells me it is creamy, nutty, and has been aged 4+ months. That’s super helpful!
Just buy a little bit. If you are entertaining, buy a lot of cheese — everyone loves it! But if it is just for snacking at home by yourself, buy small quantities at a time. This way it stays fresh.
Quality over quantity. Cheese can be expensive, but a little high-quality cheese goes a long way. If you are able to, buy what you can afford. And take advantage of the off-cuts bin, where you can often find small pieces of Roth cheese for less.
Ways to Serve Cheese //
The possibilities of how to serve cheese are endless. Cheese is incredibly versatile. You can slice it, shave it, shred it, grate it, crumble it, melt it, whip it, fry it, or just eat it straight out of the package.
Need some more ideas? I’ve got you.
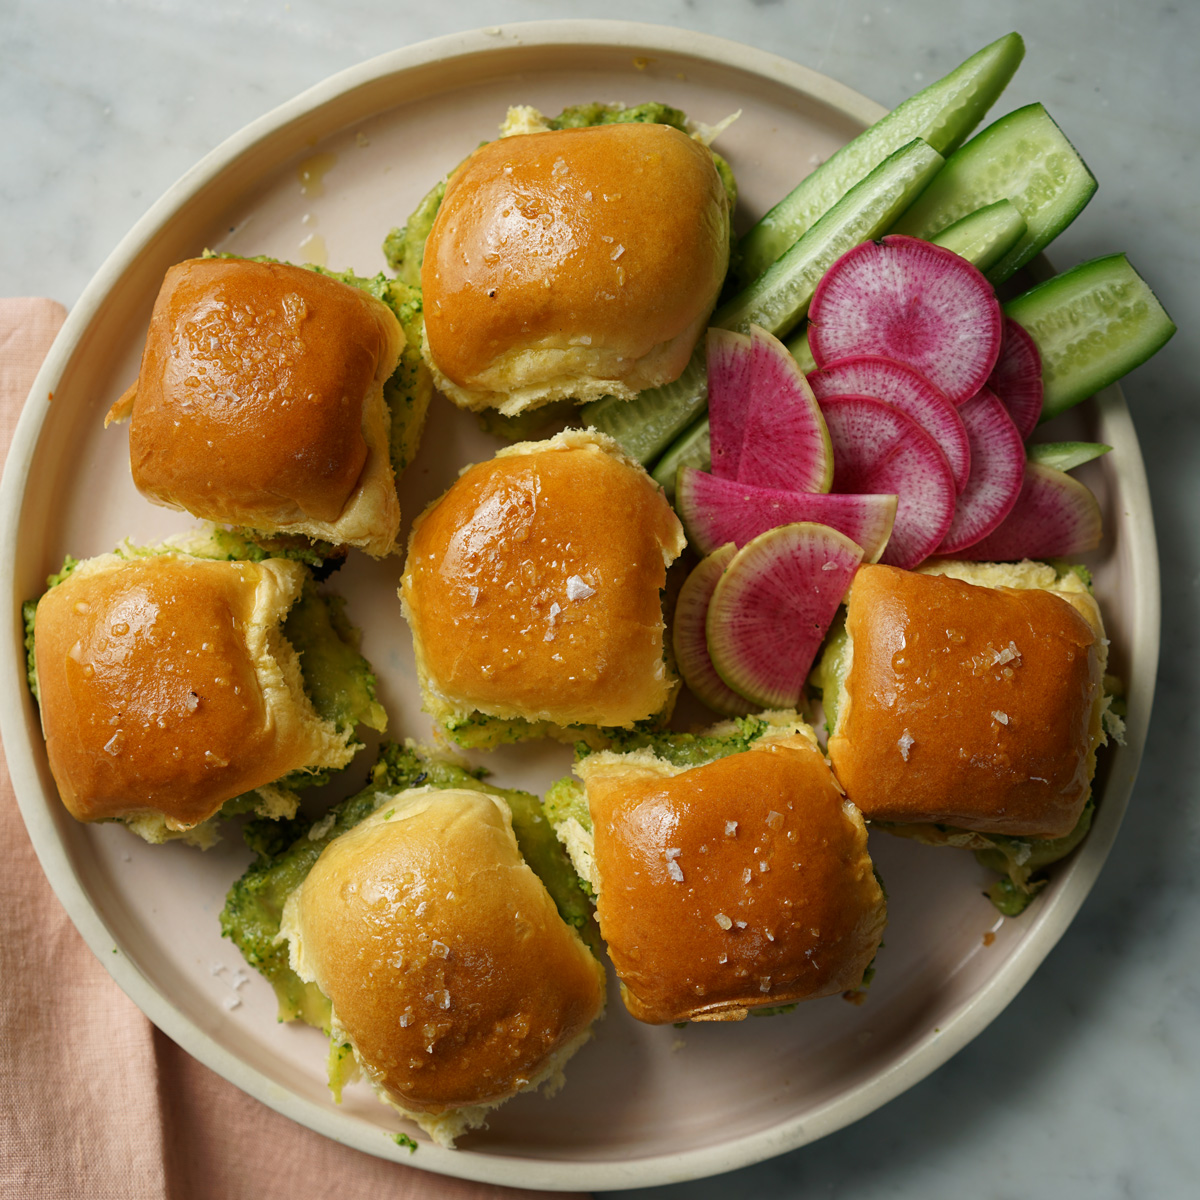
Morning cheese. Add shredded or crumbled cheese to biscuits, muffins, egg dishes, even savory pancakes or waffles. How good does an apple and Grand Cru® waffle sound?
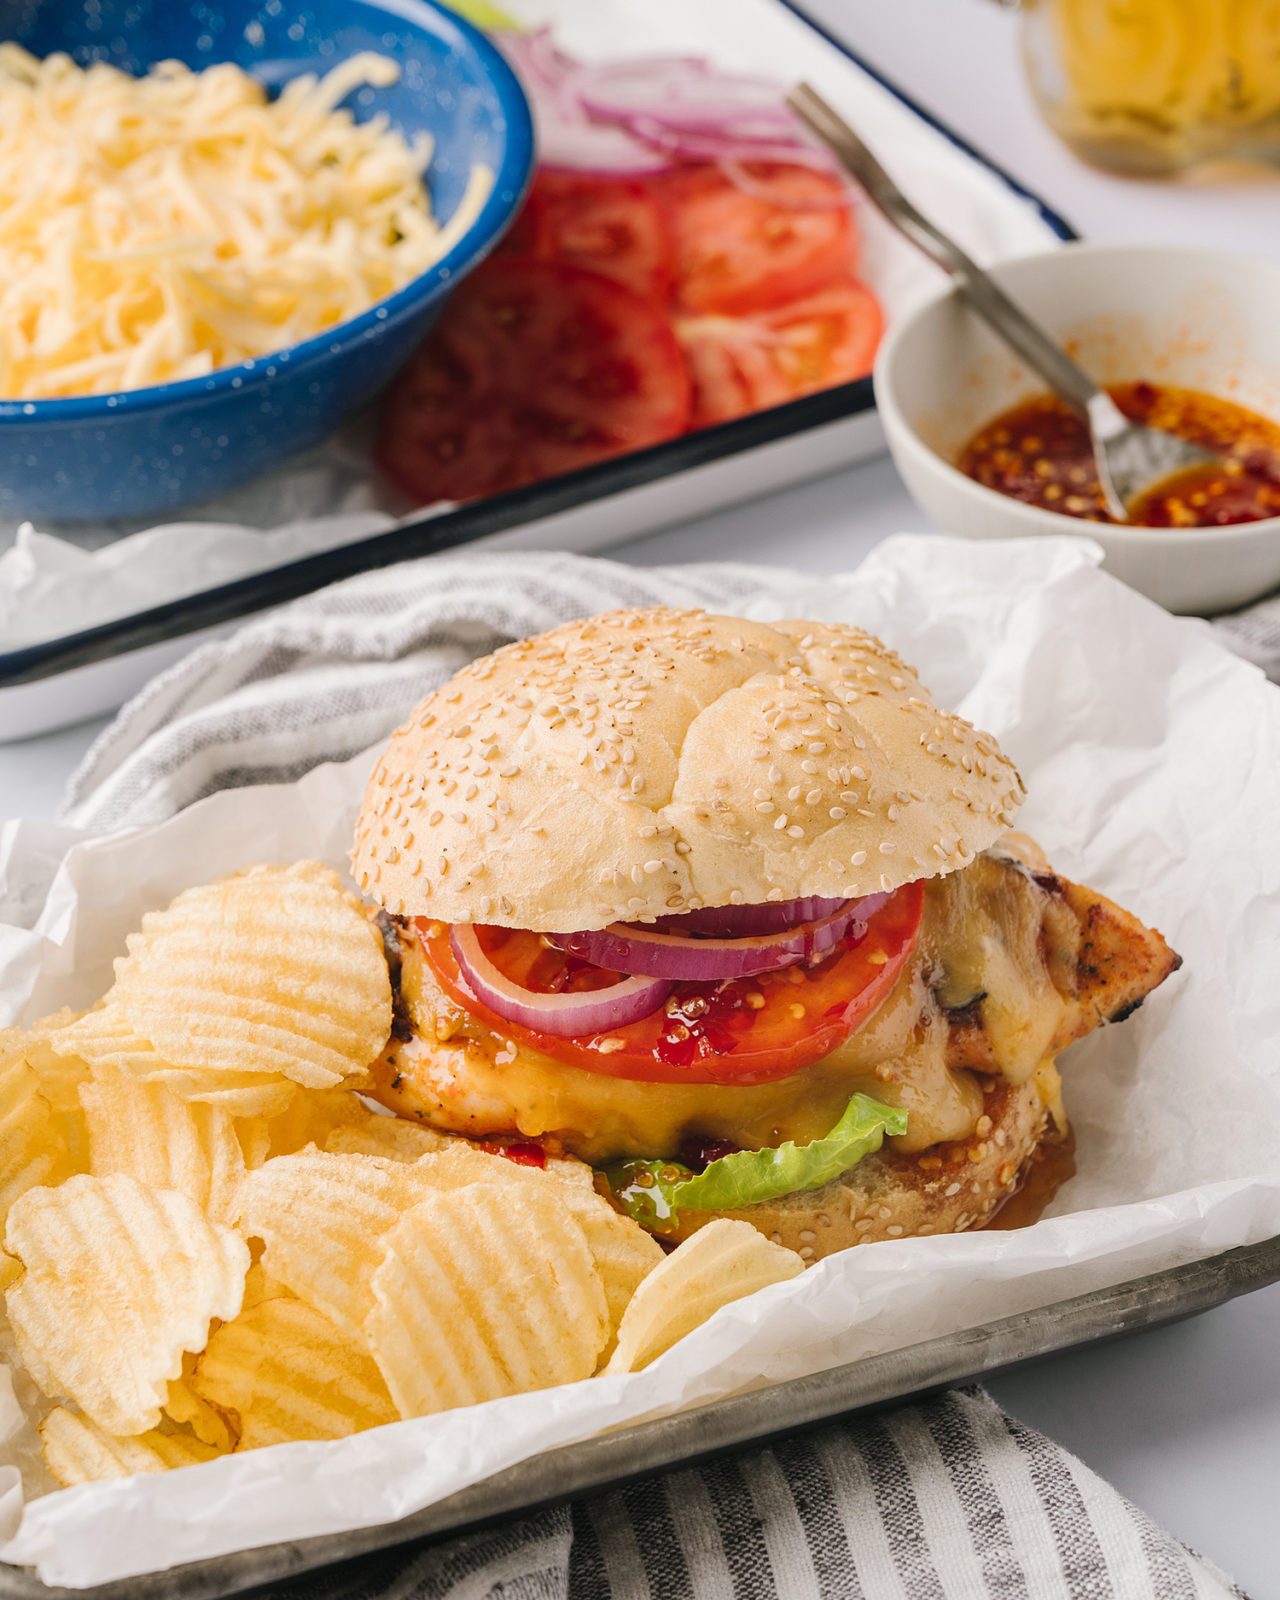
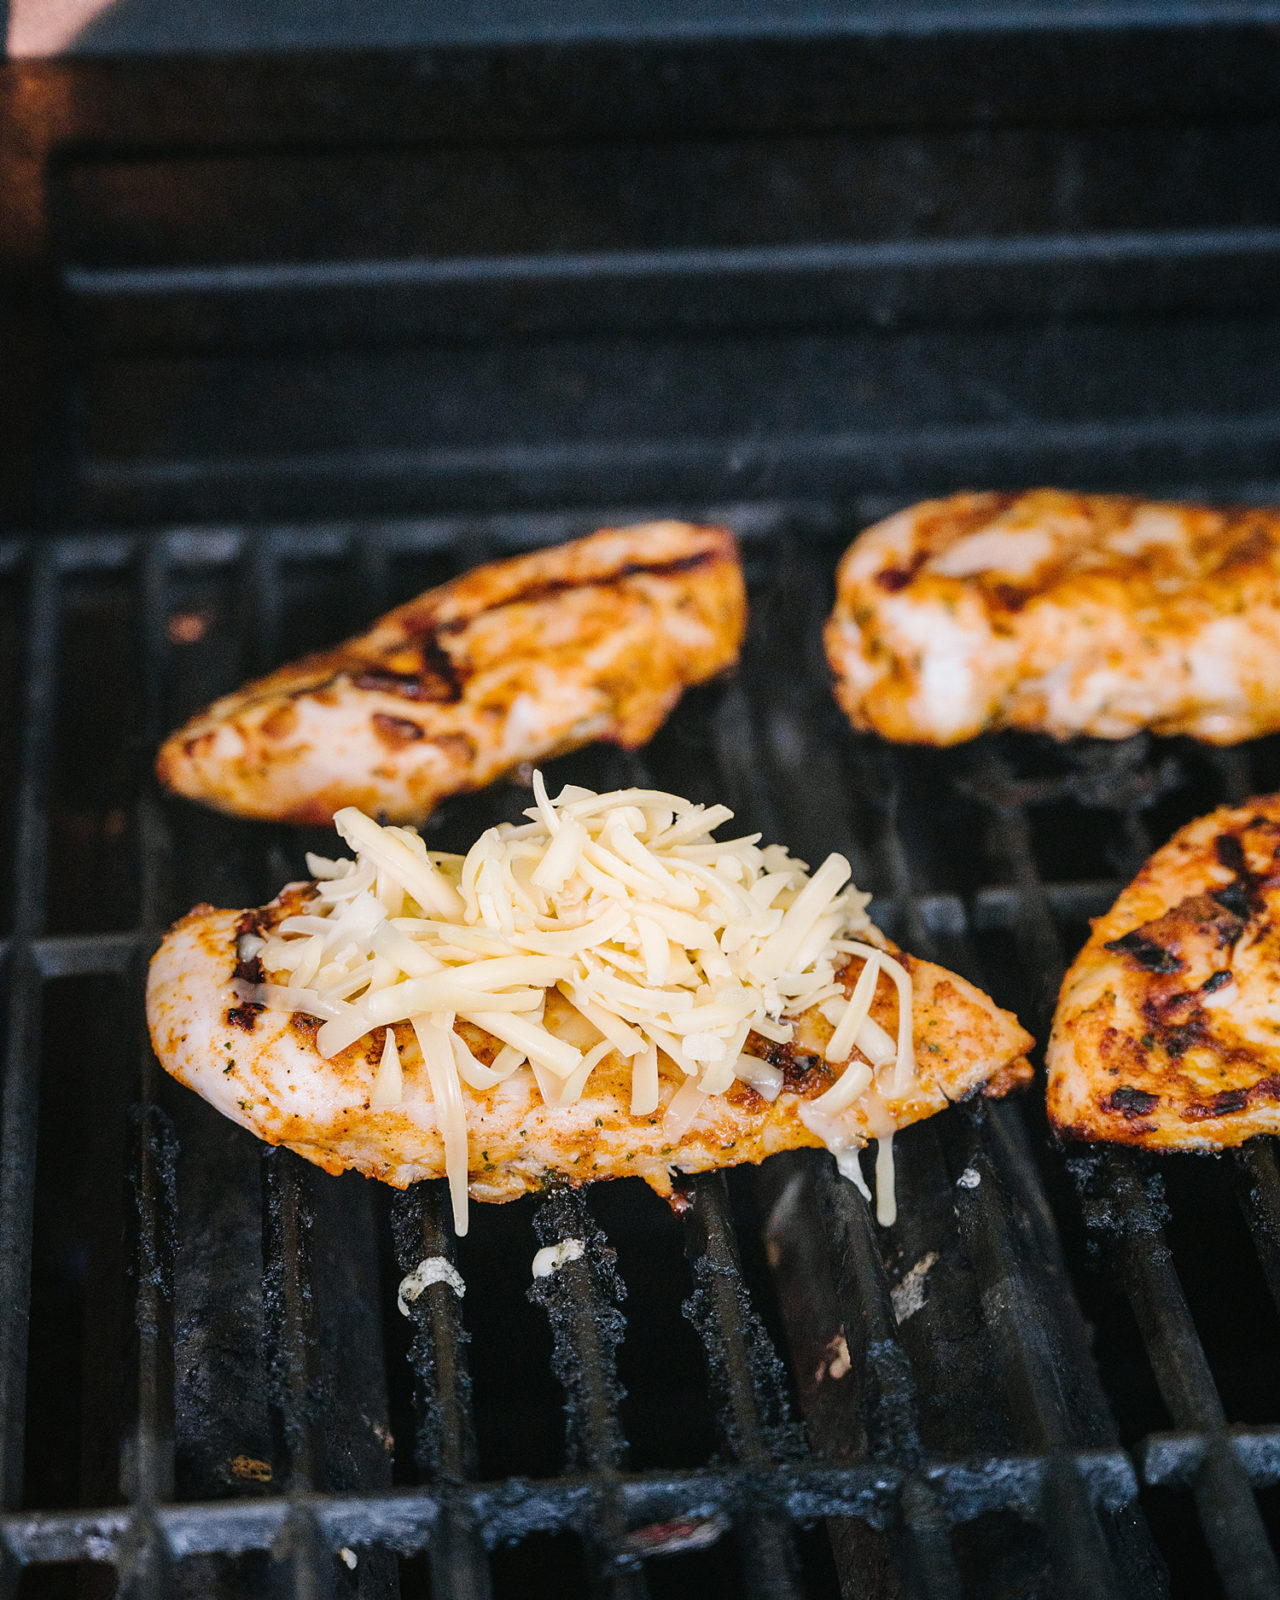
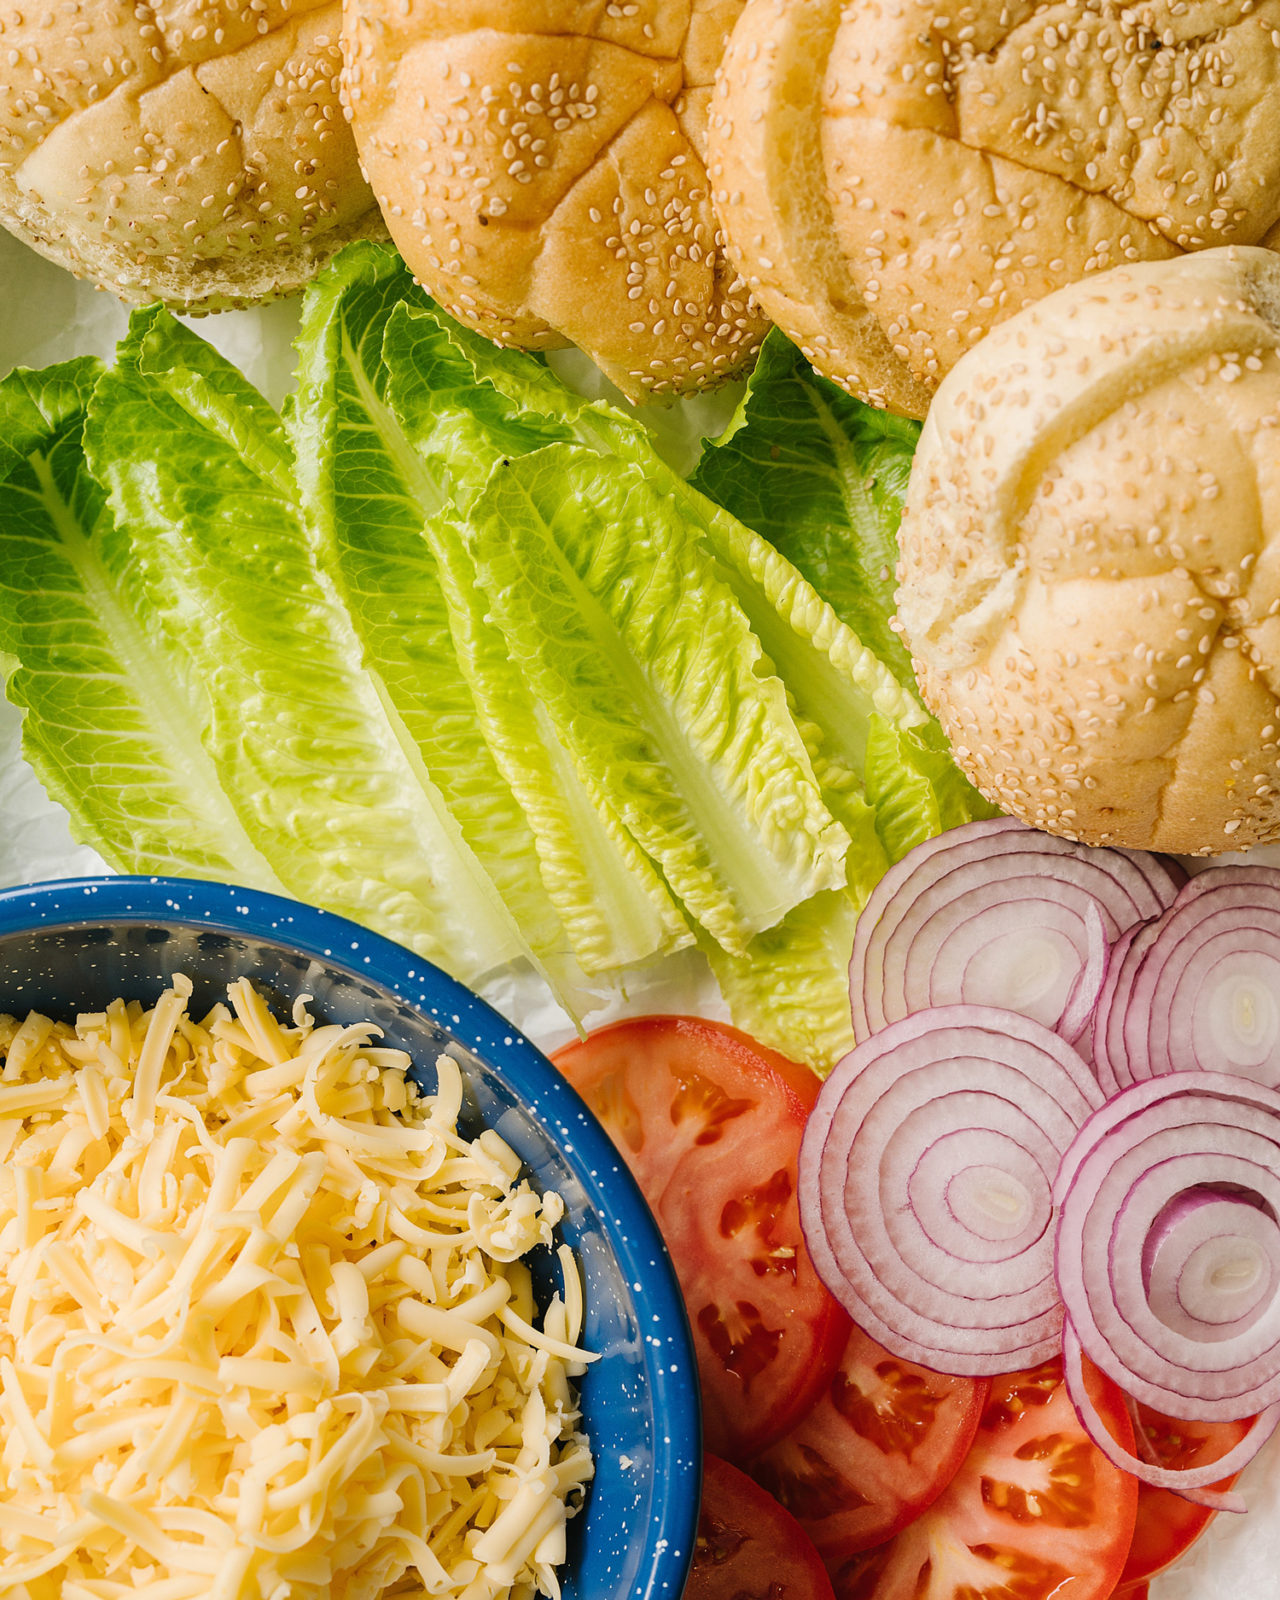
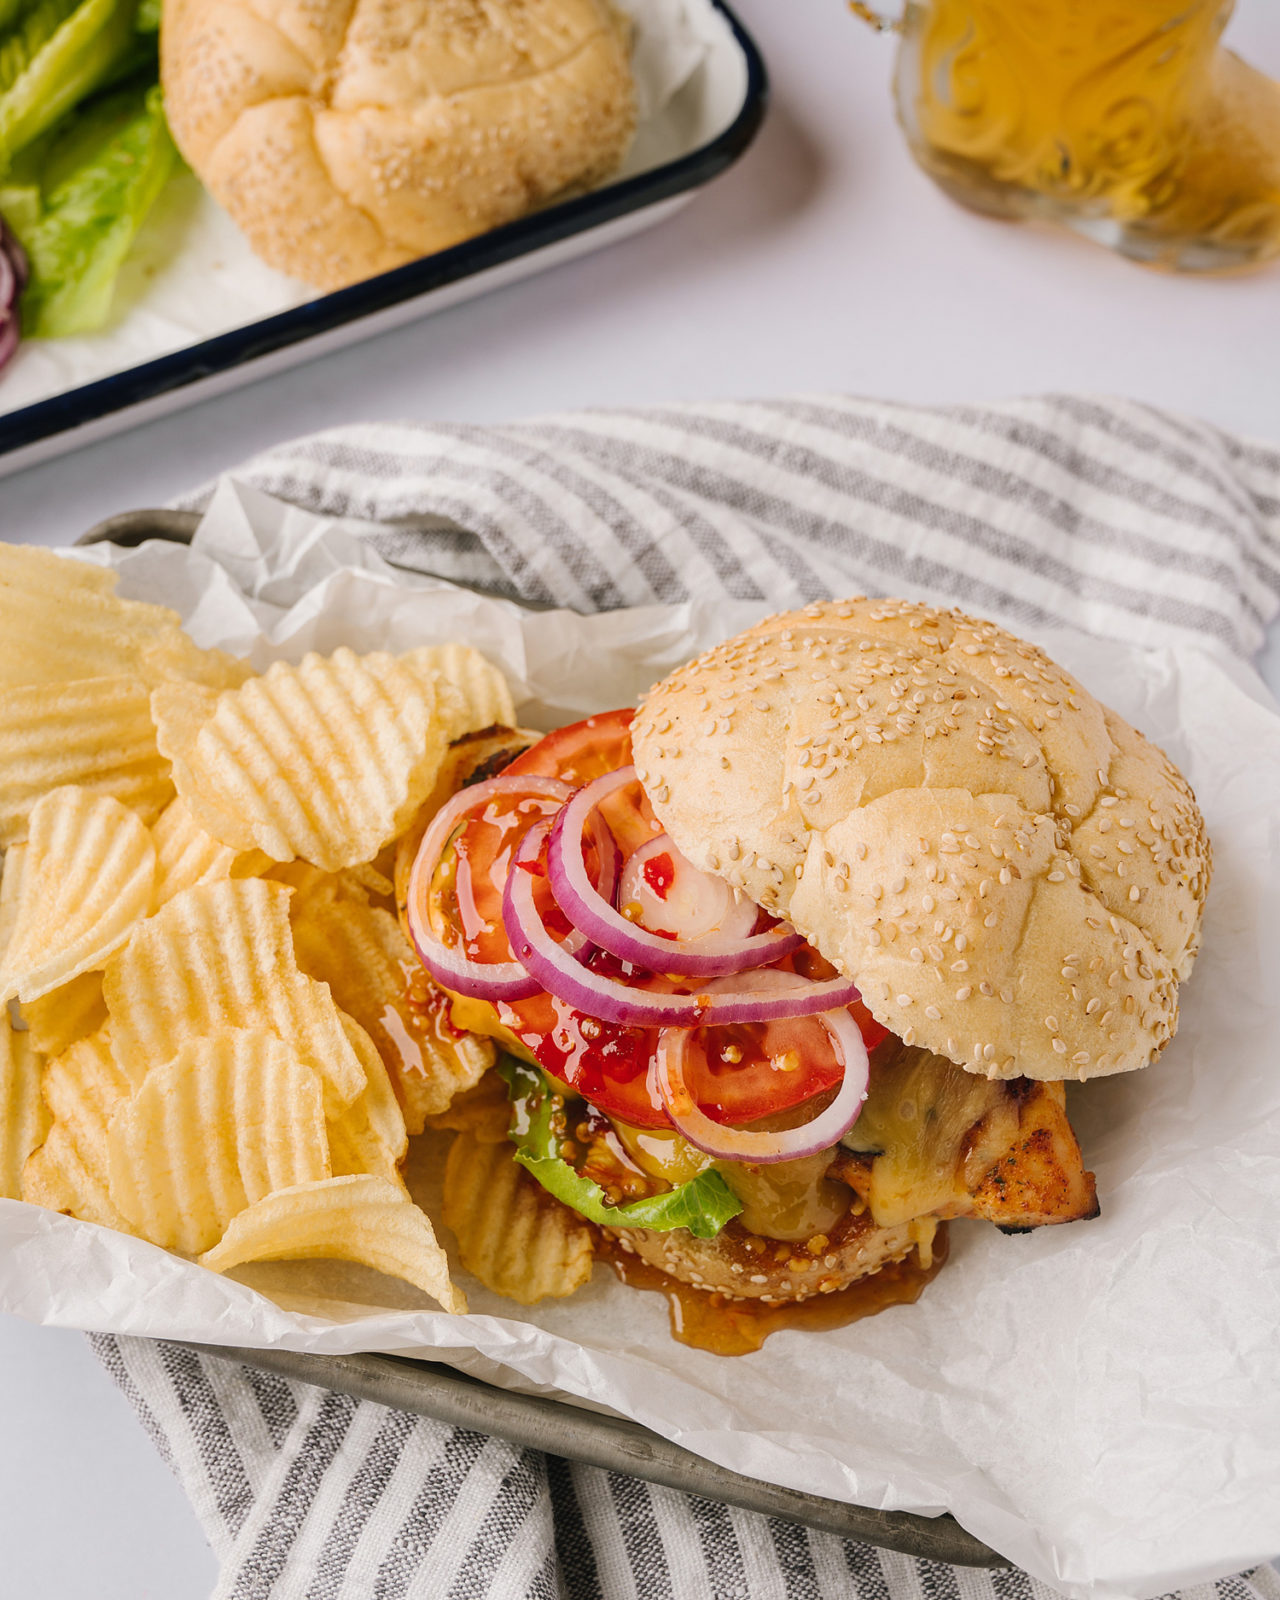
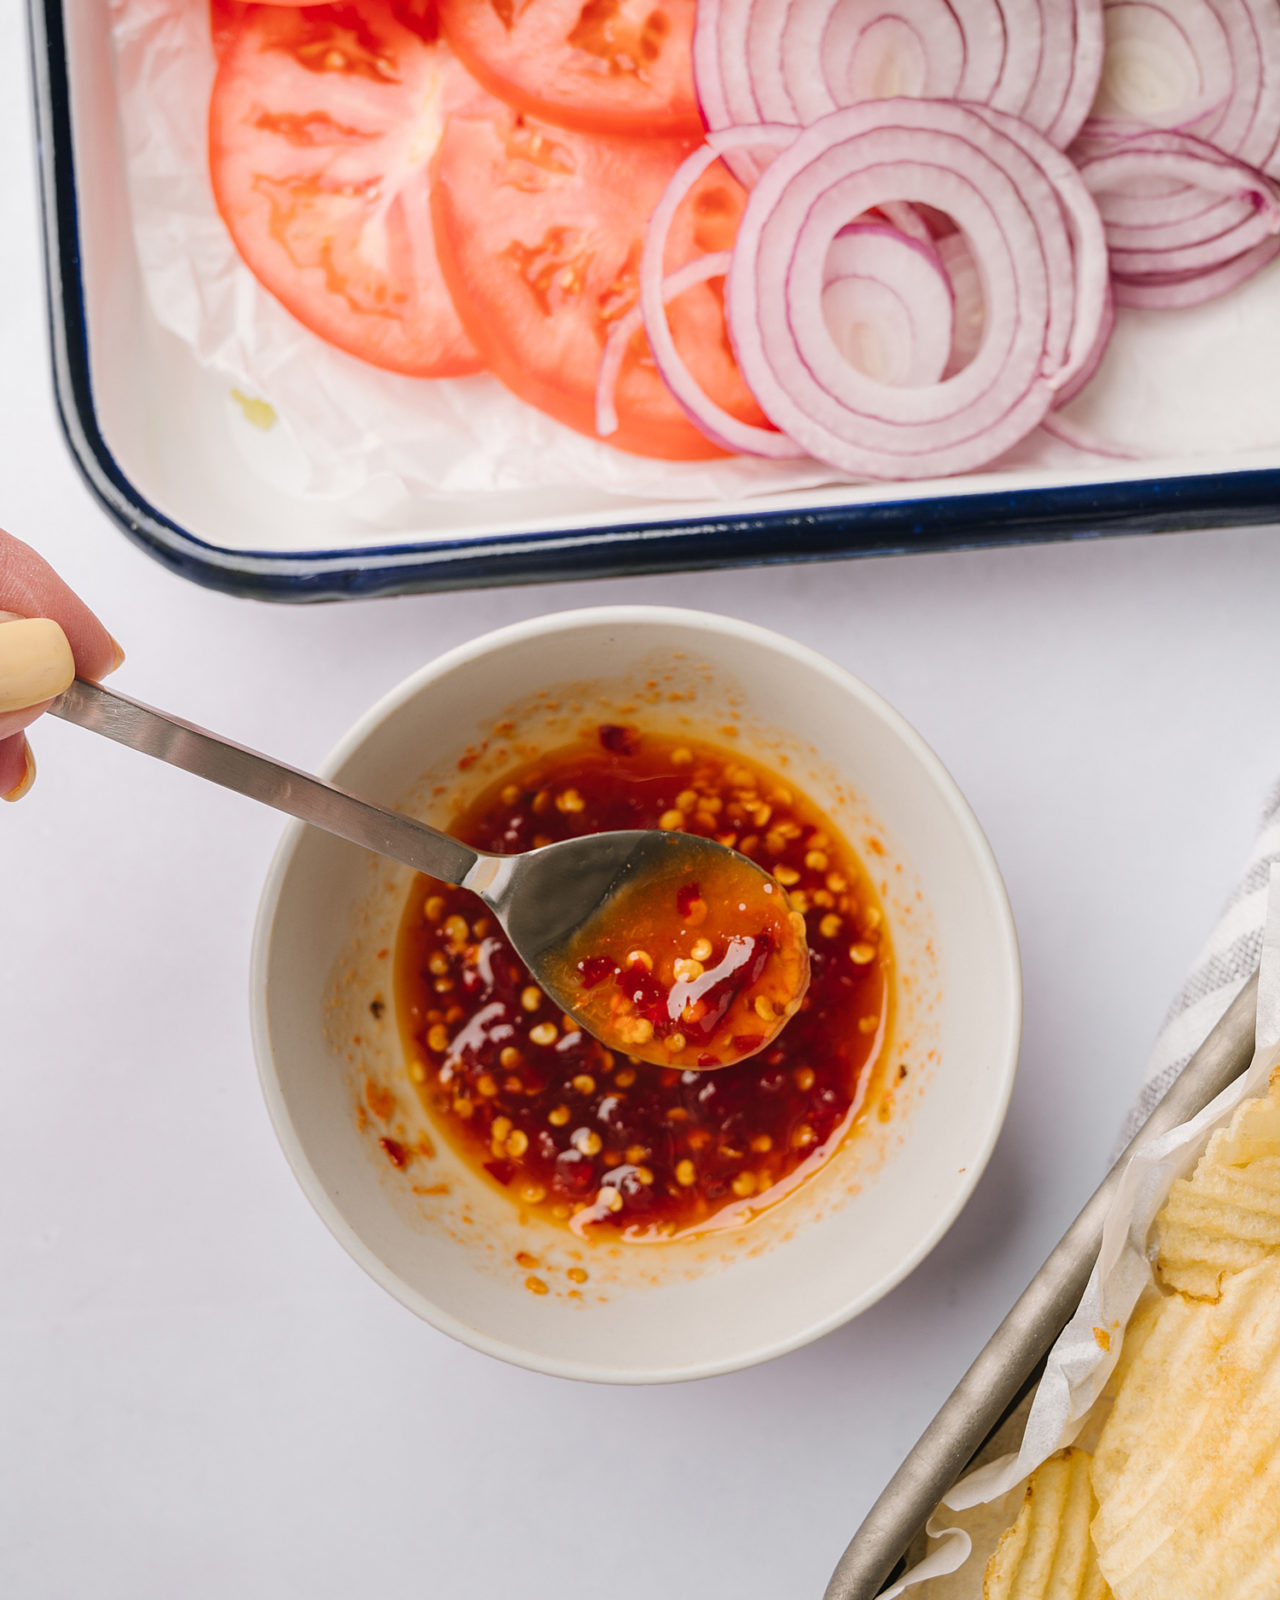
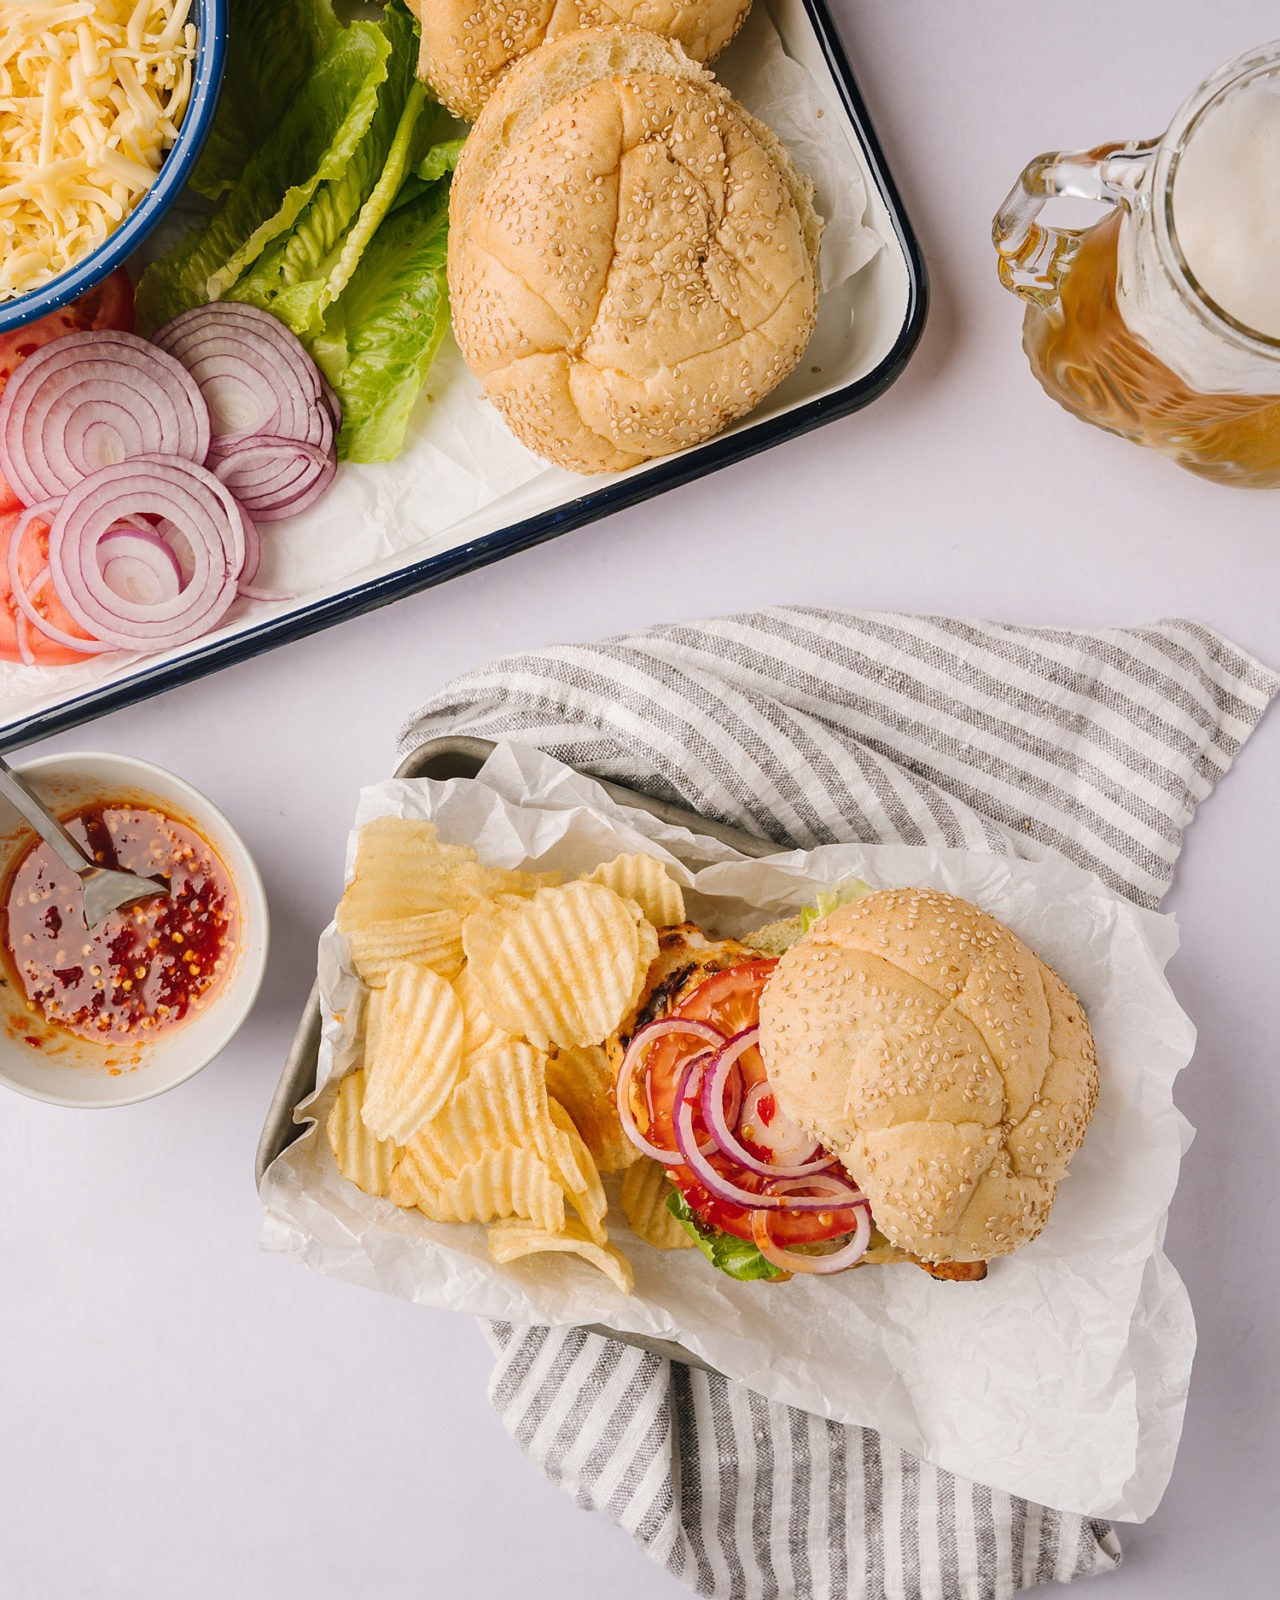
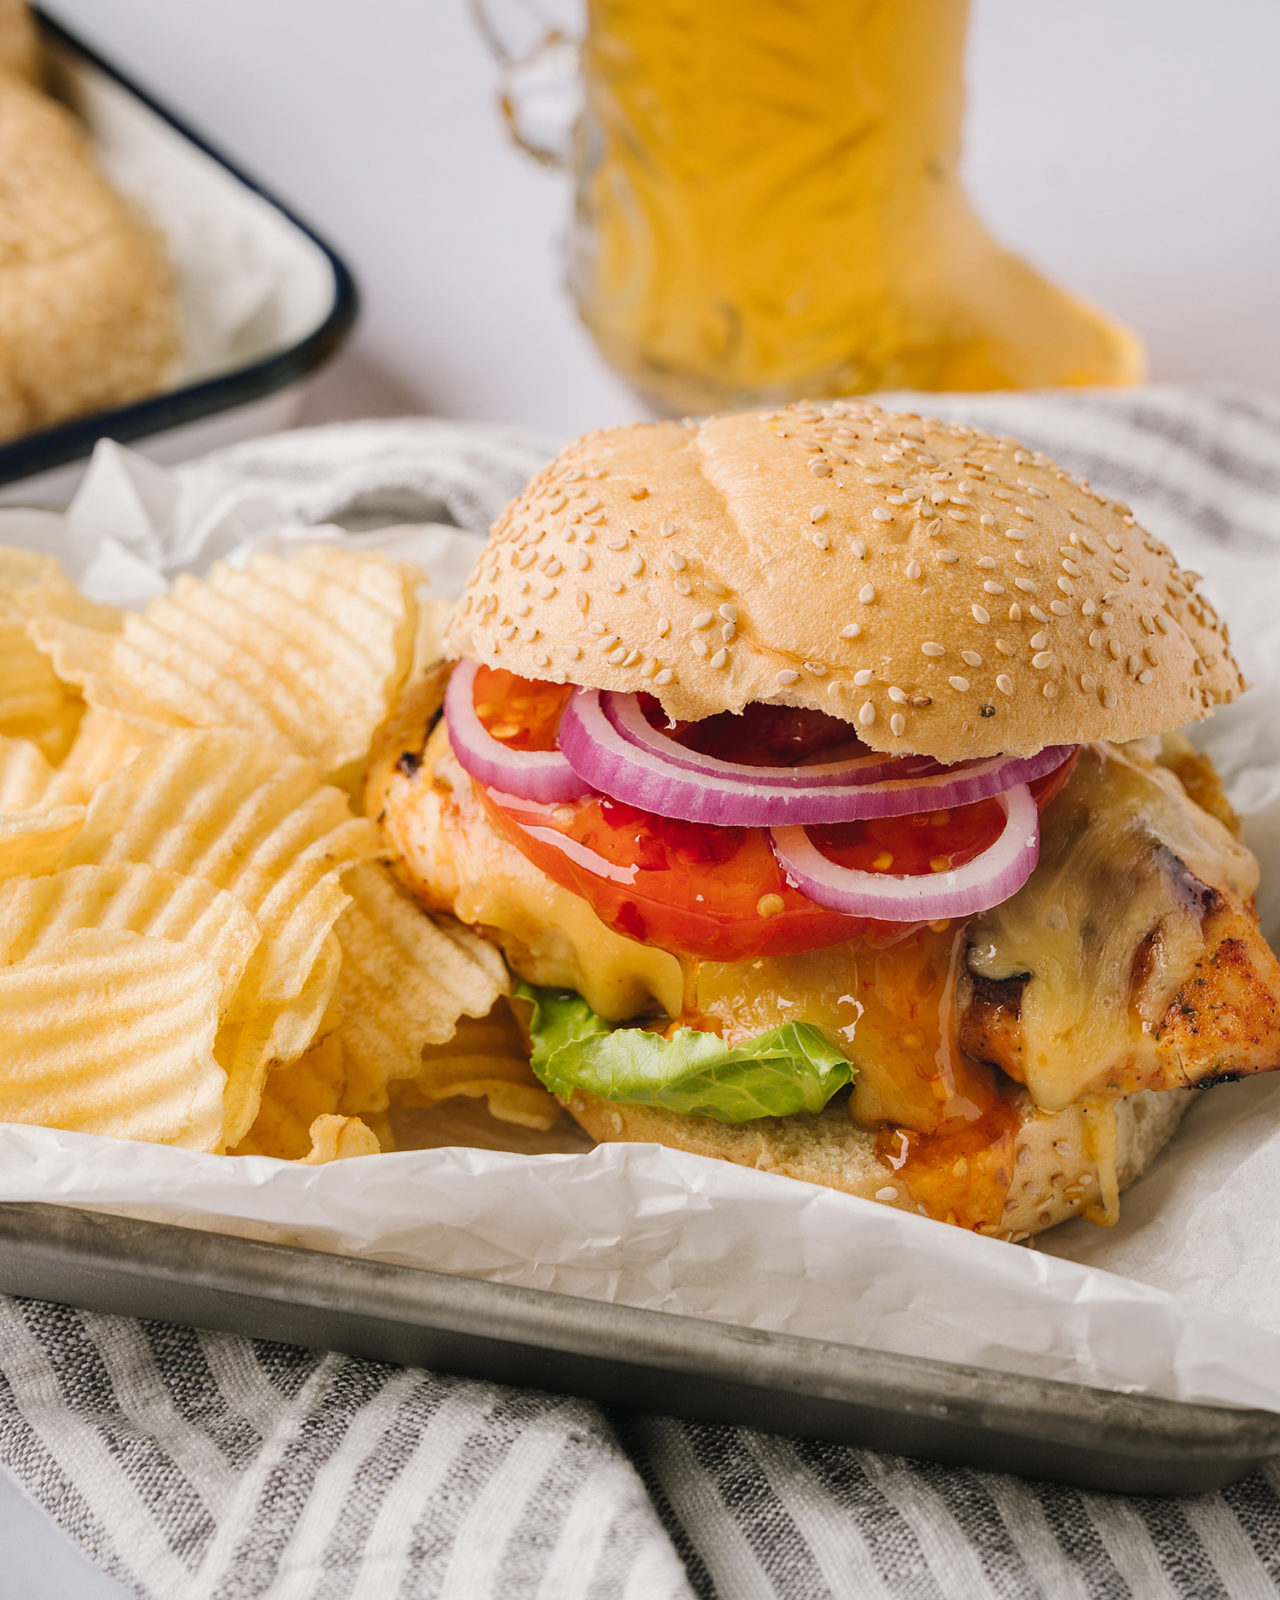
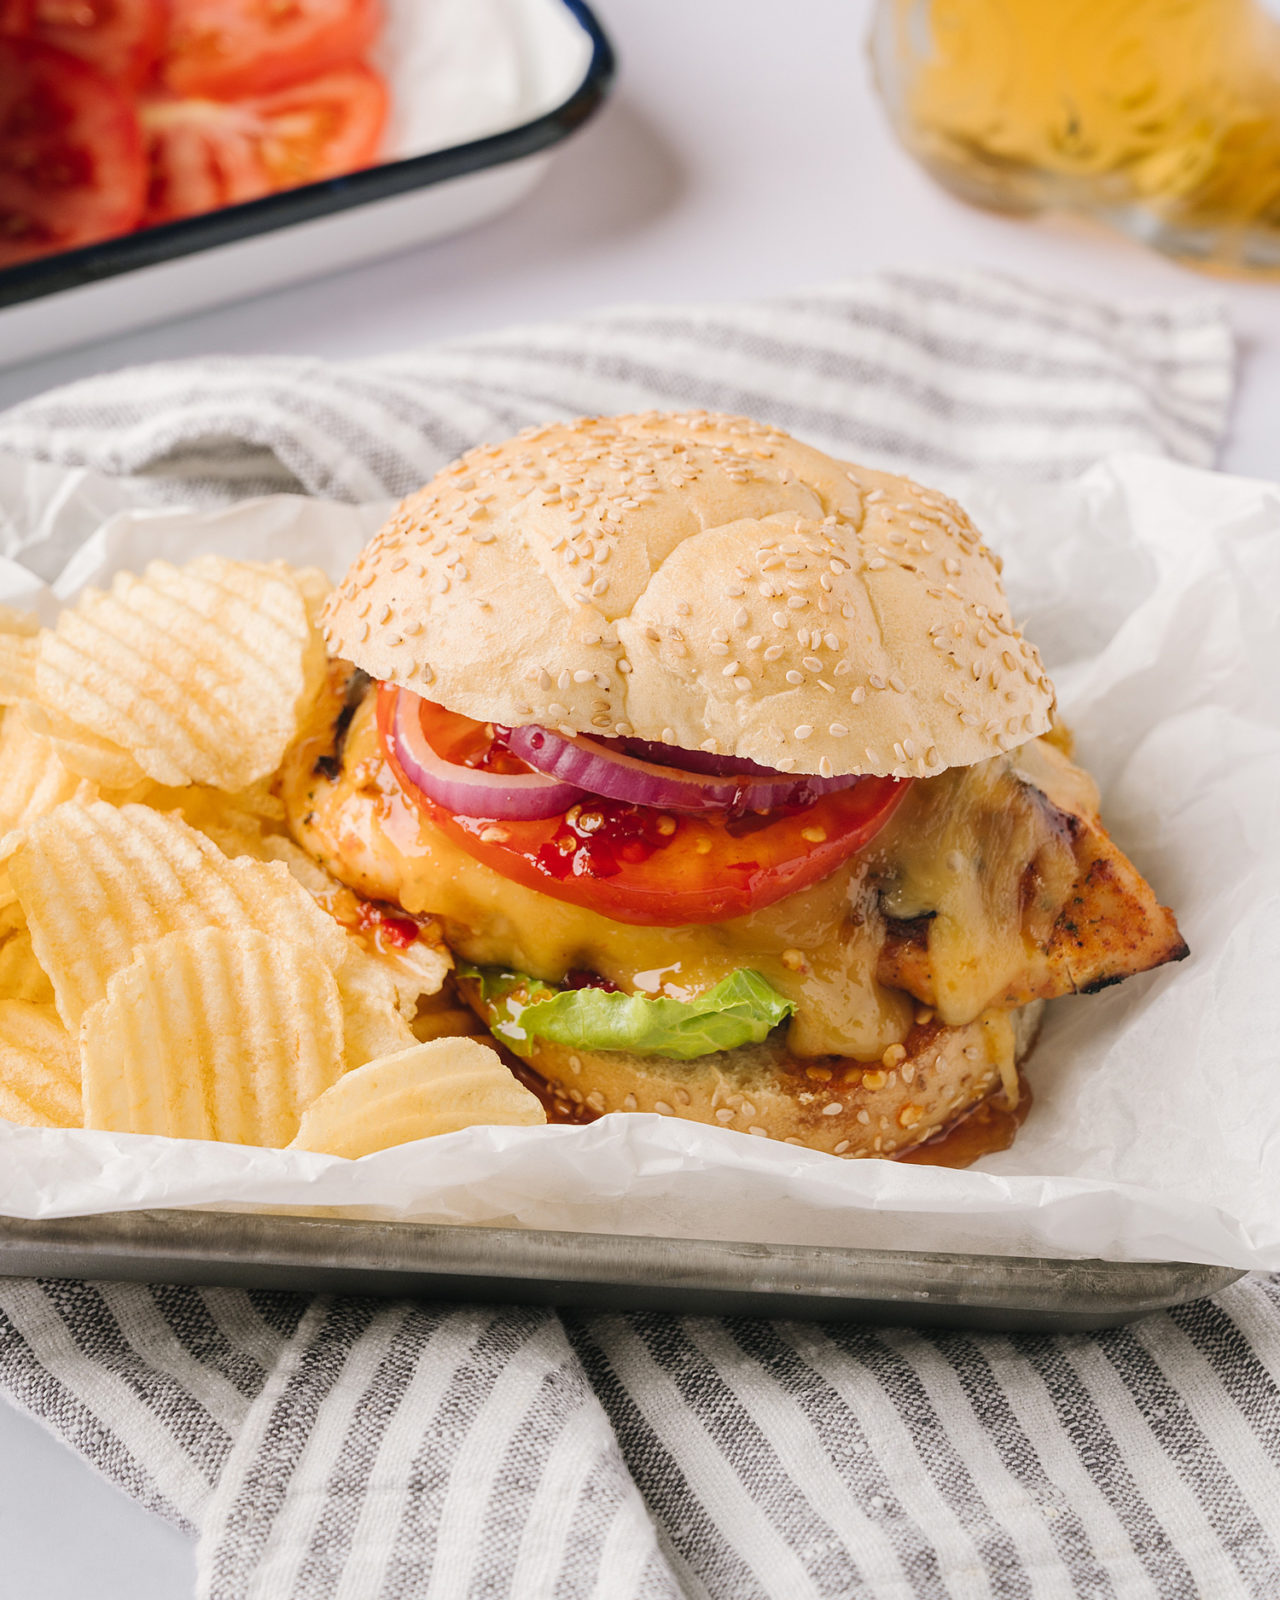
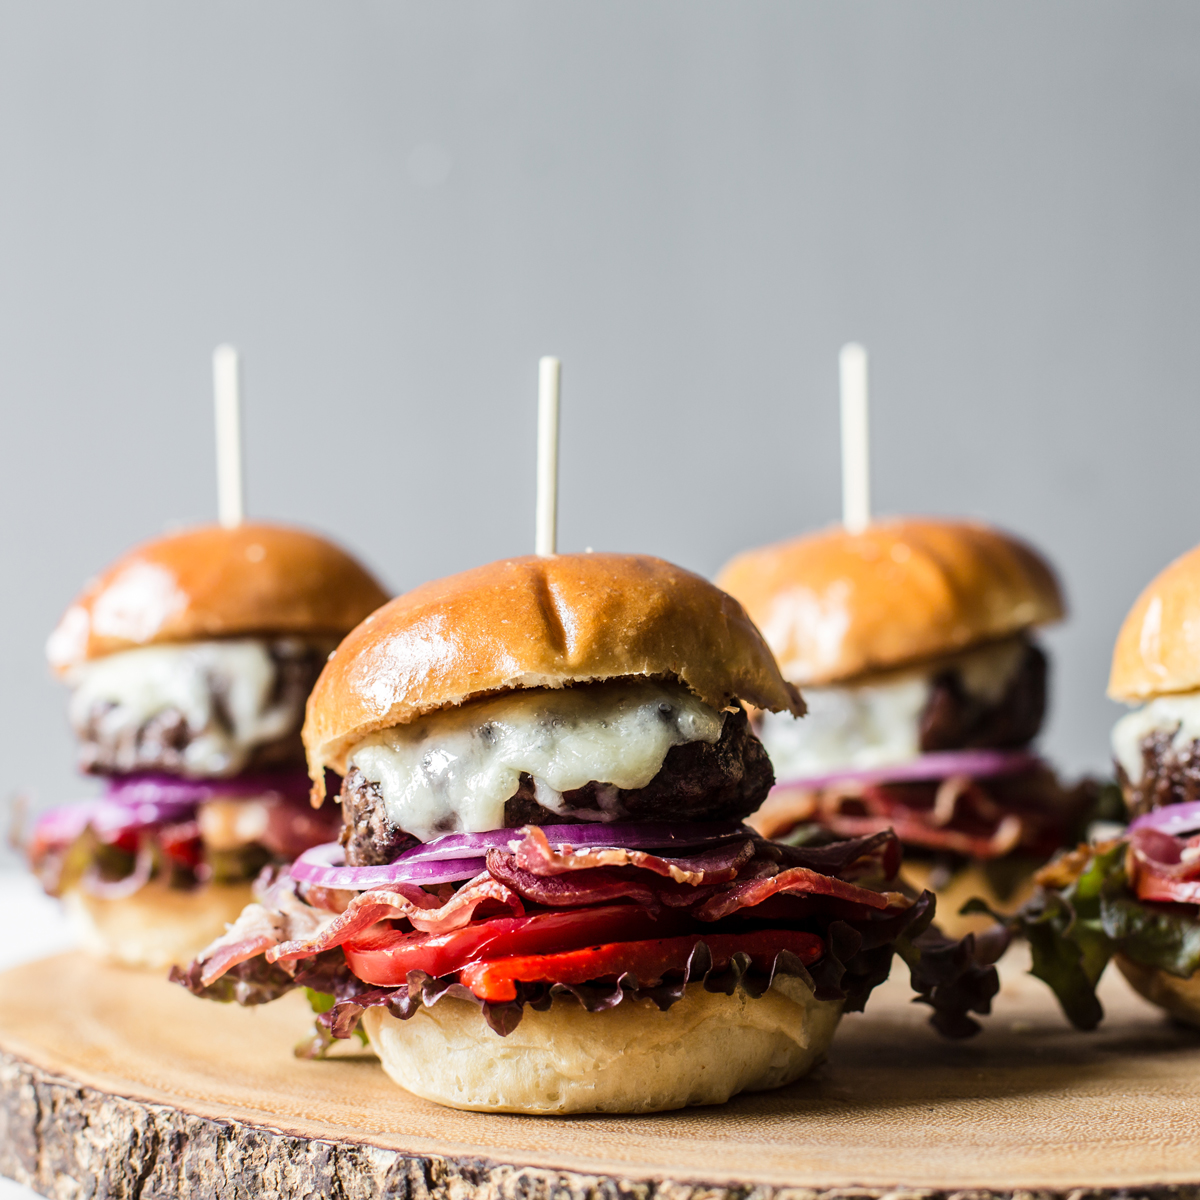
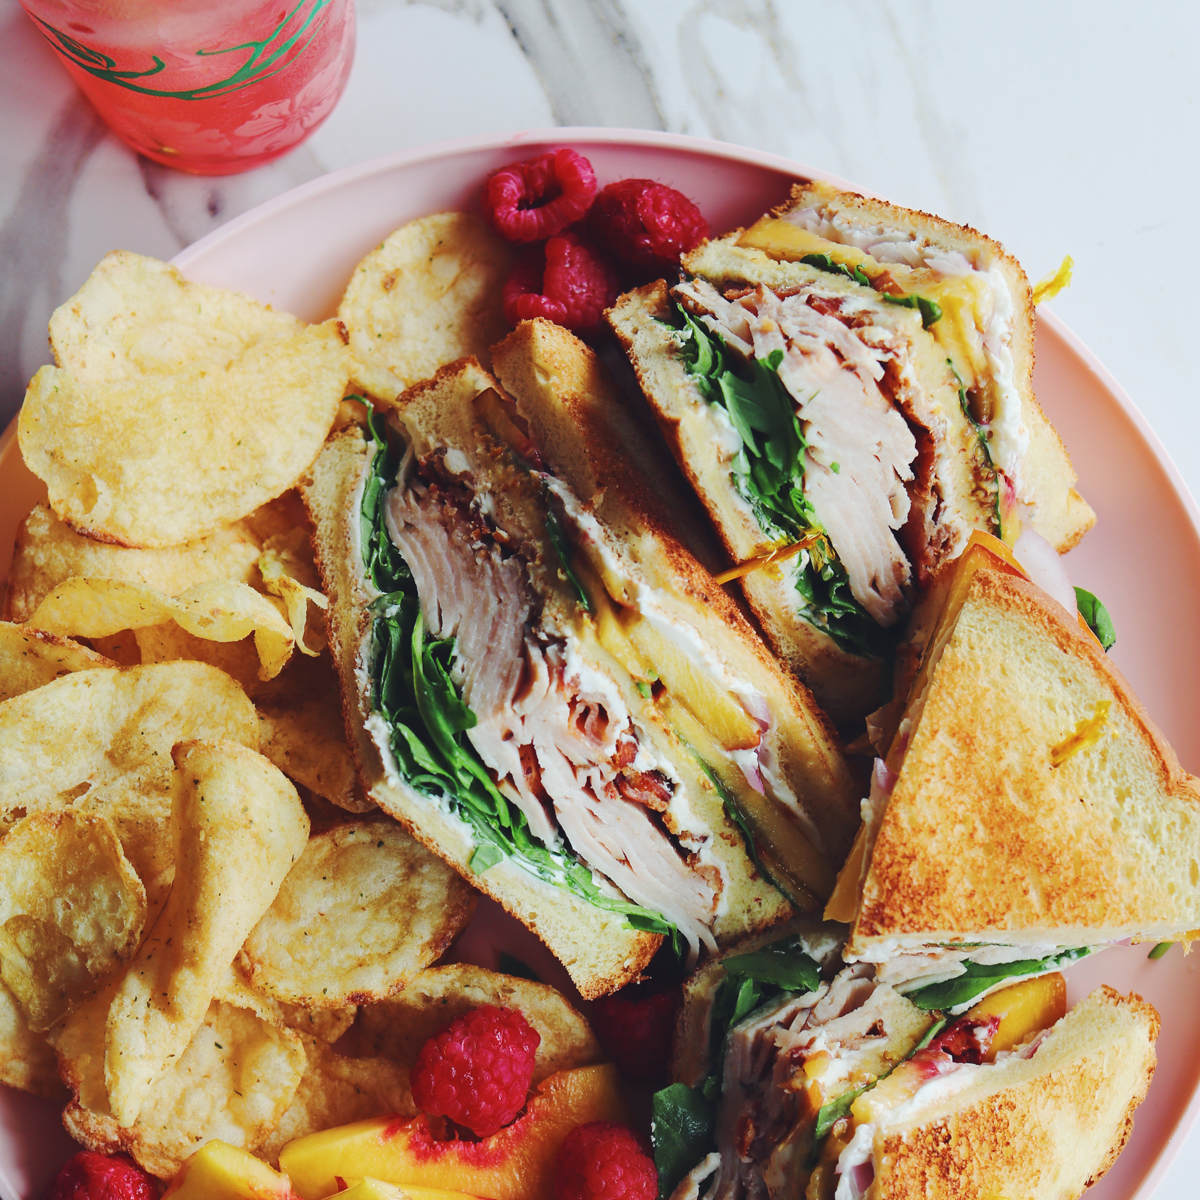
Add to sandwiches. Either a nice slice on a turkey sammie or in a grilled cheese… or even better, IN A BURGER!
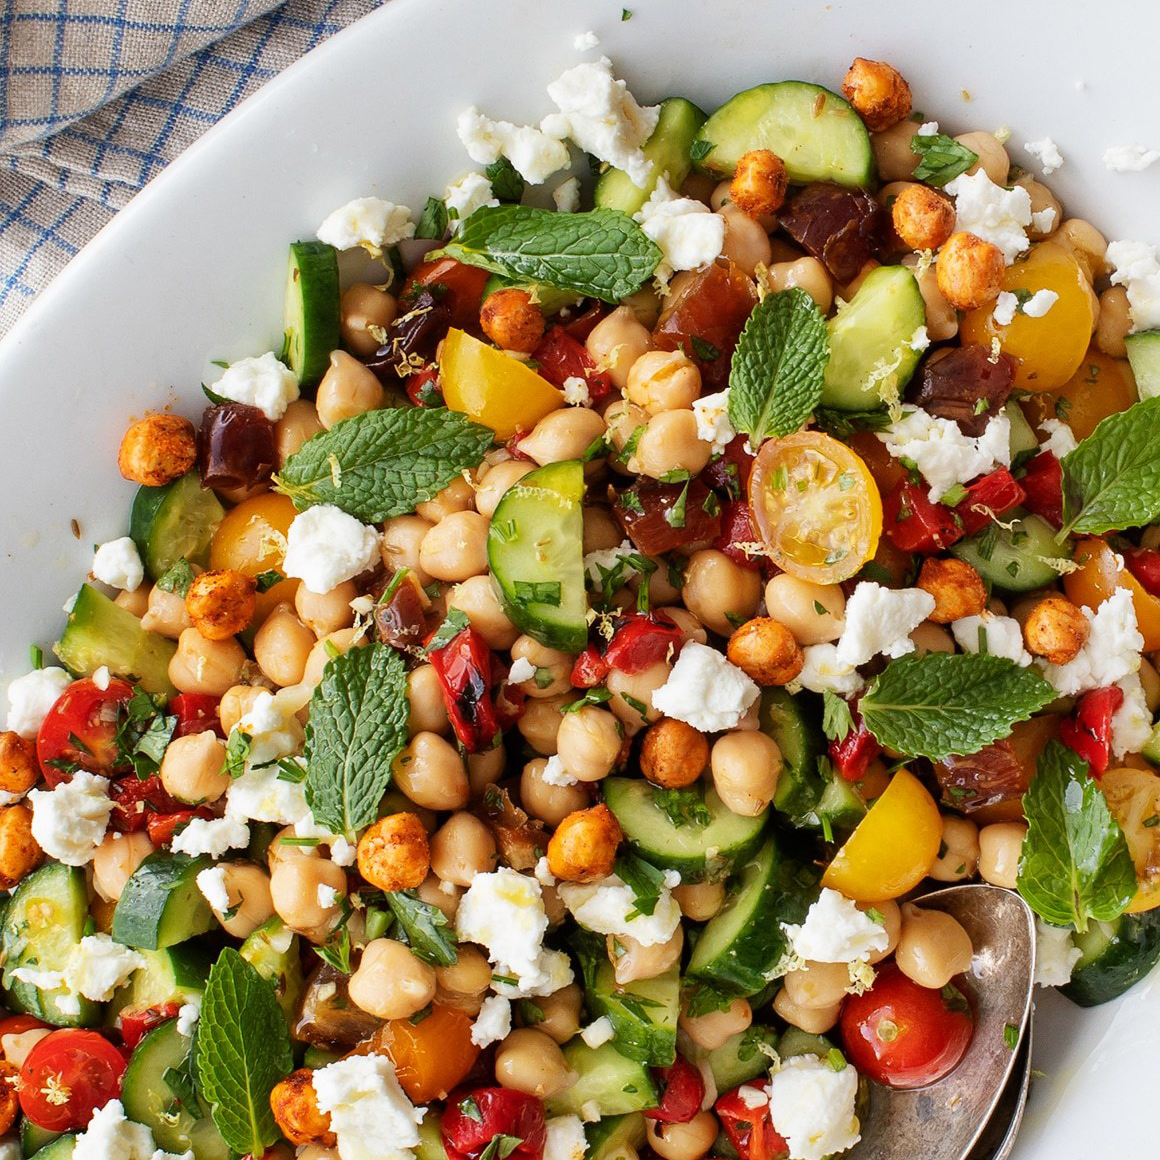
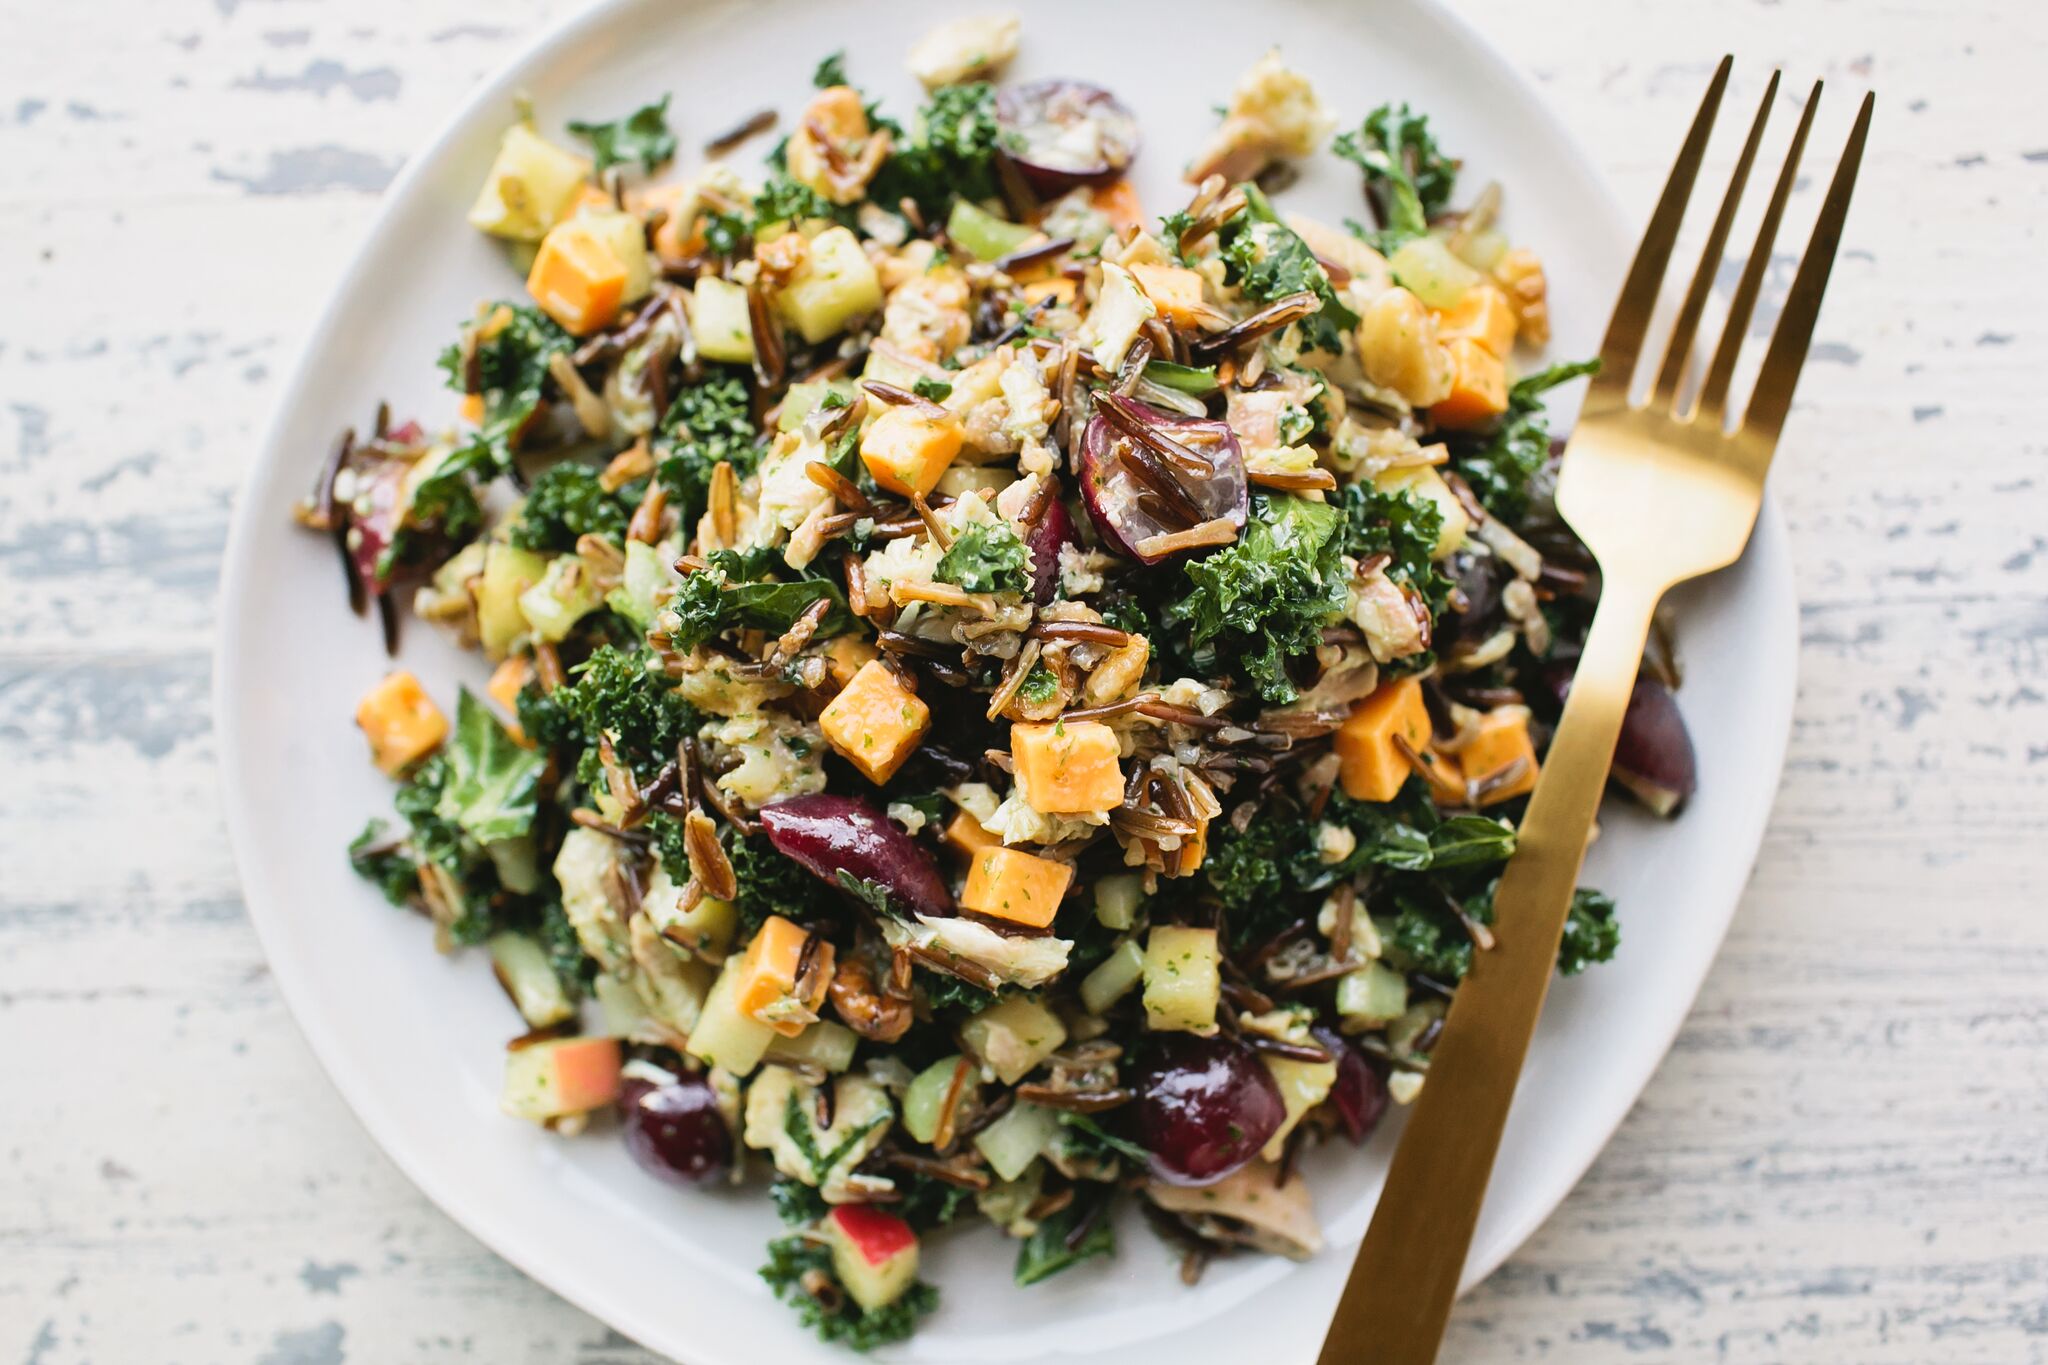
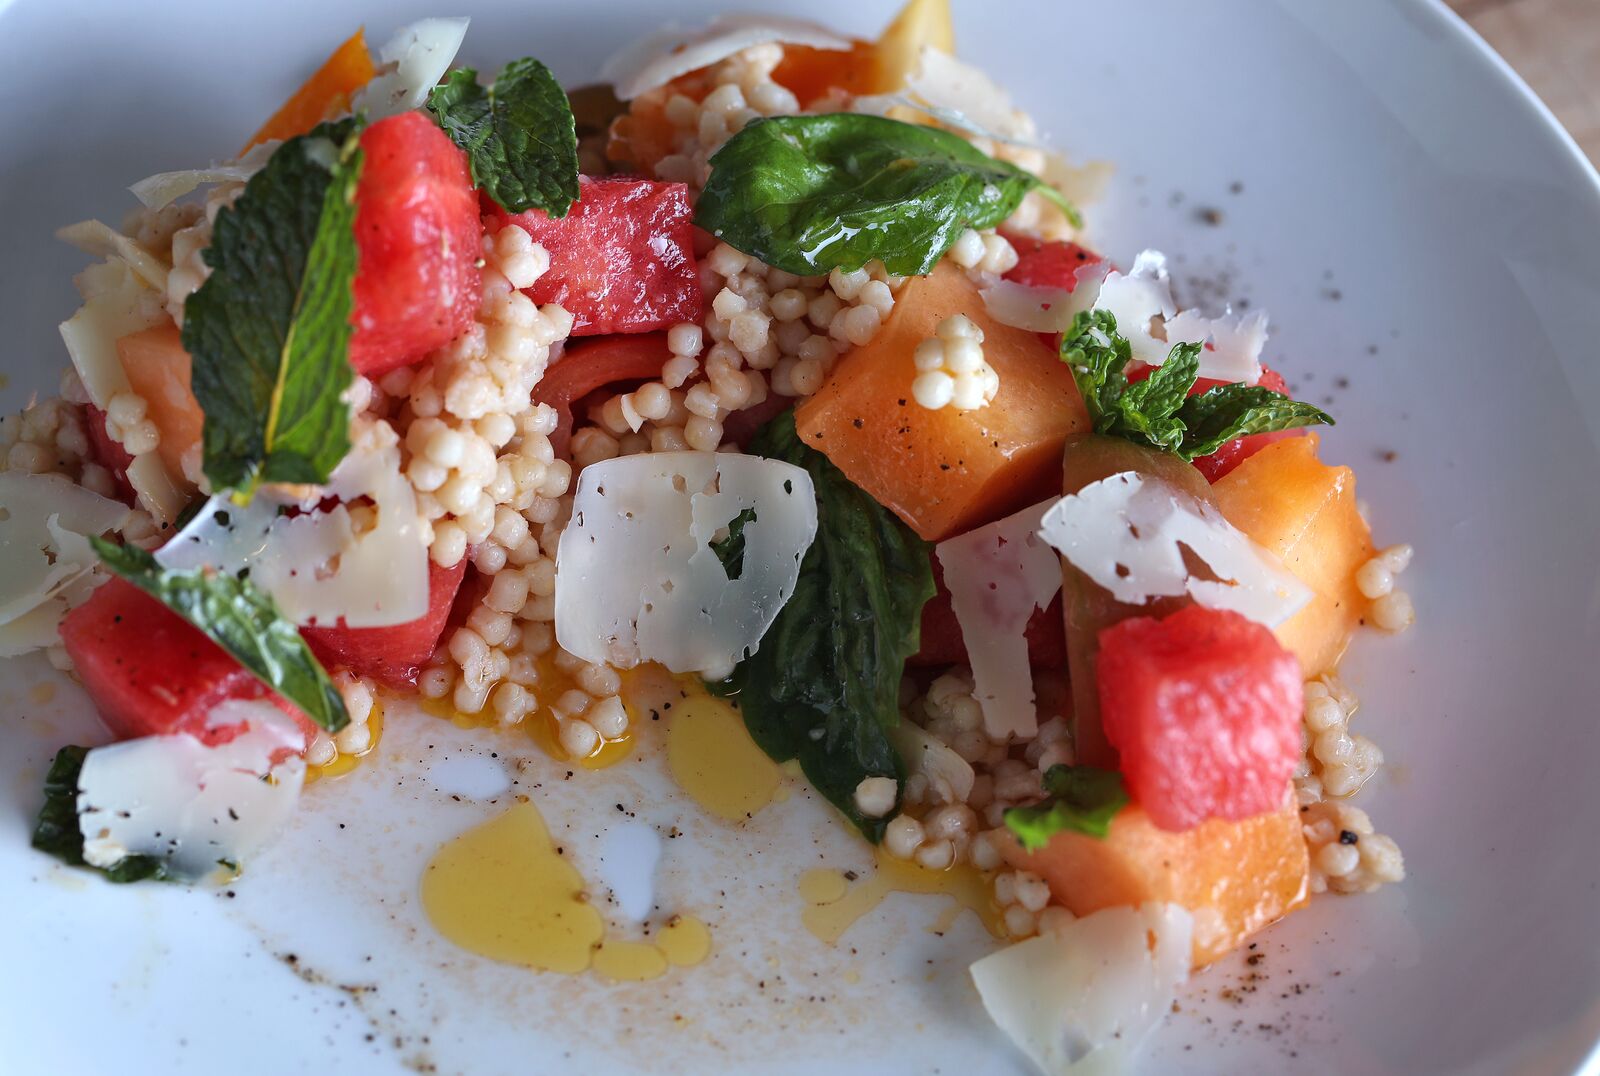
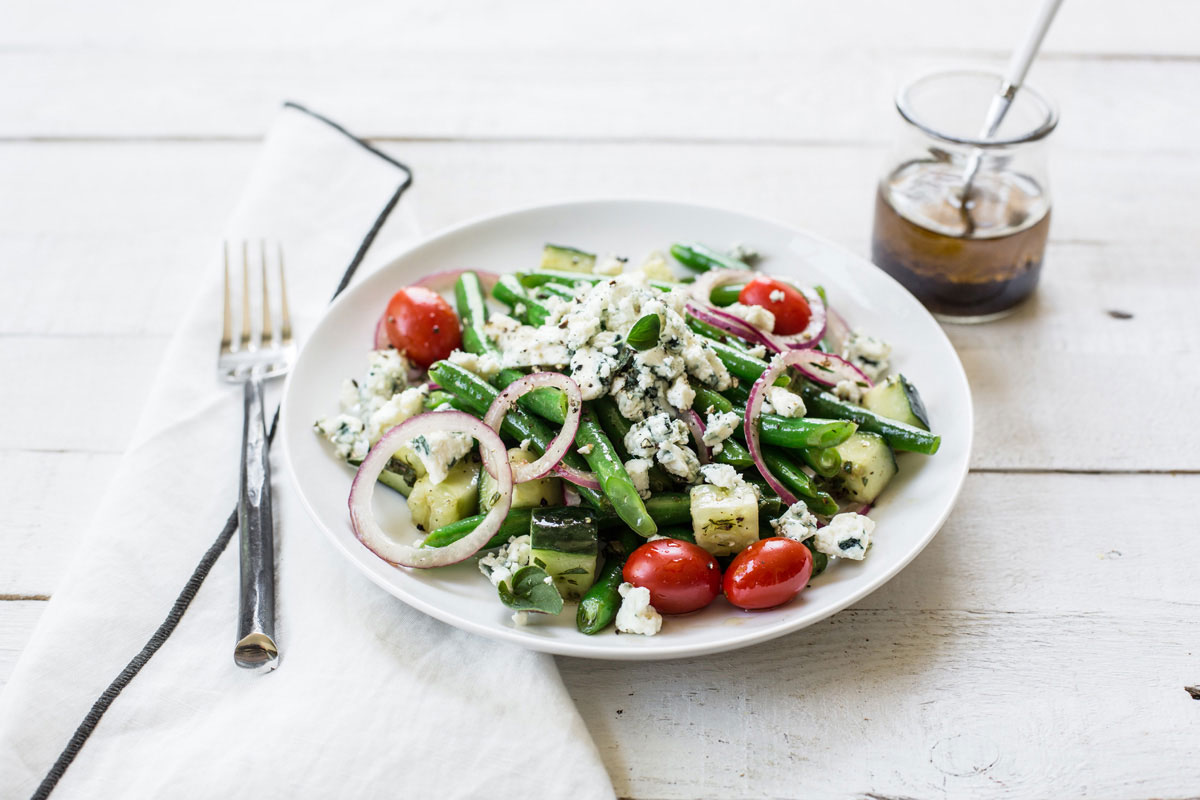
Add to salads. Crumble goat cheese, blue cheese, or Aged Gouda into your salad. These cheeses boast big flavor, so a little goes a long way. Even the non-salad eaters have a hard time saying no to a salad with cheese in it.
Casseroles. Is there anything sexier than a bubbly, cheesy, golden top on a comfy casserole? One of my favorite things on Earth is the burnt crispy cheese that falls off the side of a casserole. It’s really hard to beat. Havarti or Gouda are great choices for this.
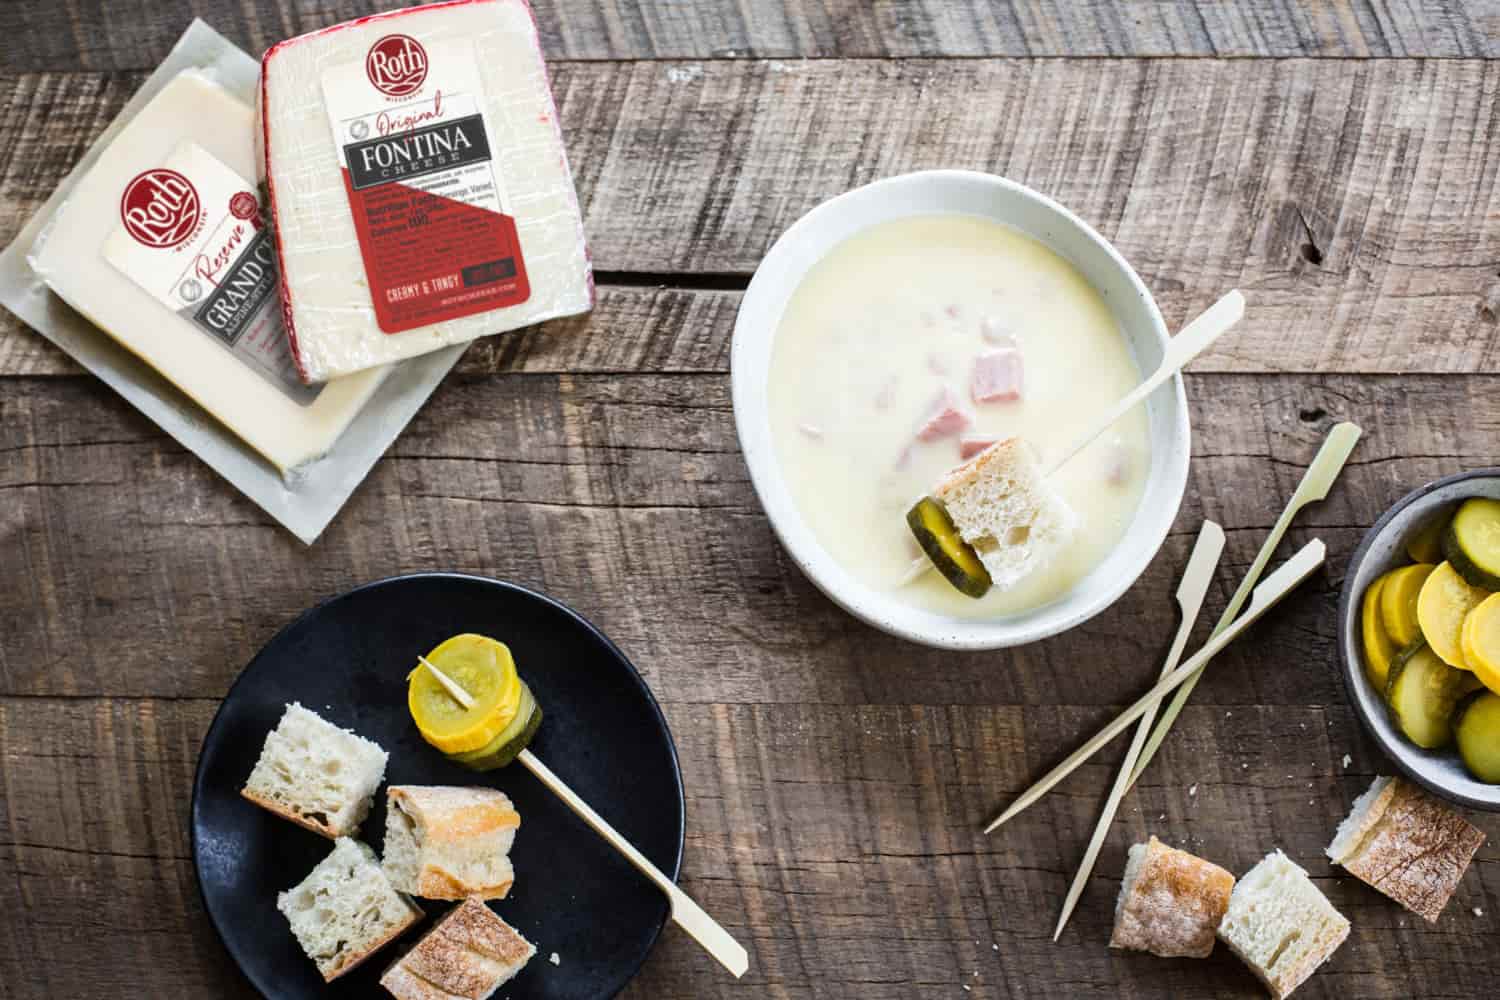
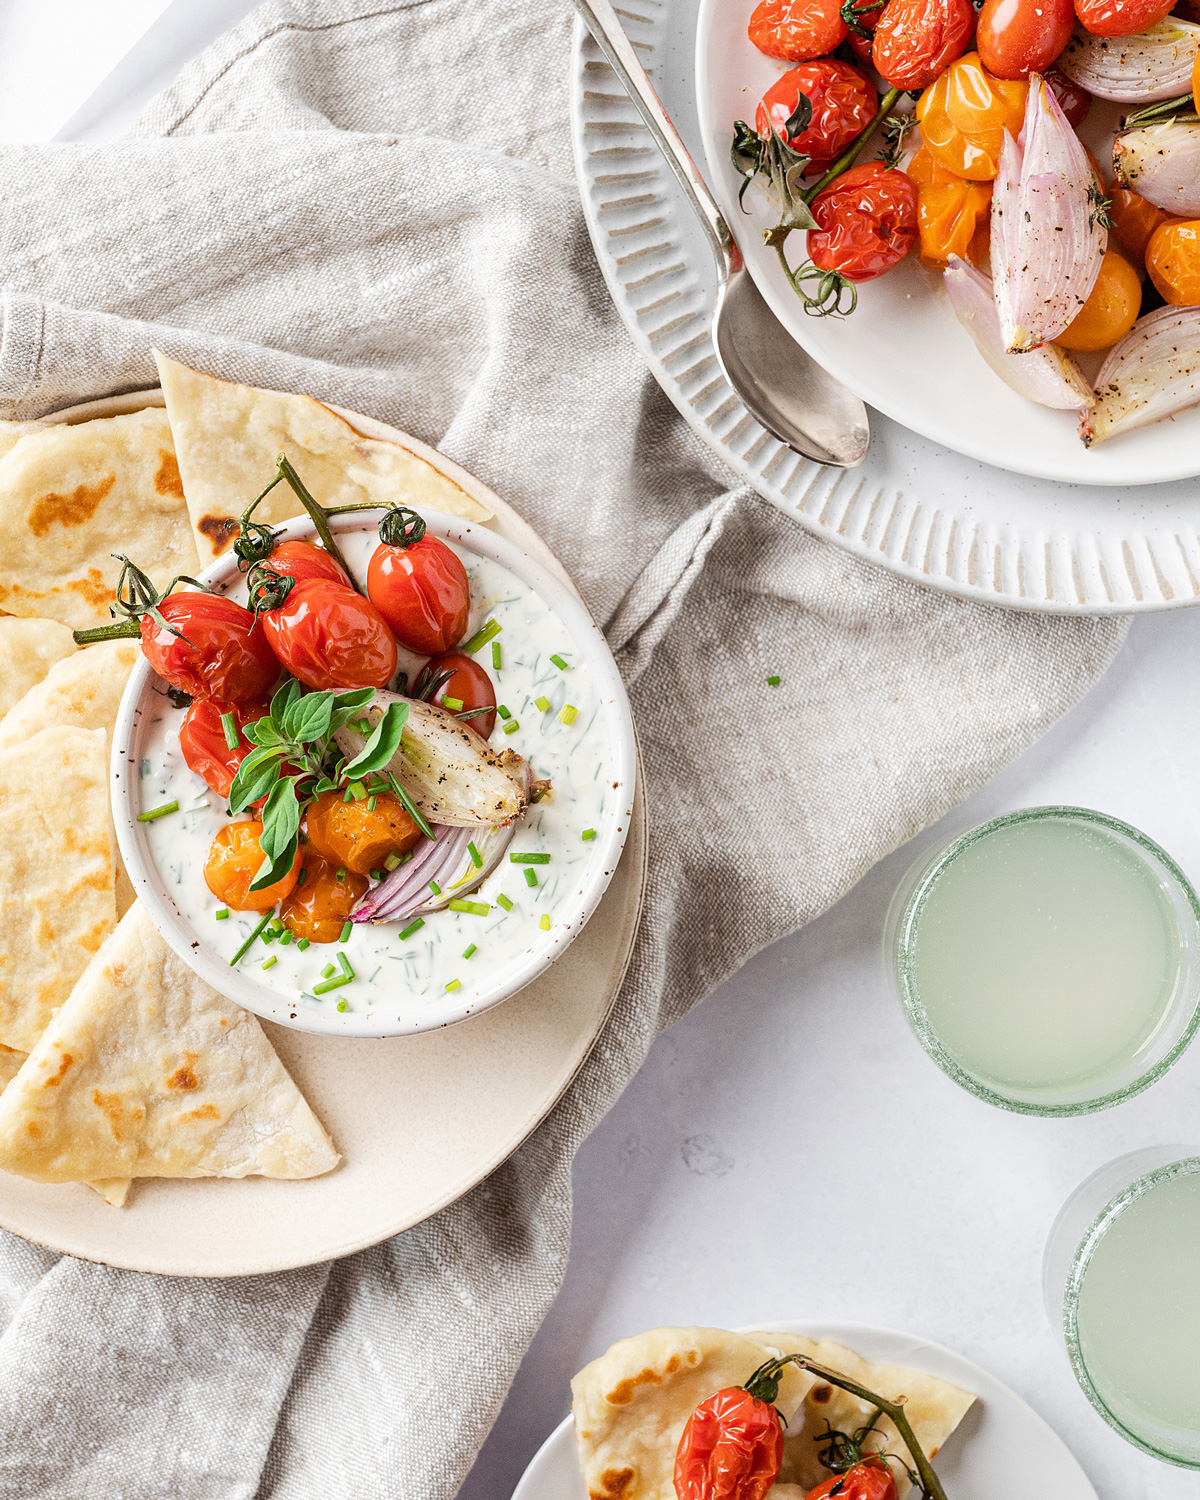
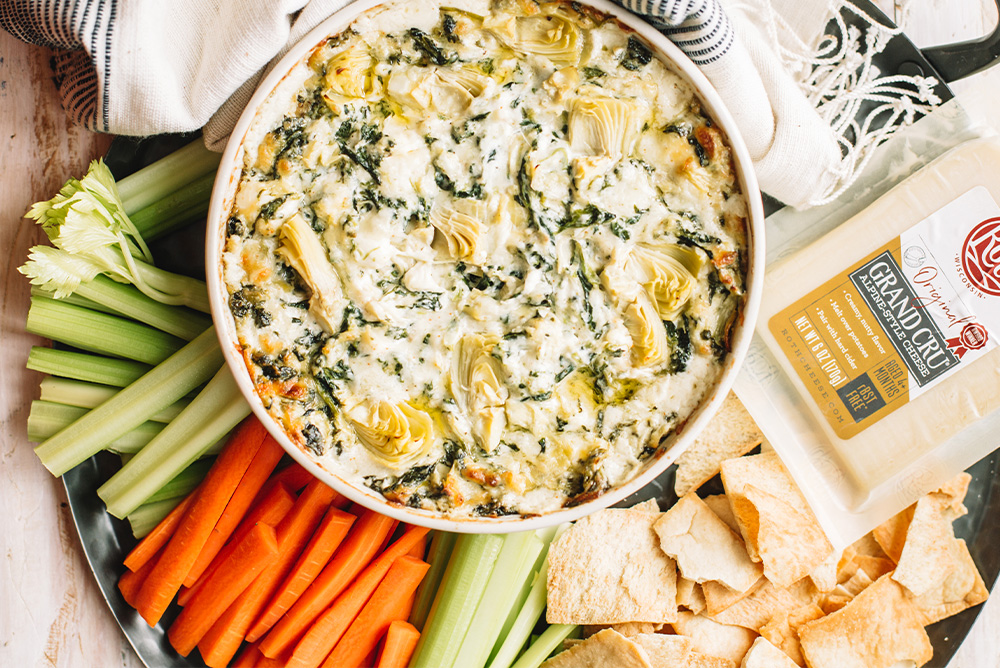
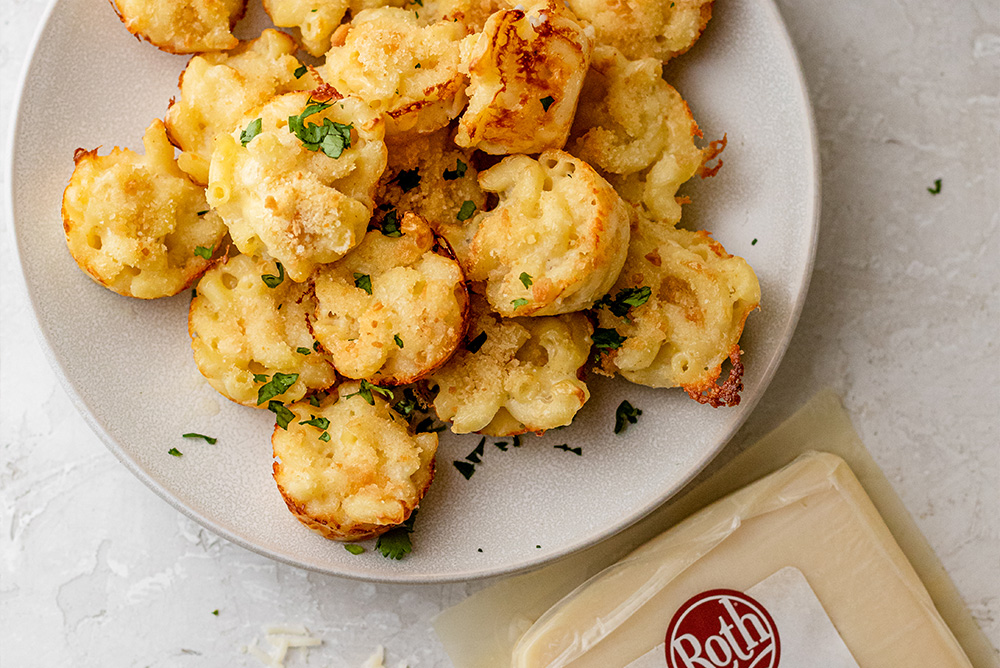
Make a cheese sauce. Melt shredded cheese into a white Béchamel sauce and pour over roasted vegetables. Or stir it into pasta to create a decadent mac and cheese. Or make homemade queso for nachos.
Crisps. Mound grated hard or semi-hard cheeses like Grand Cru®, or Canela on a parchment- or silicone-lined baking sheet. Melt in a hot oven until golden, then let cool for at least 5 minutes to crisp up.
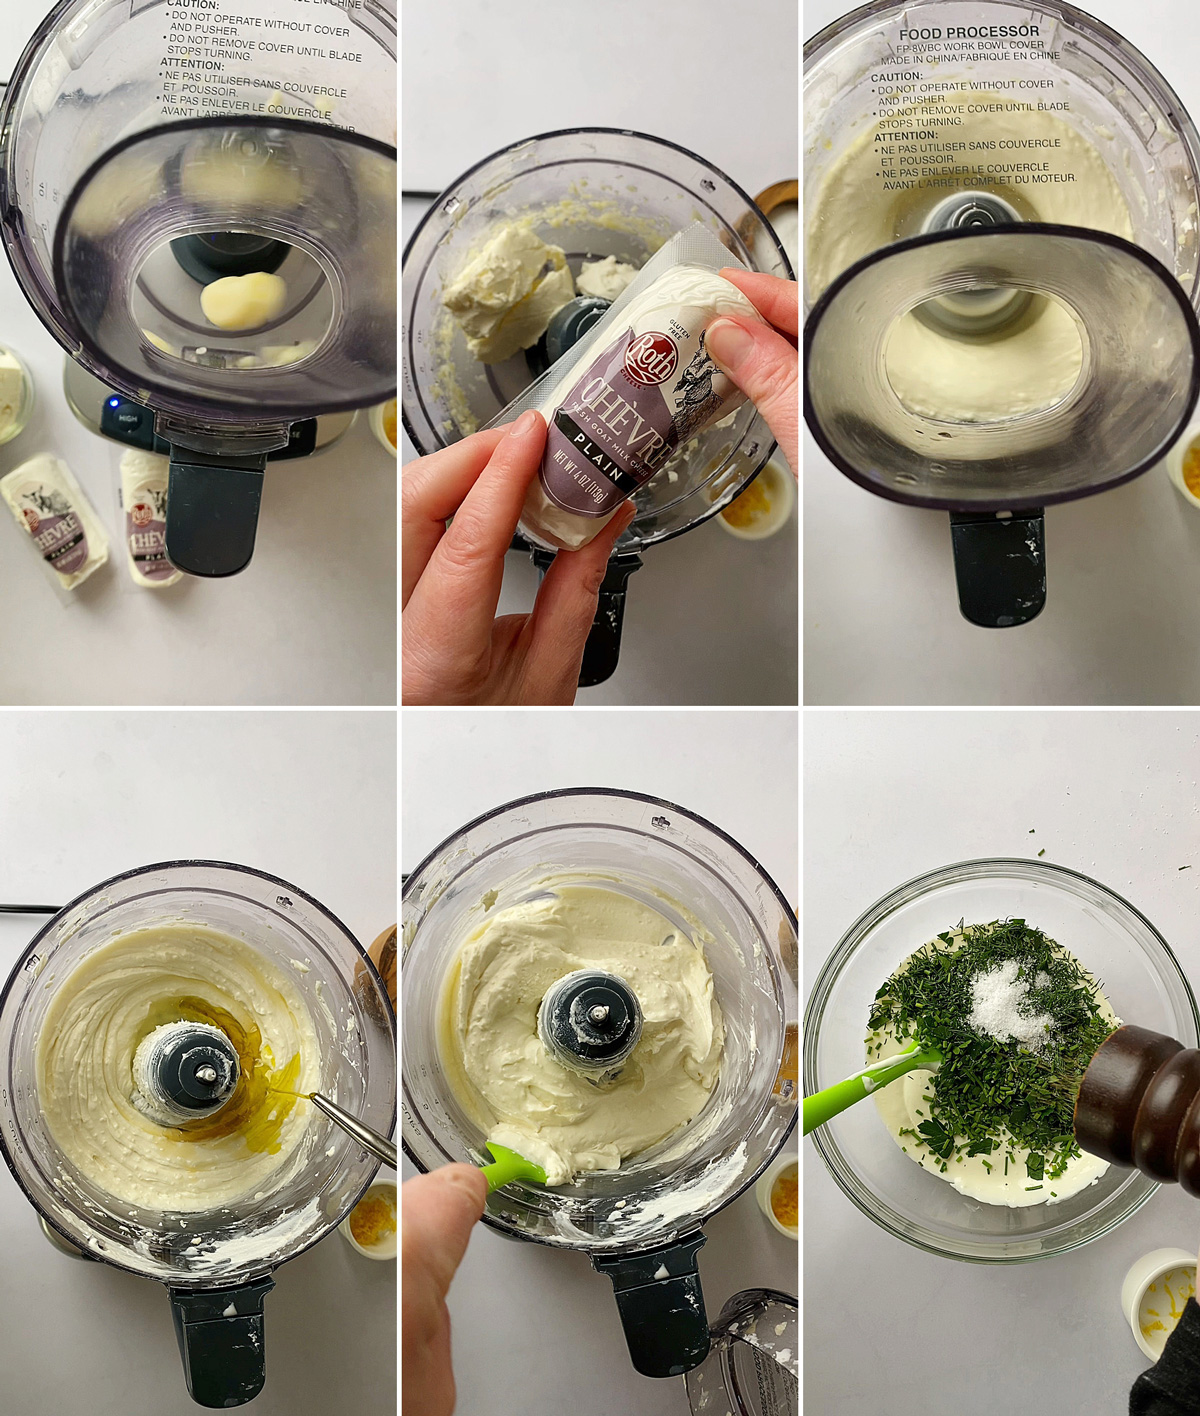
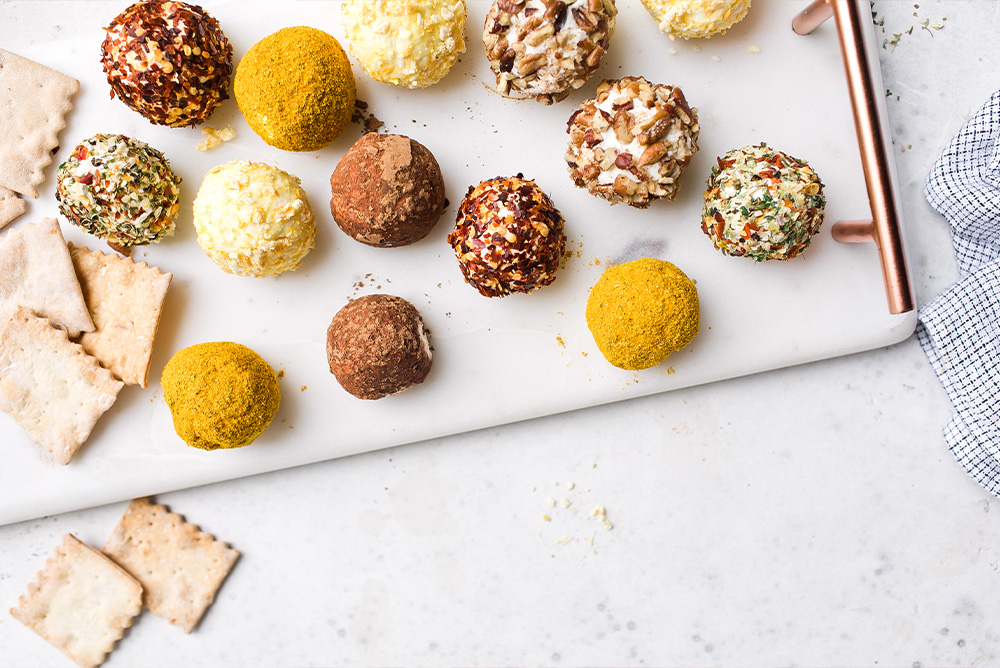
Crumble. Crumble fresh Chèvre over a taco. Or Buttermilk Blue® cheese over some sautéed green beans!
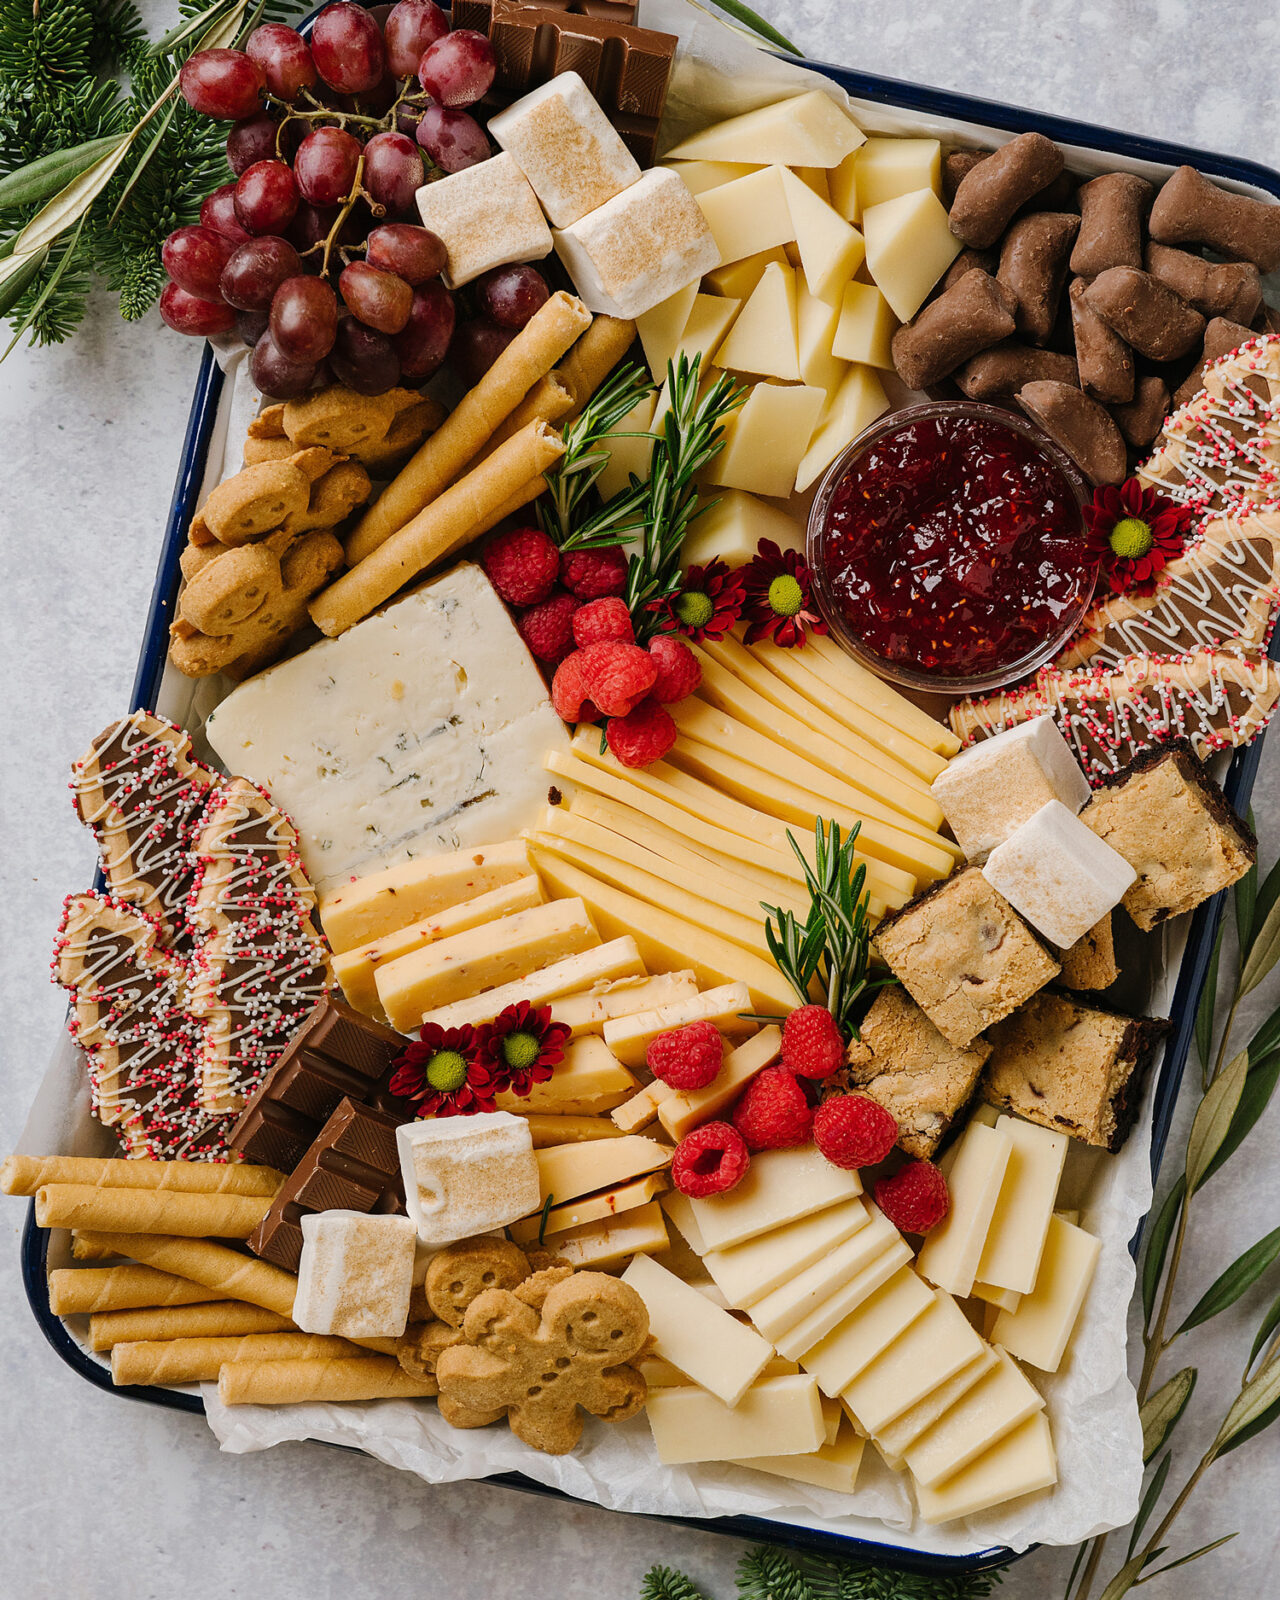
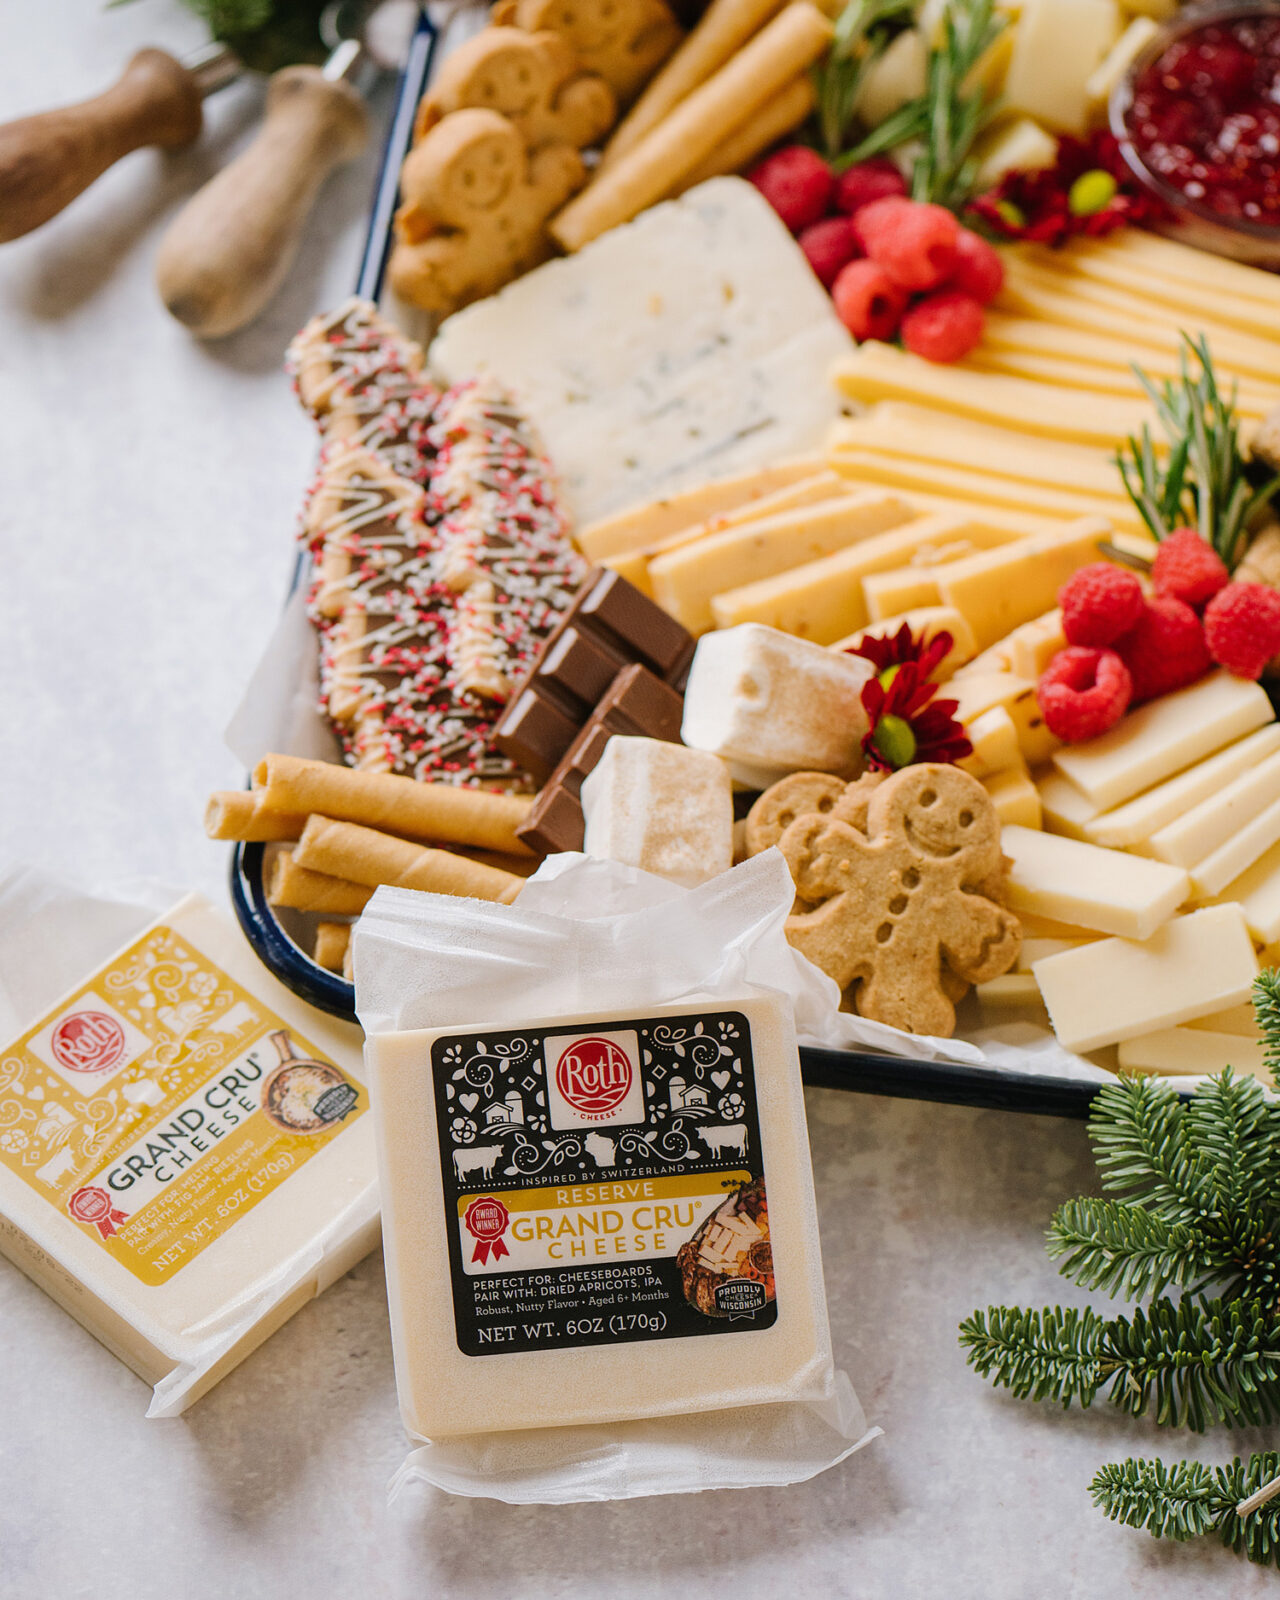
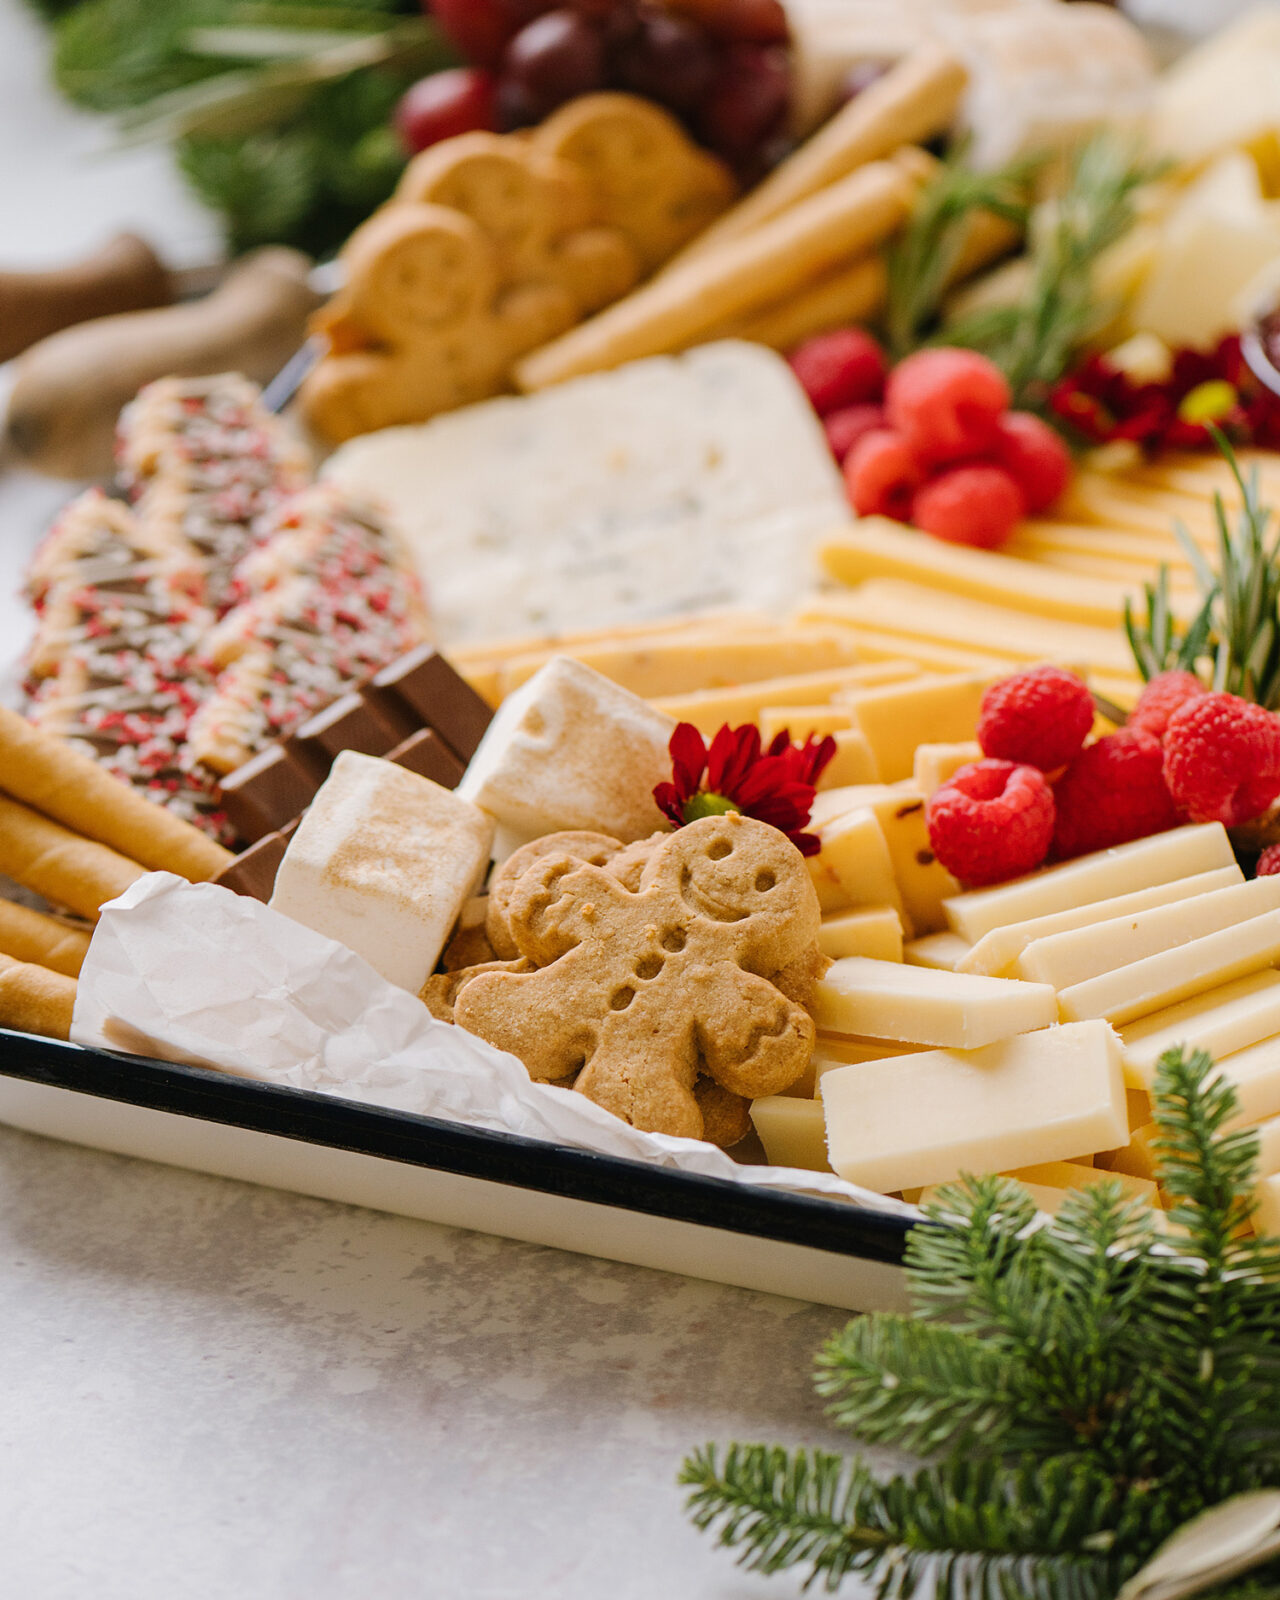
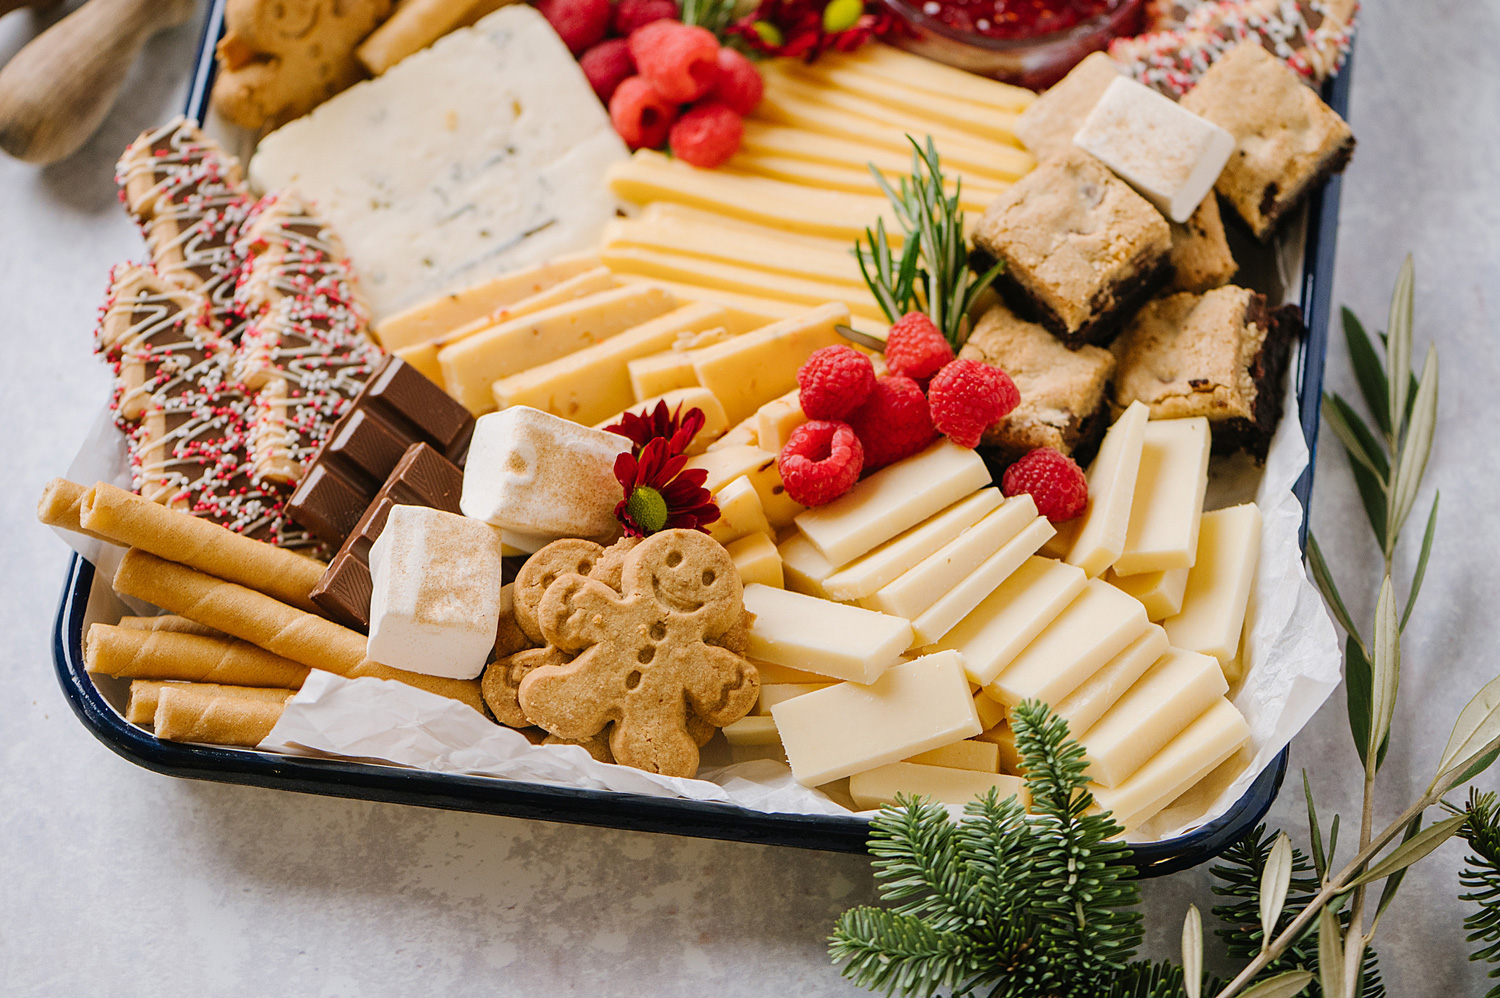
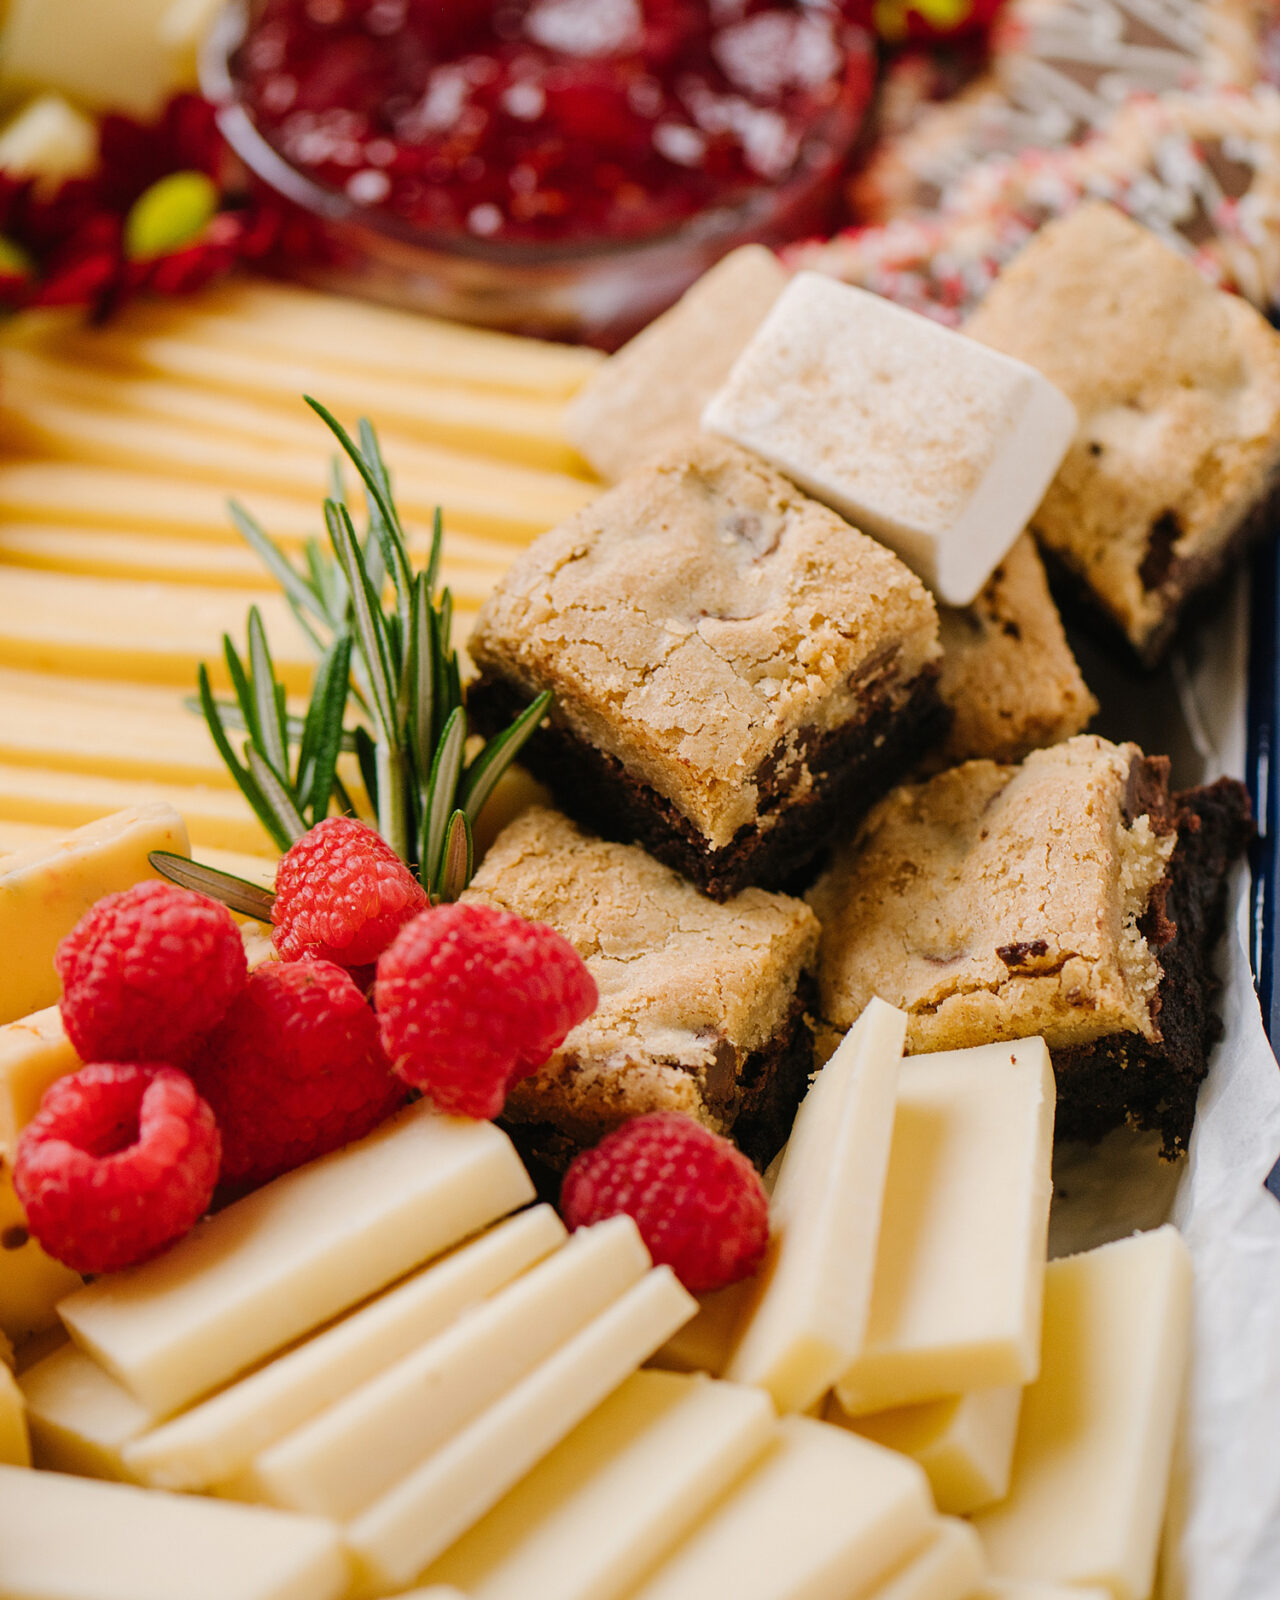
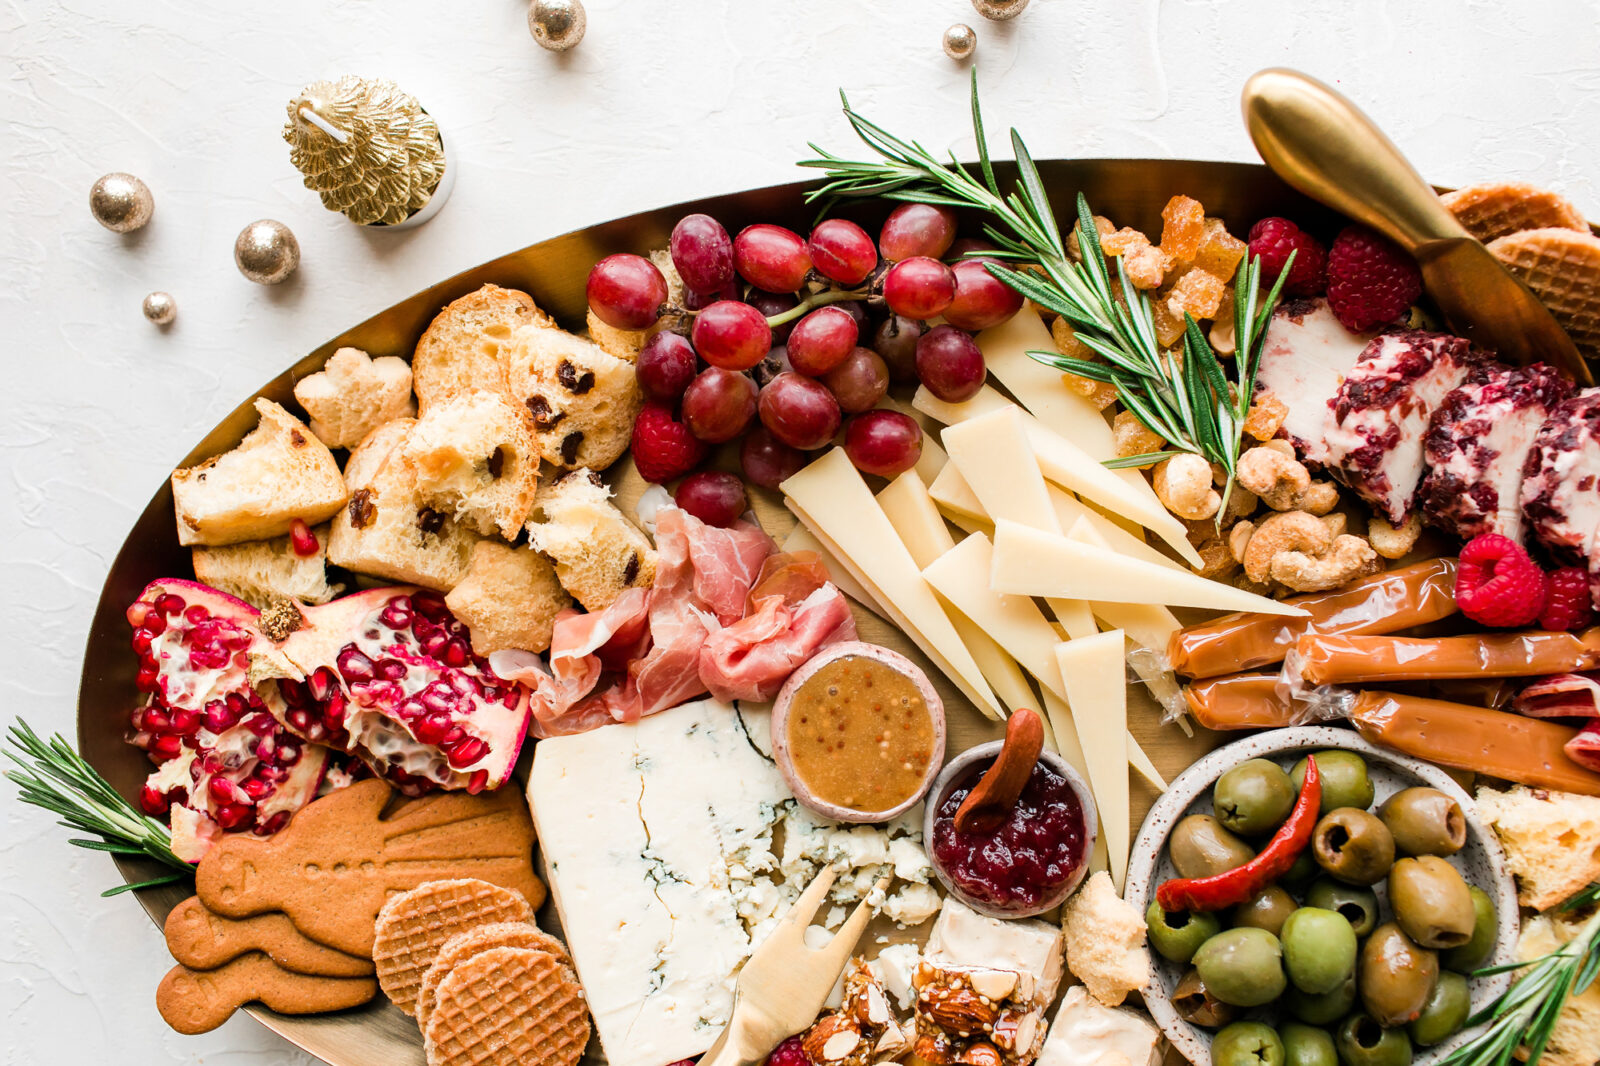
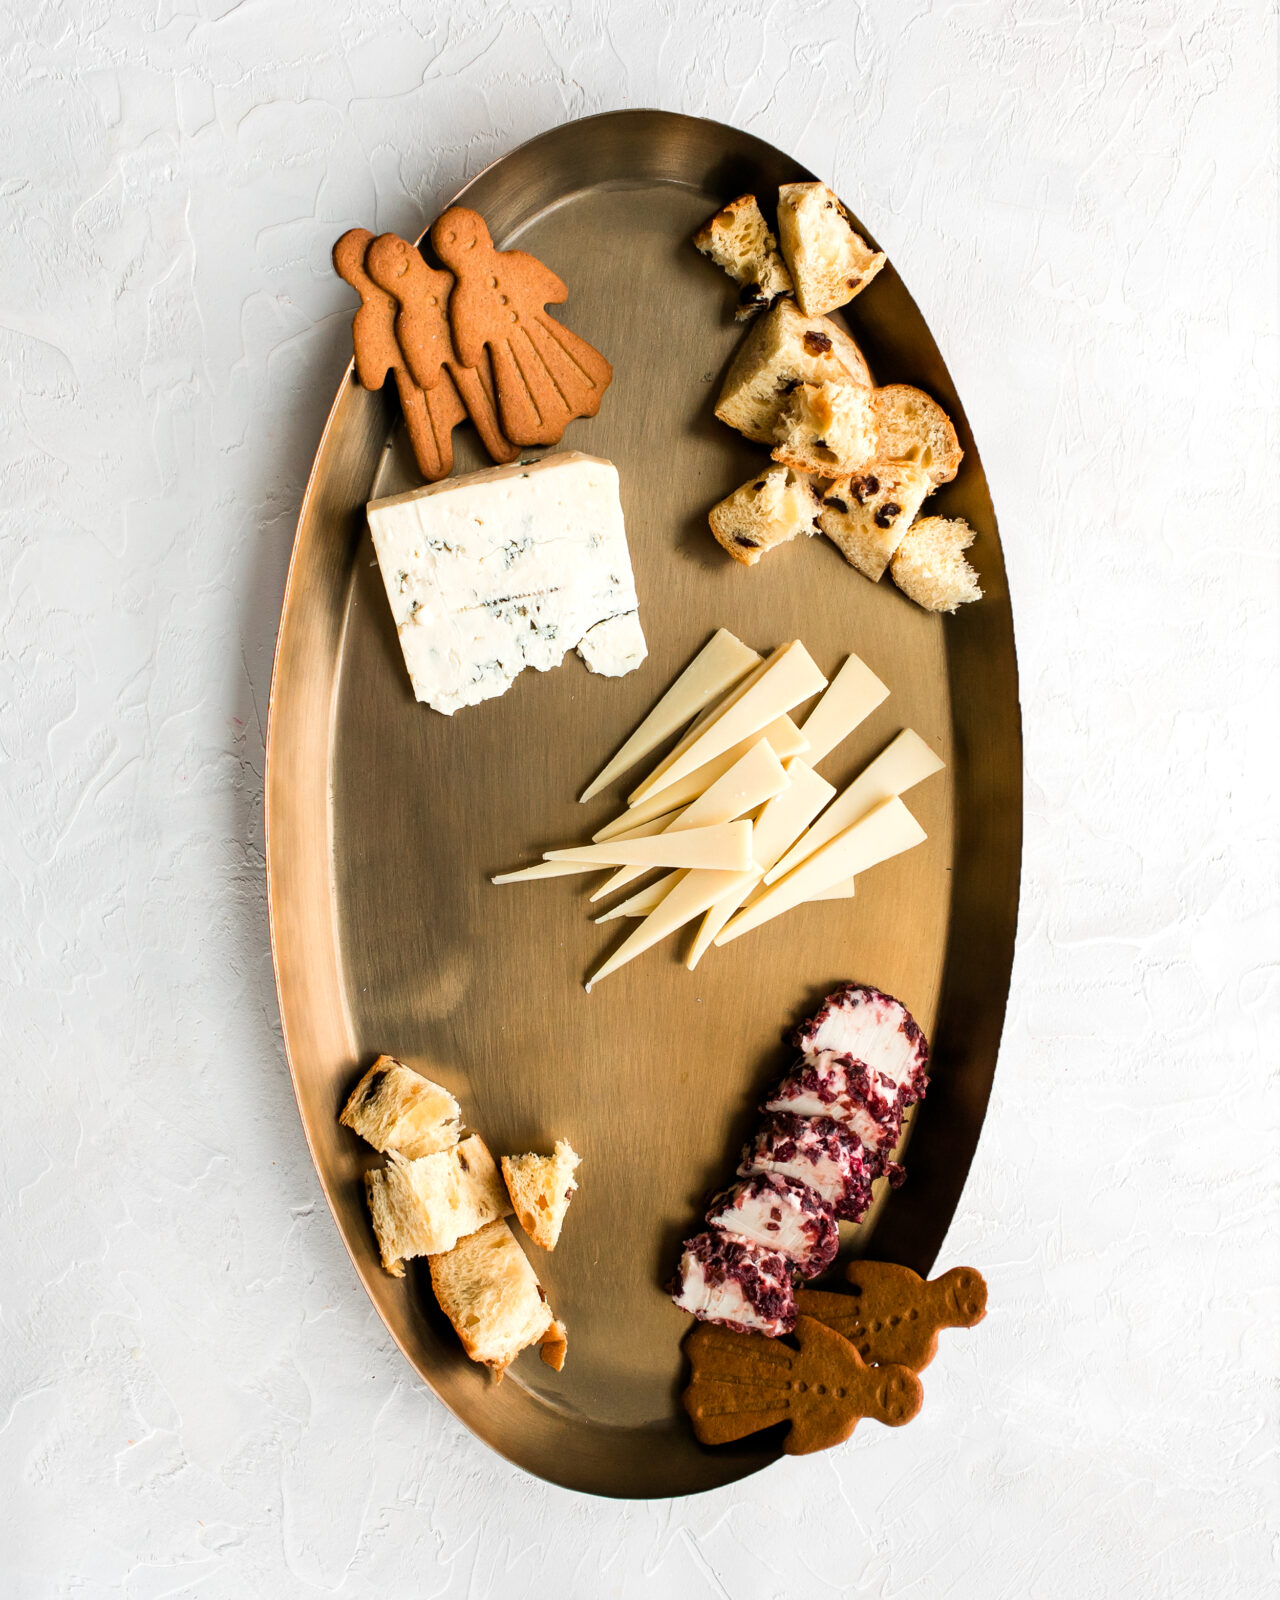
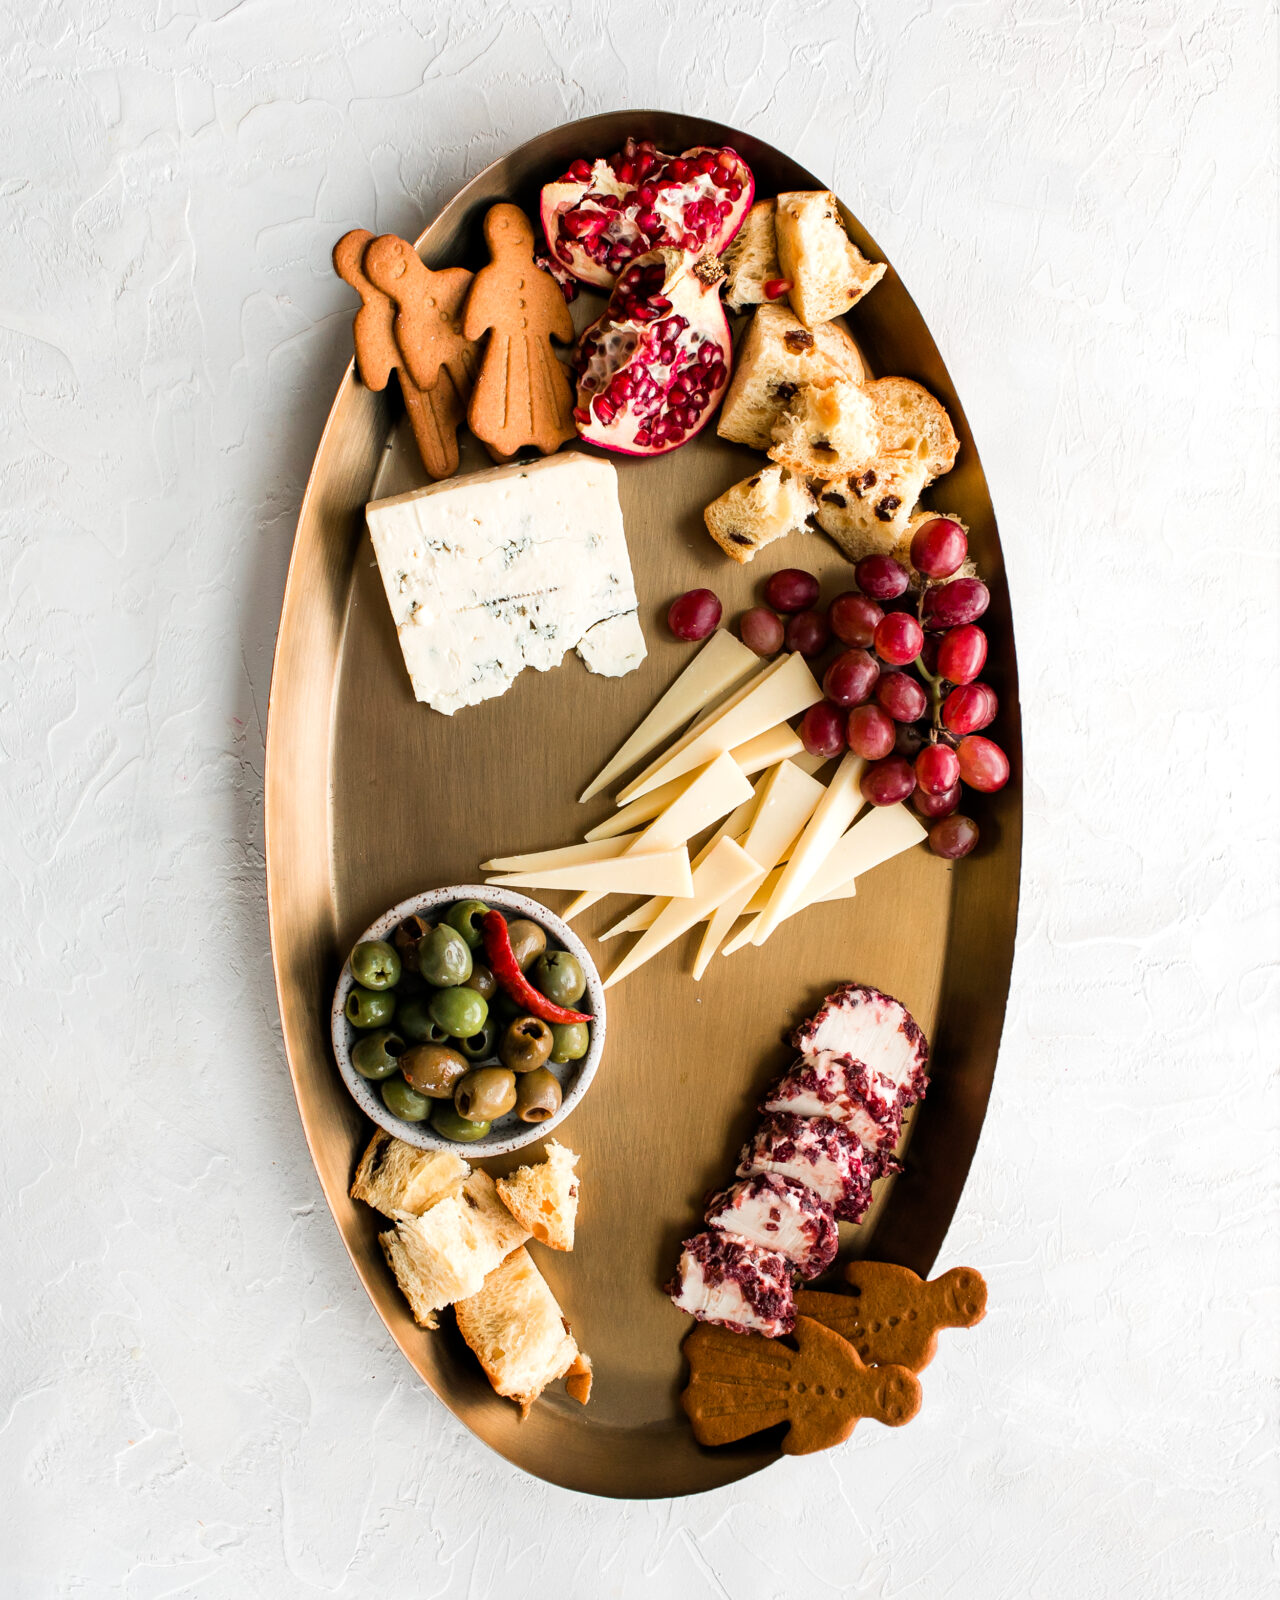
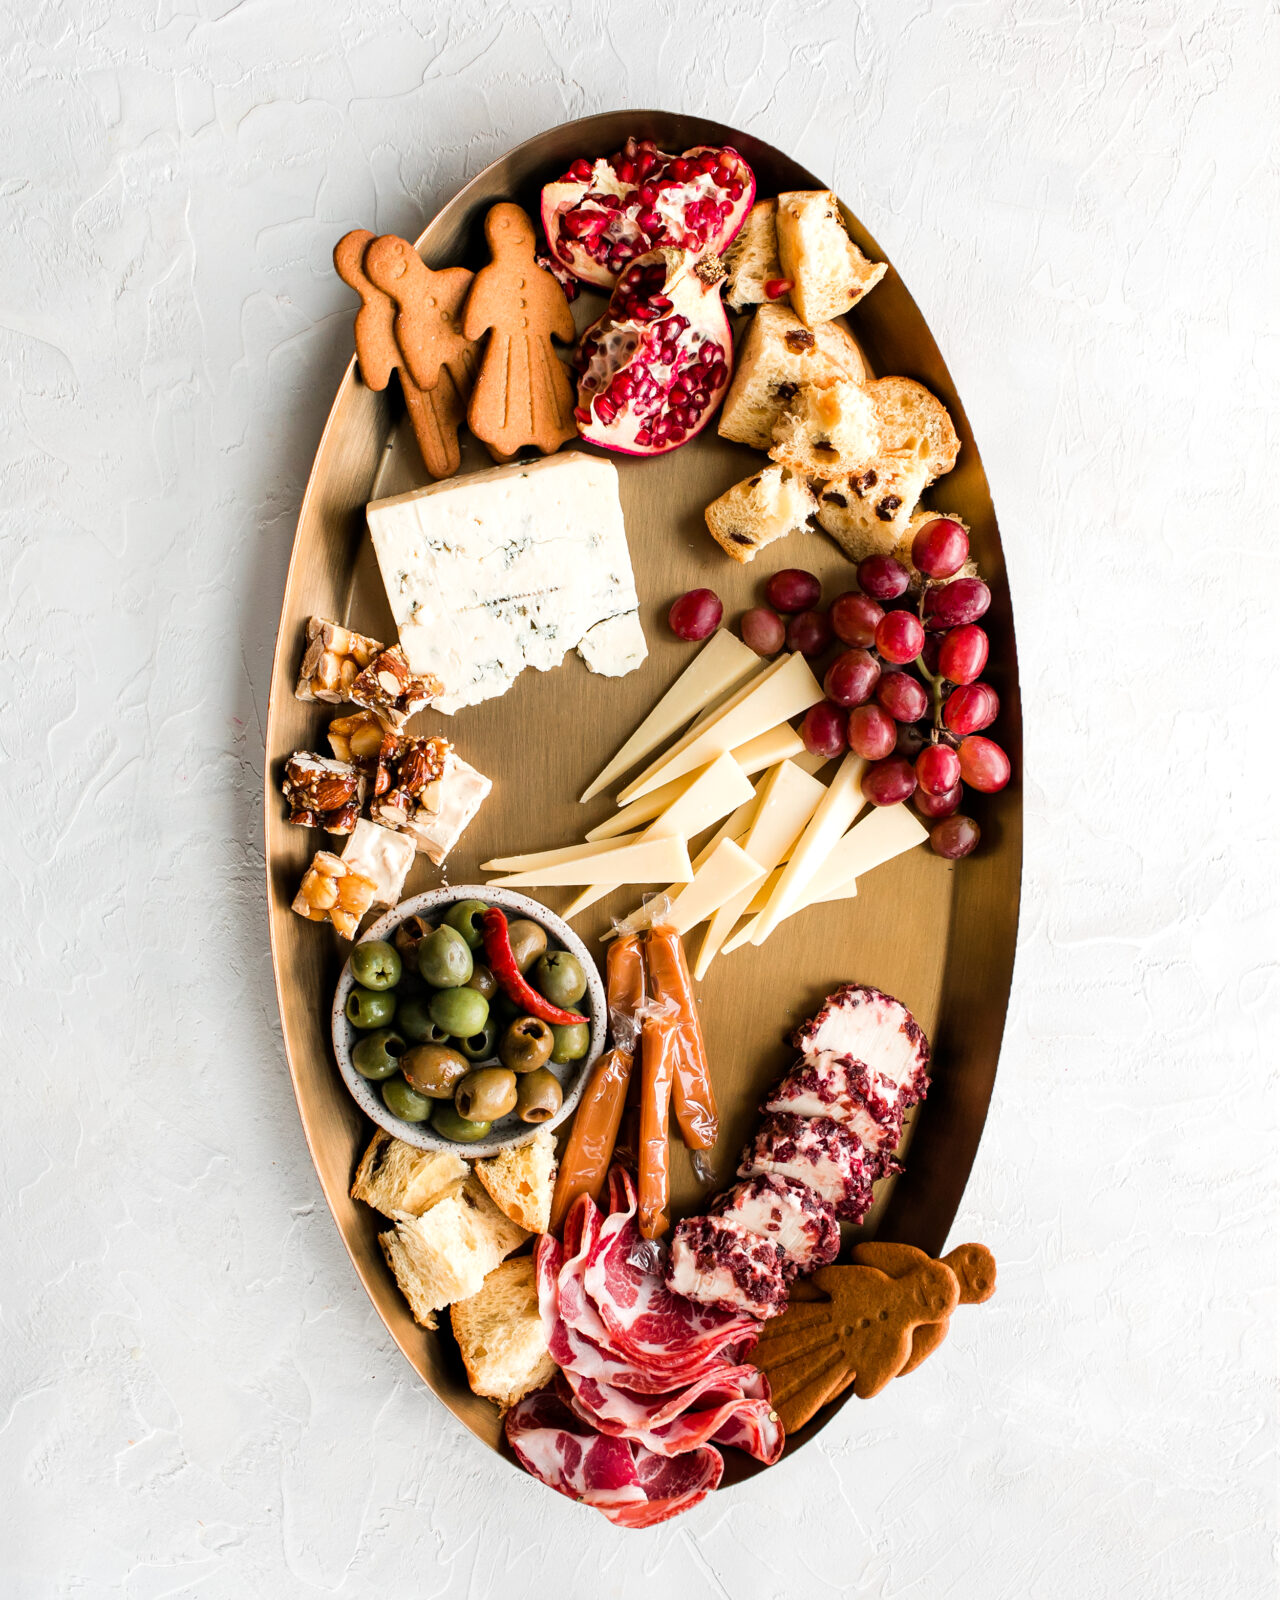
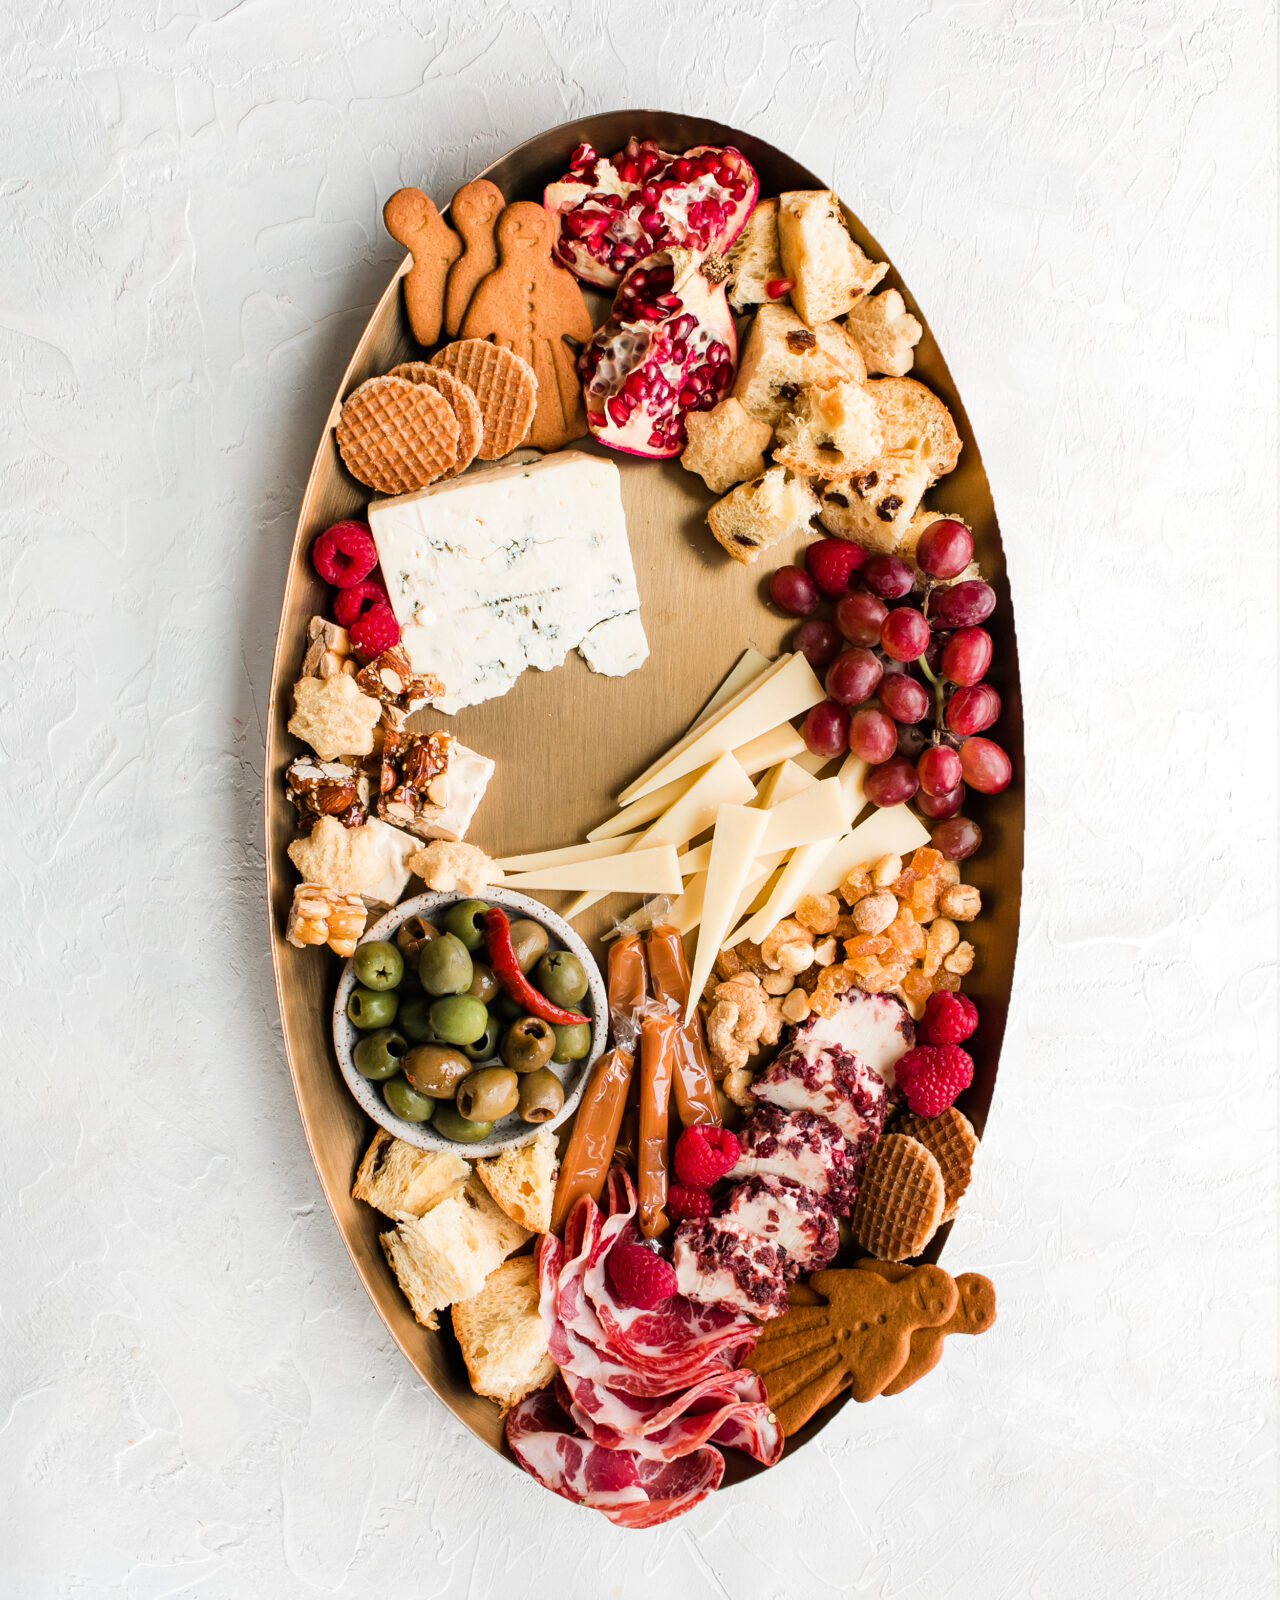
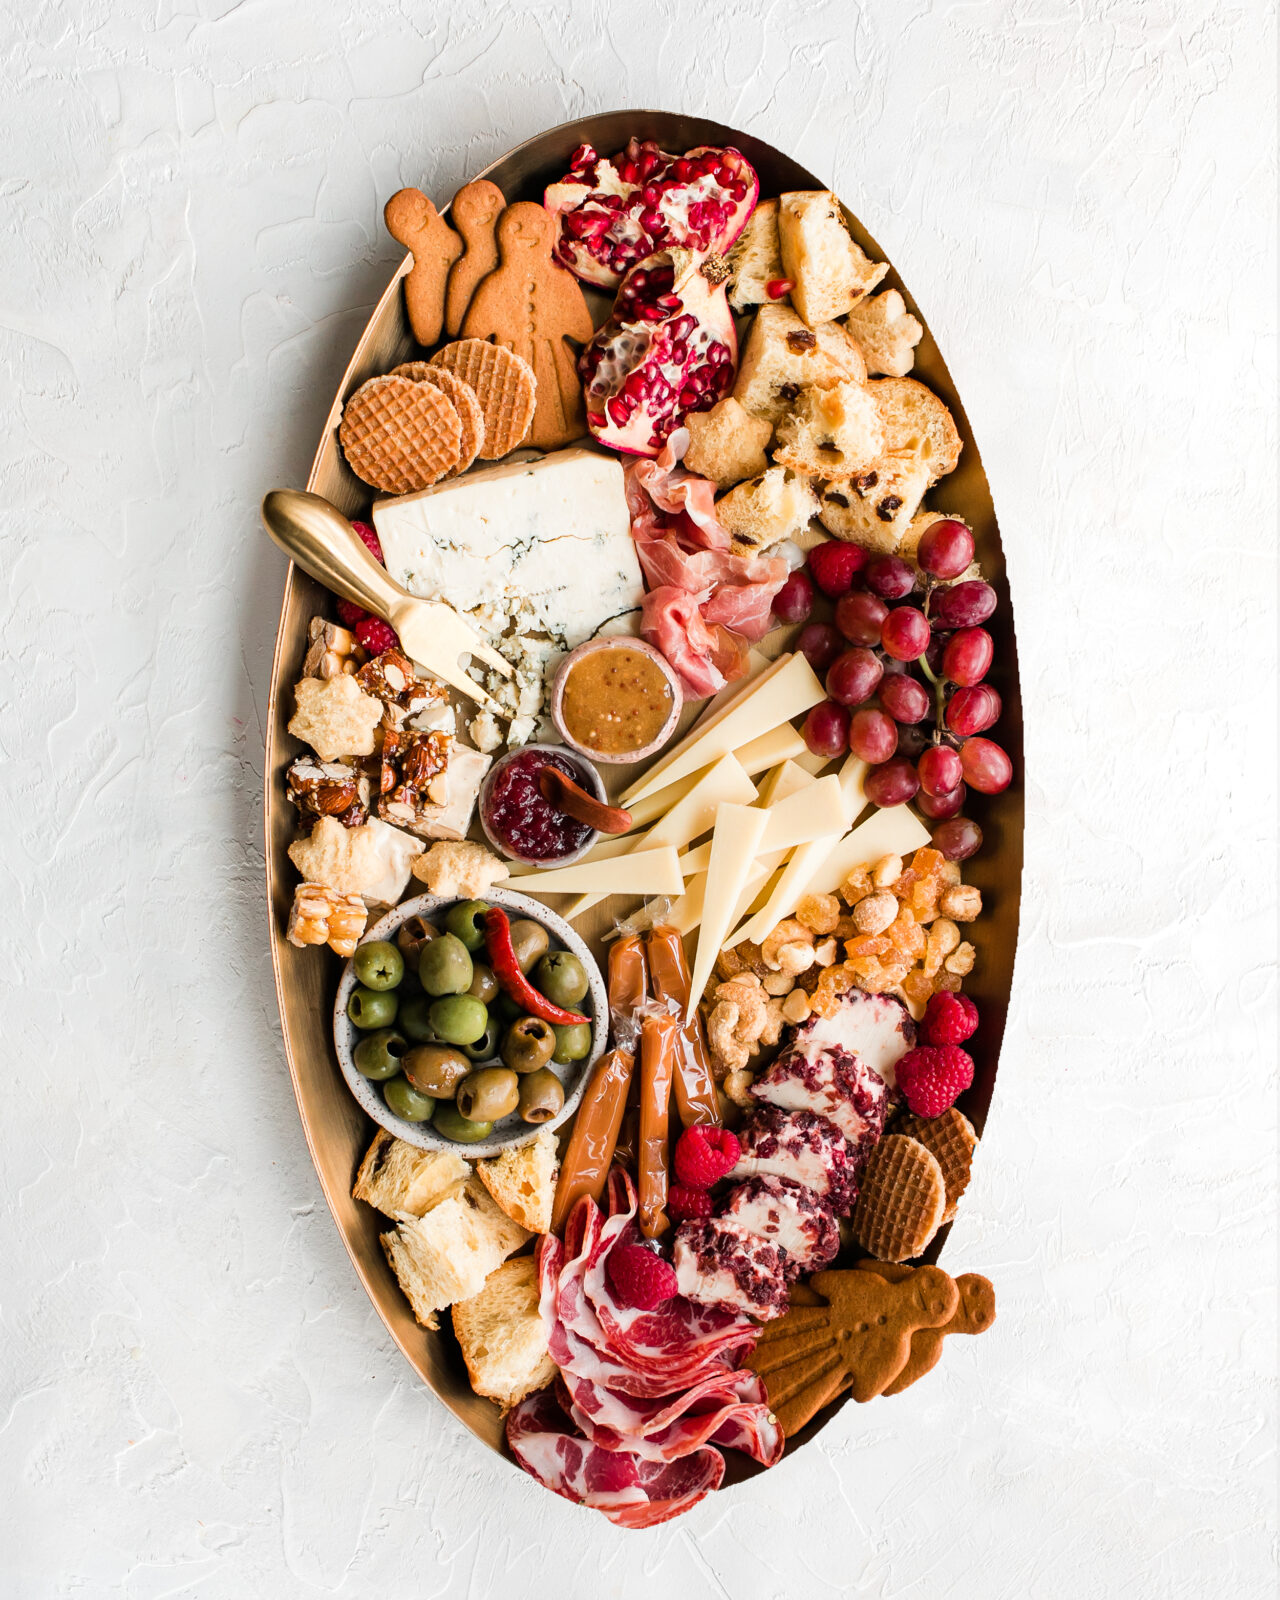
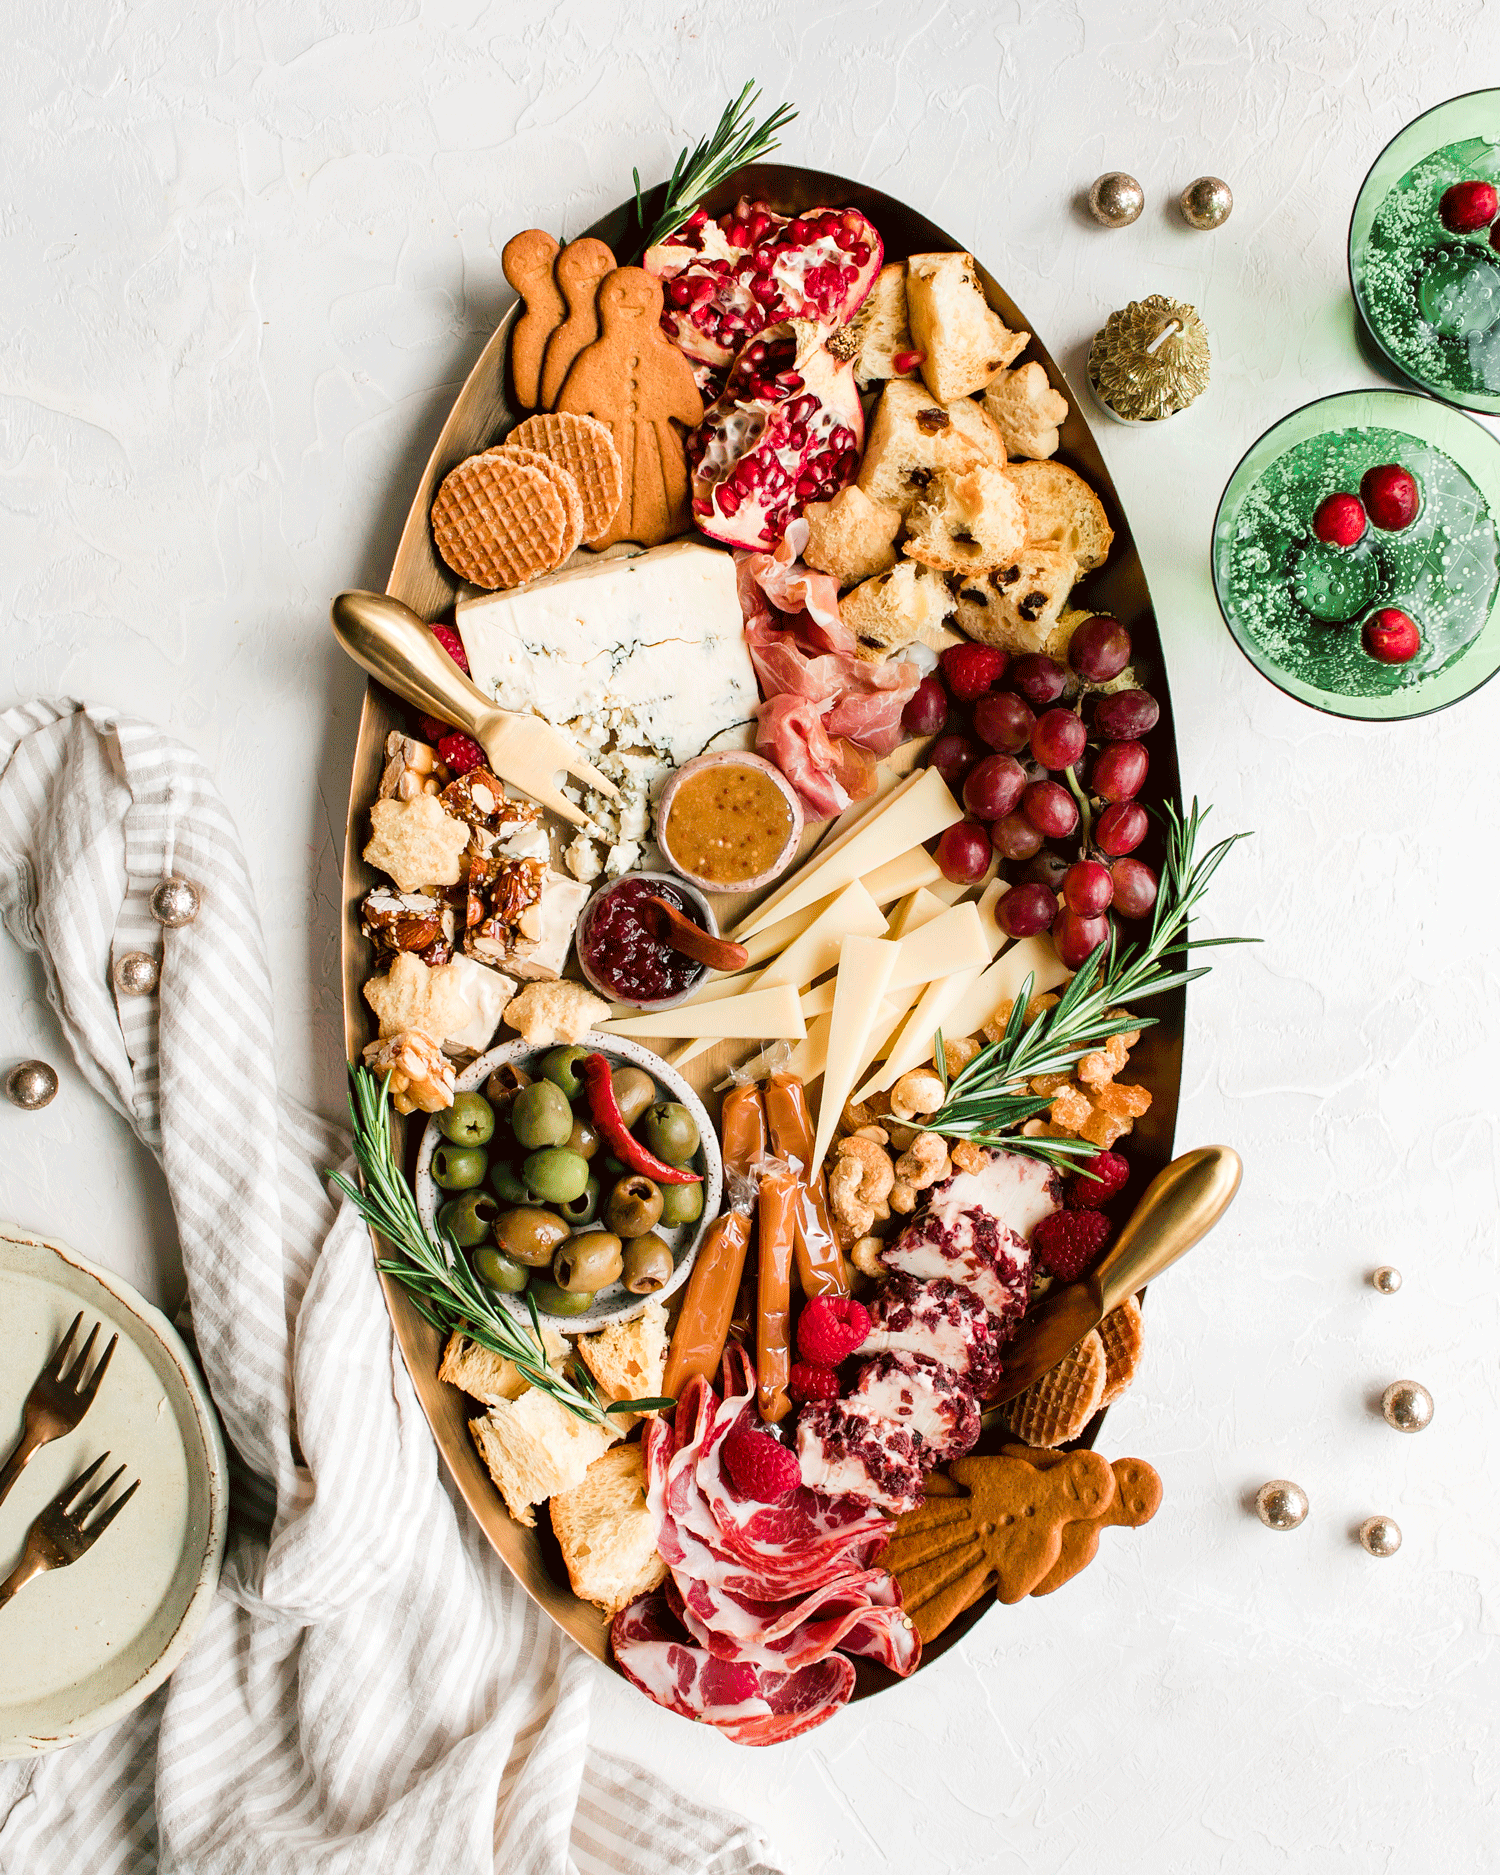
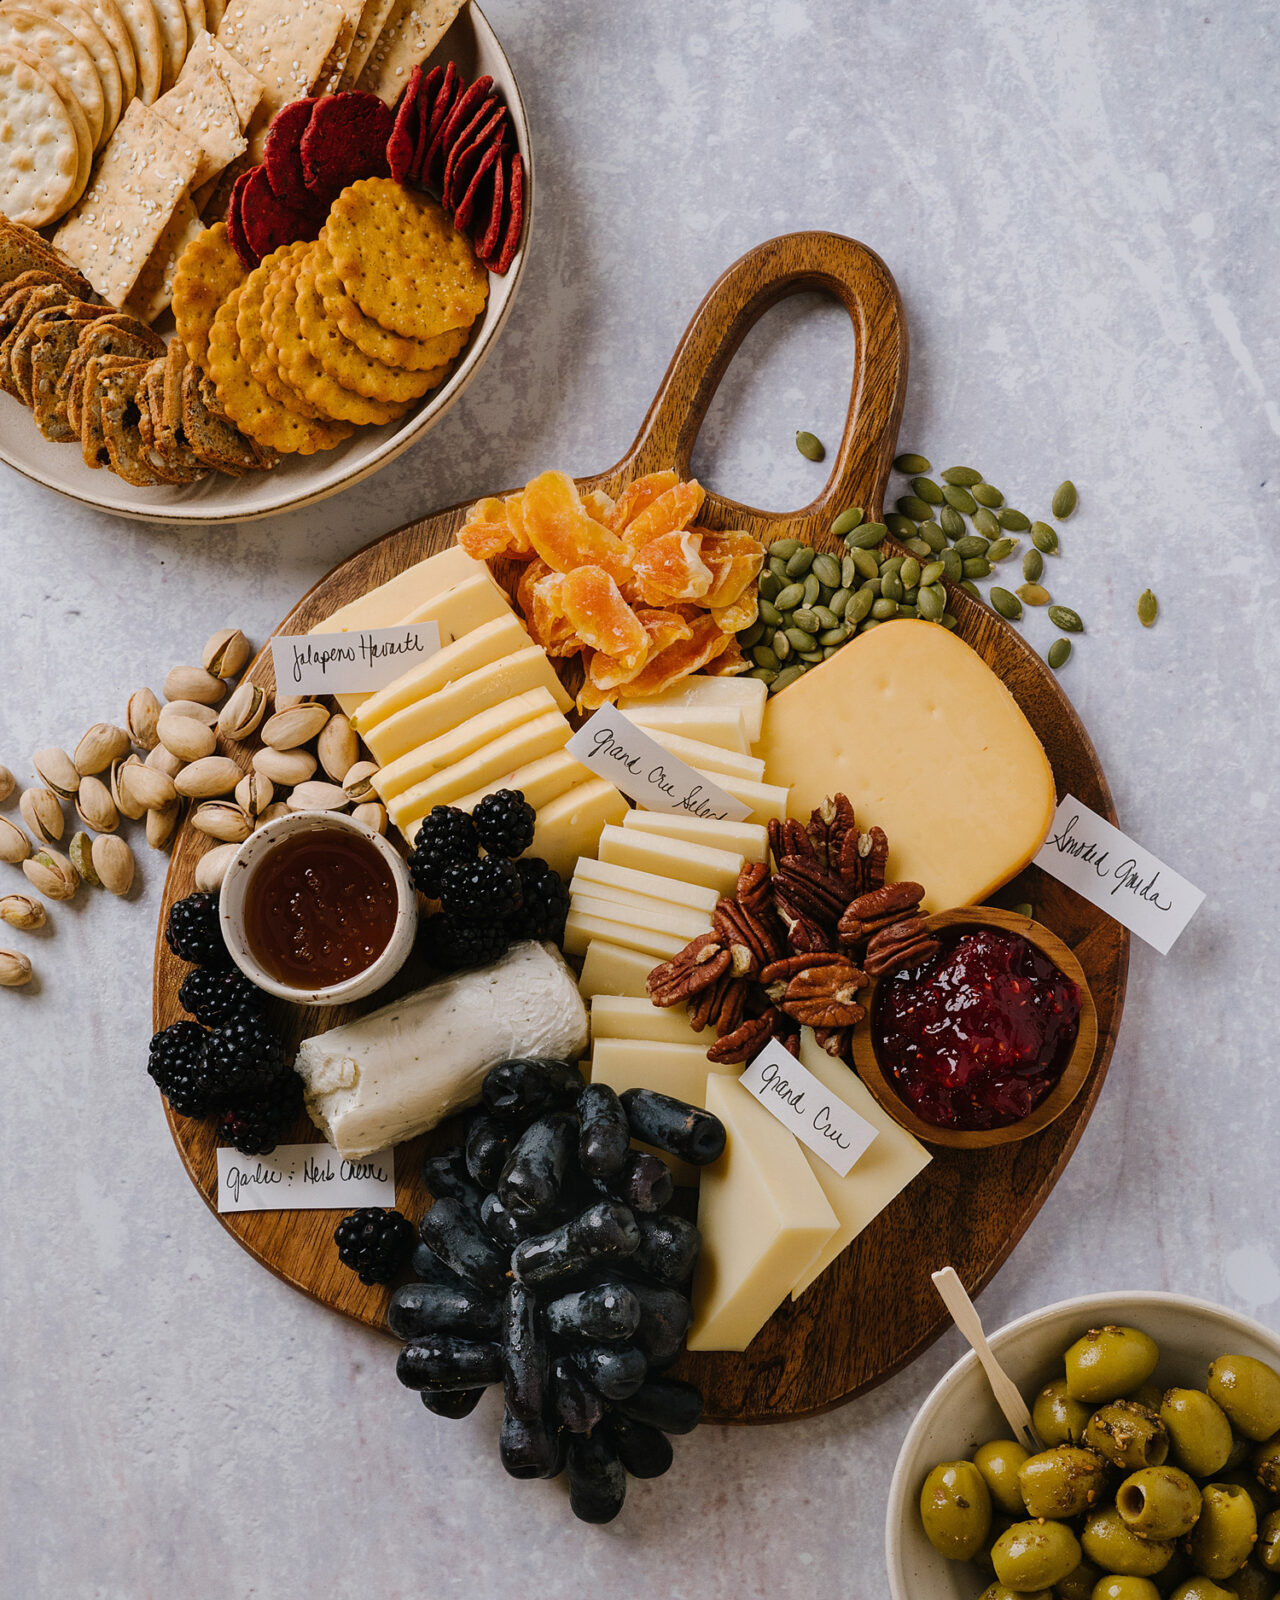
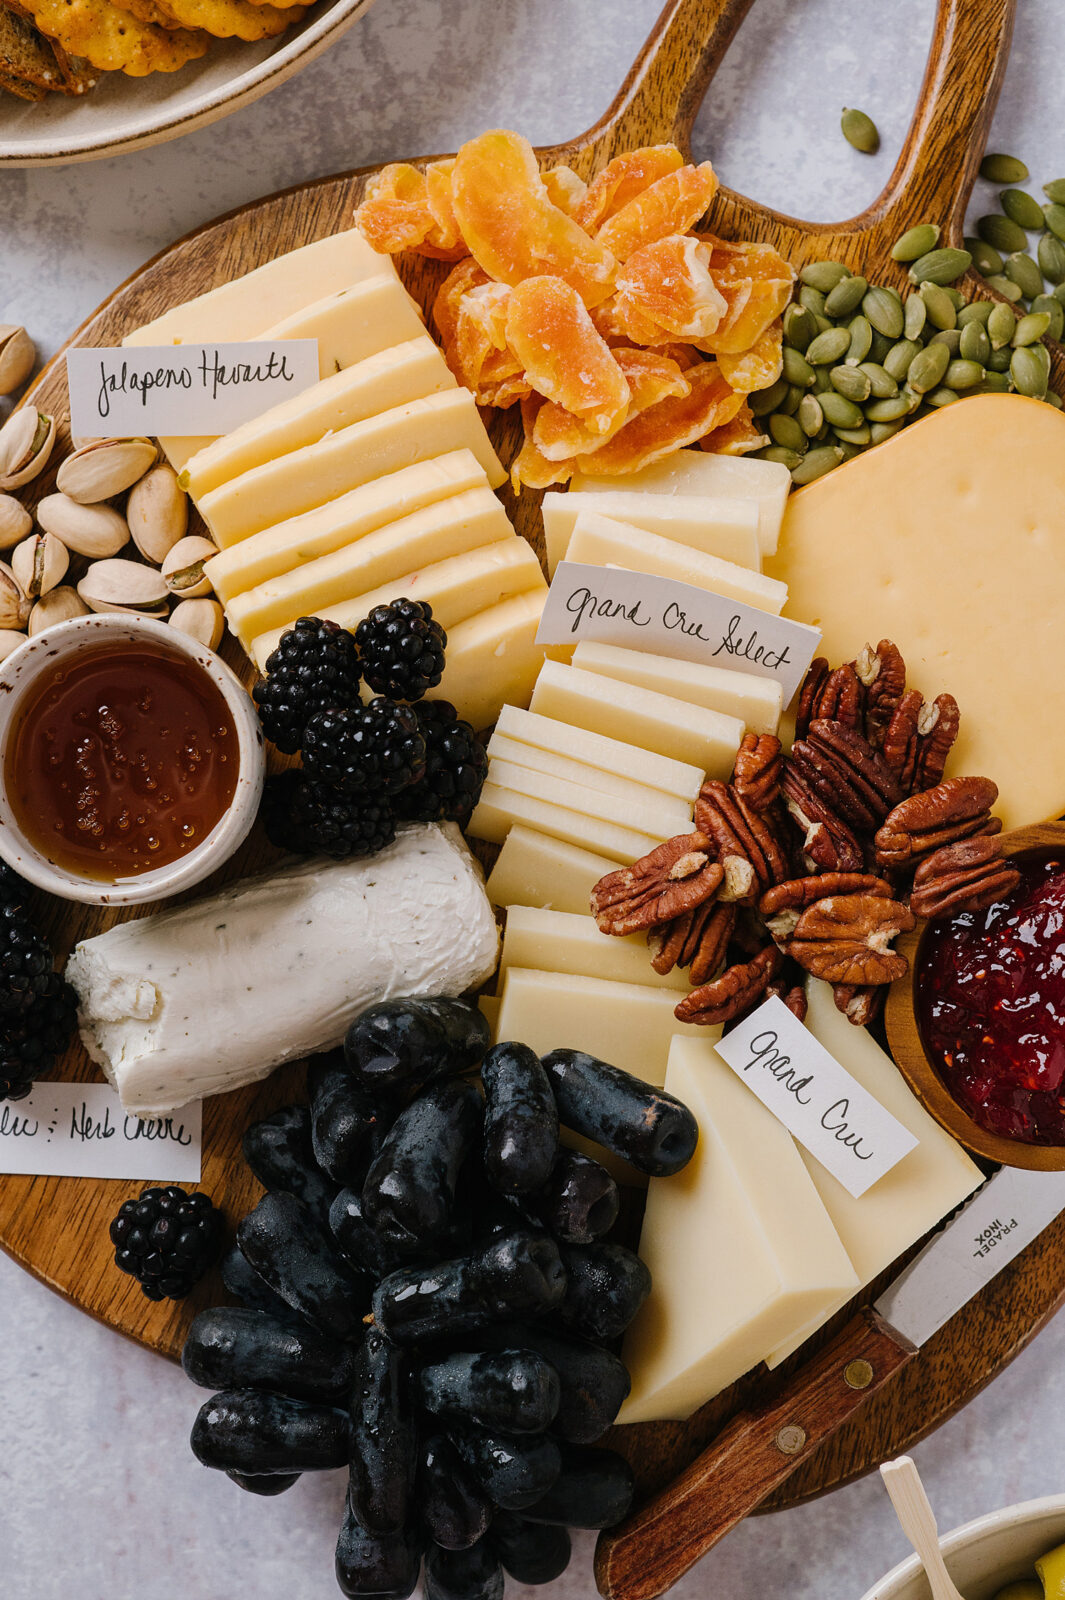
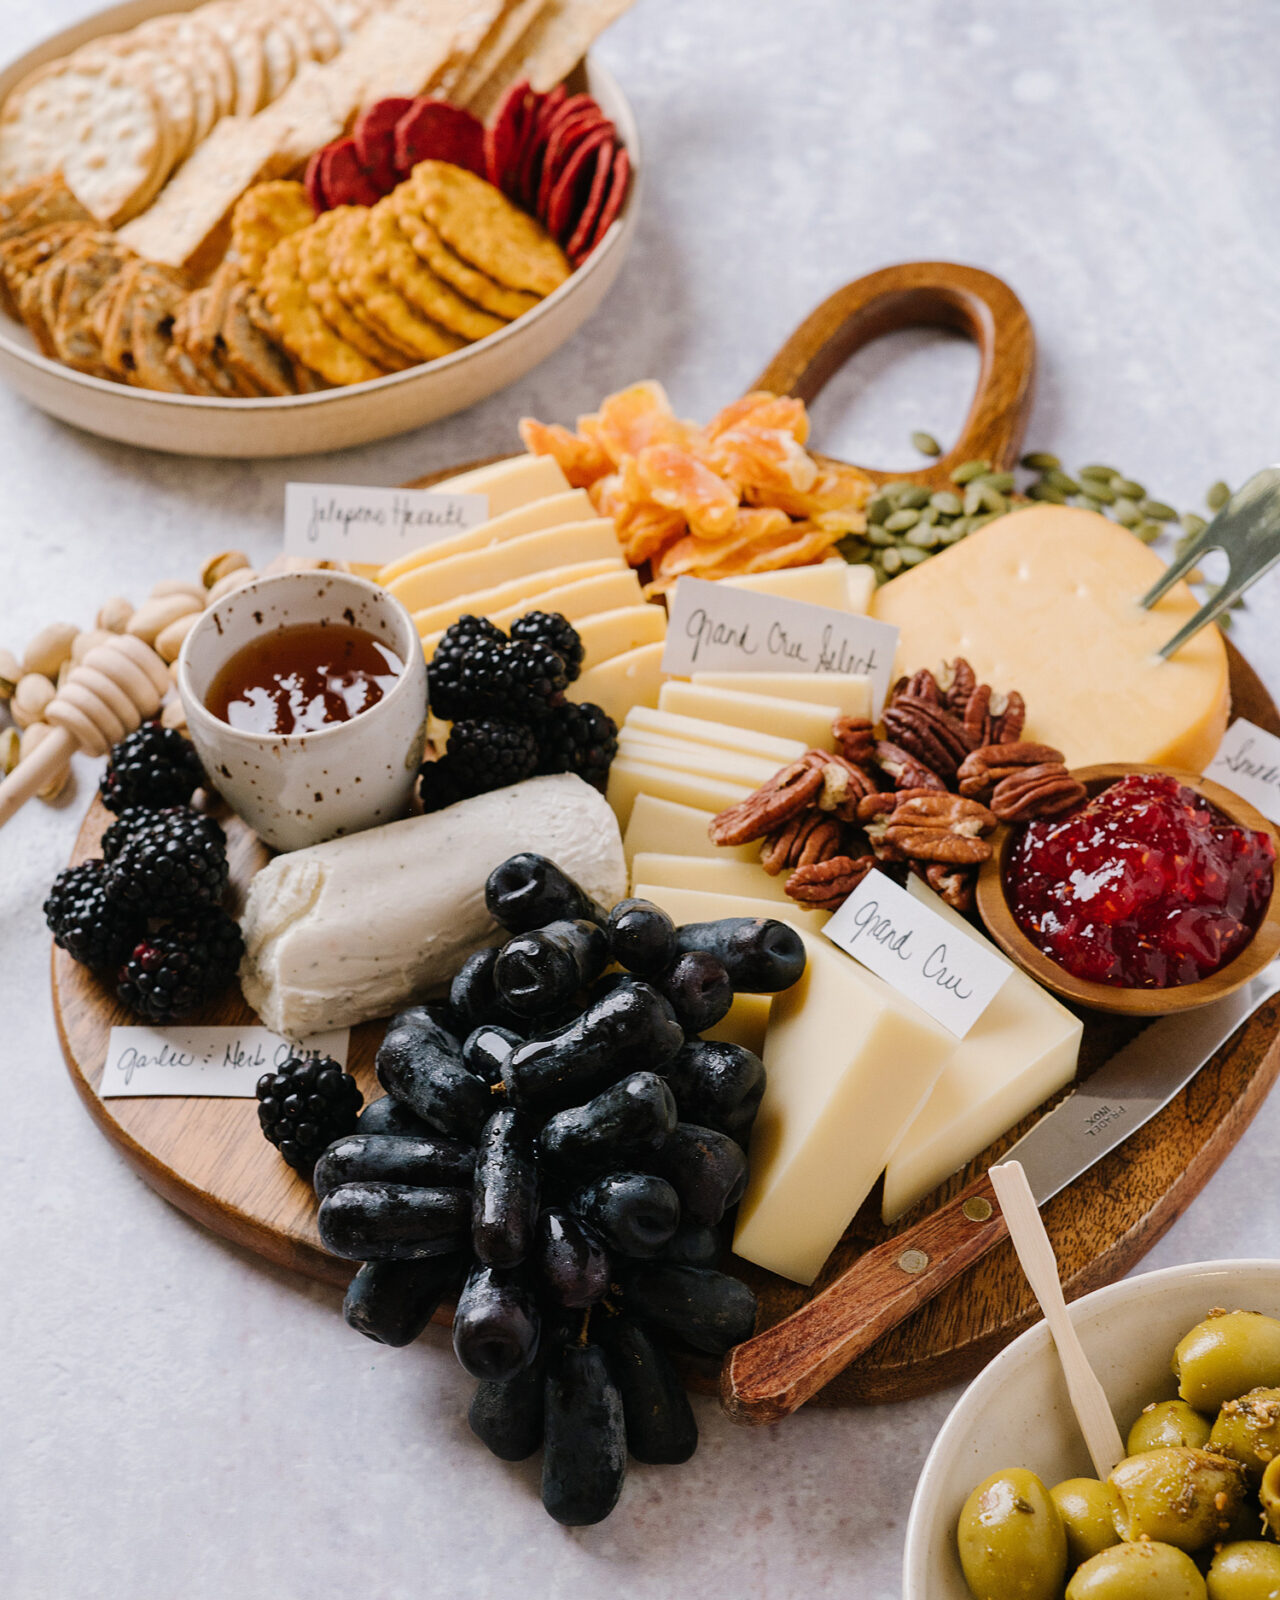
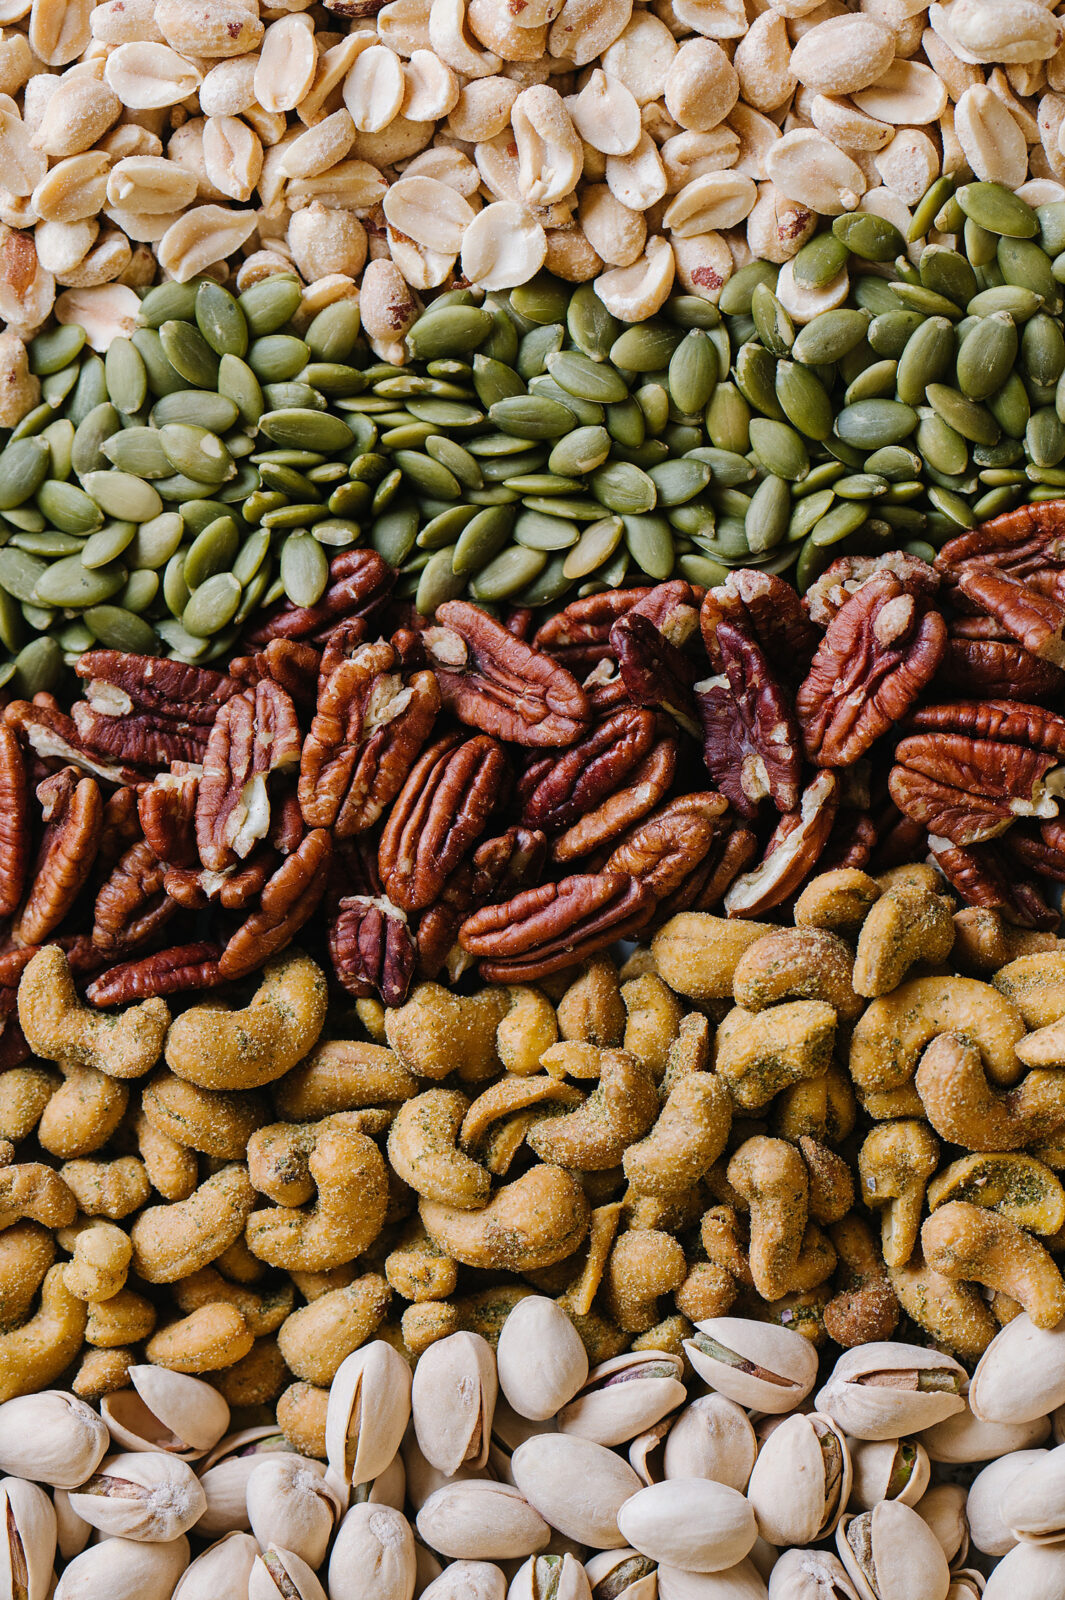
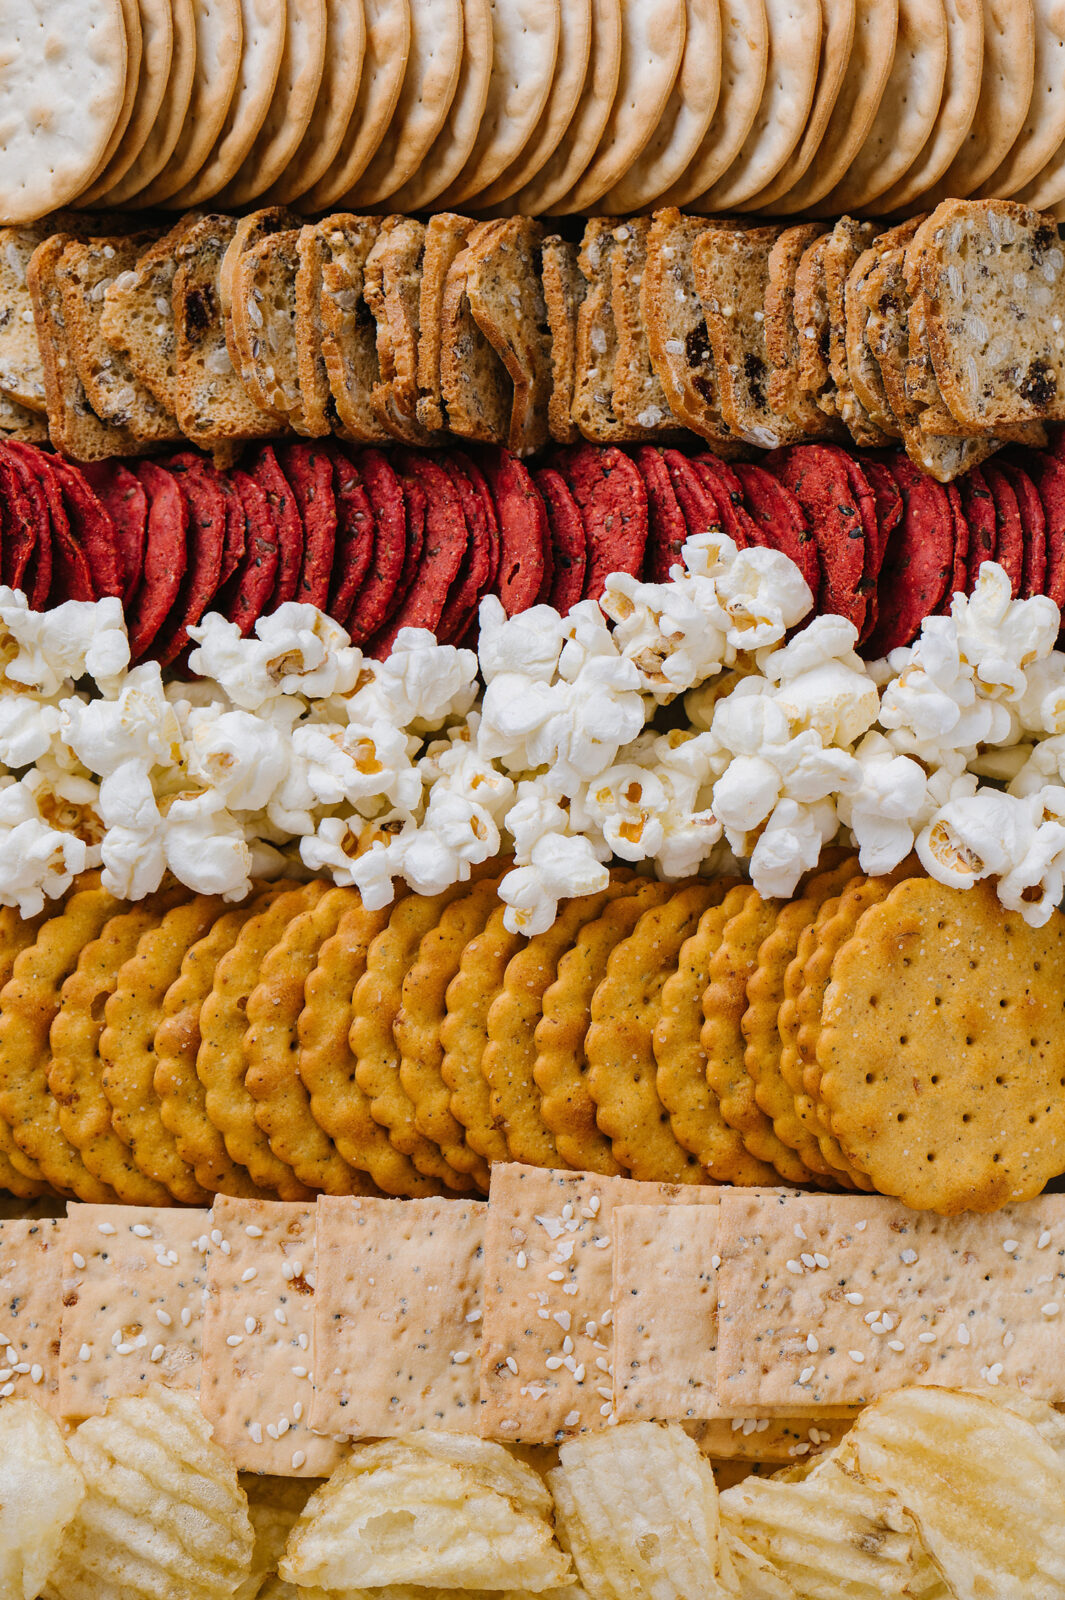
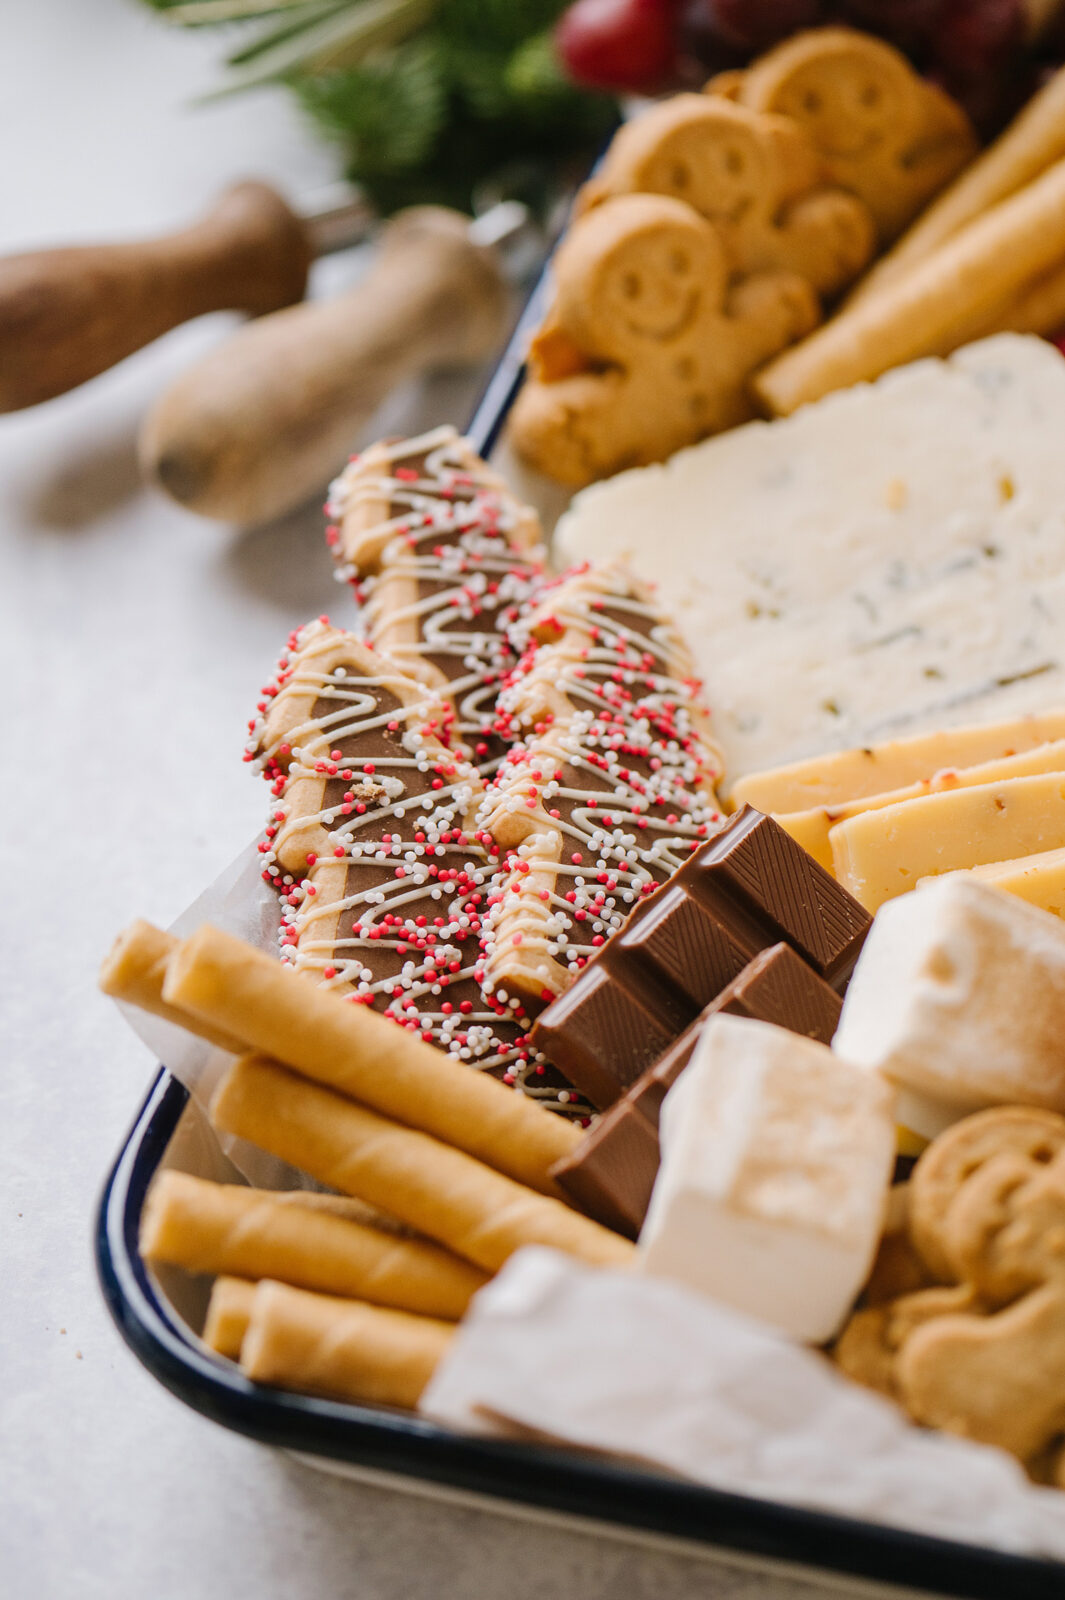
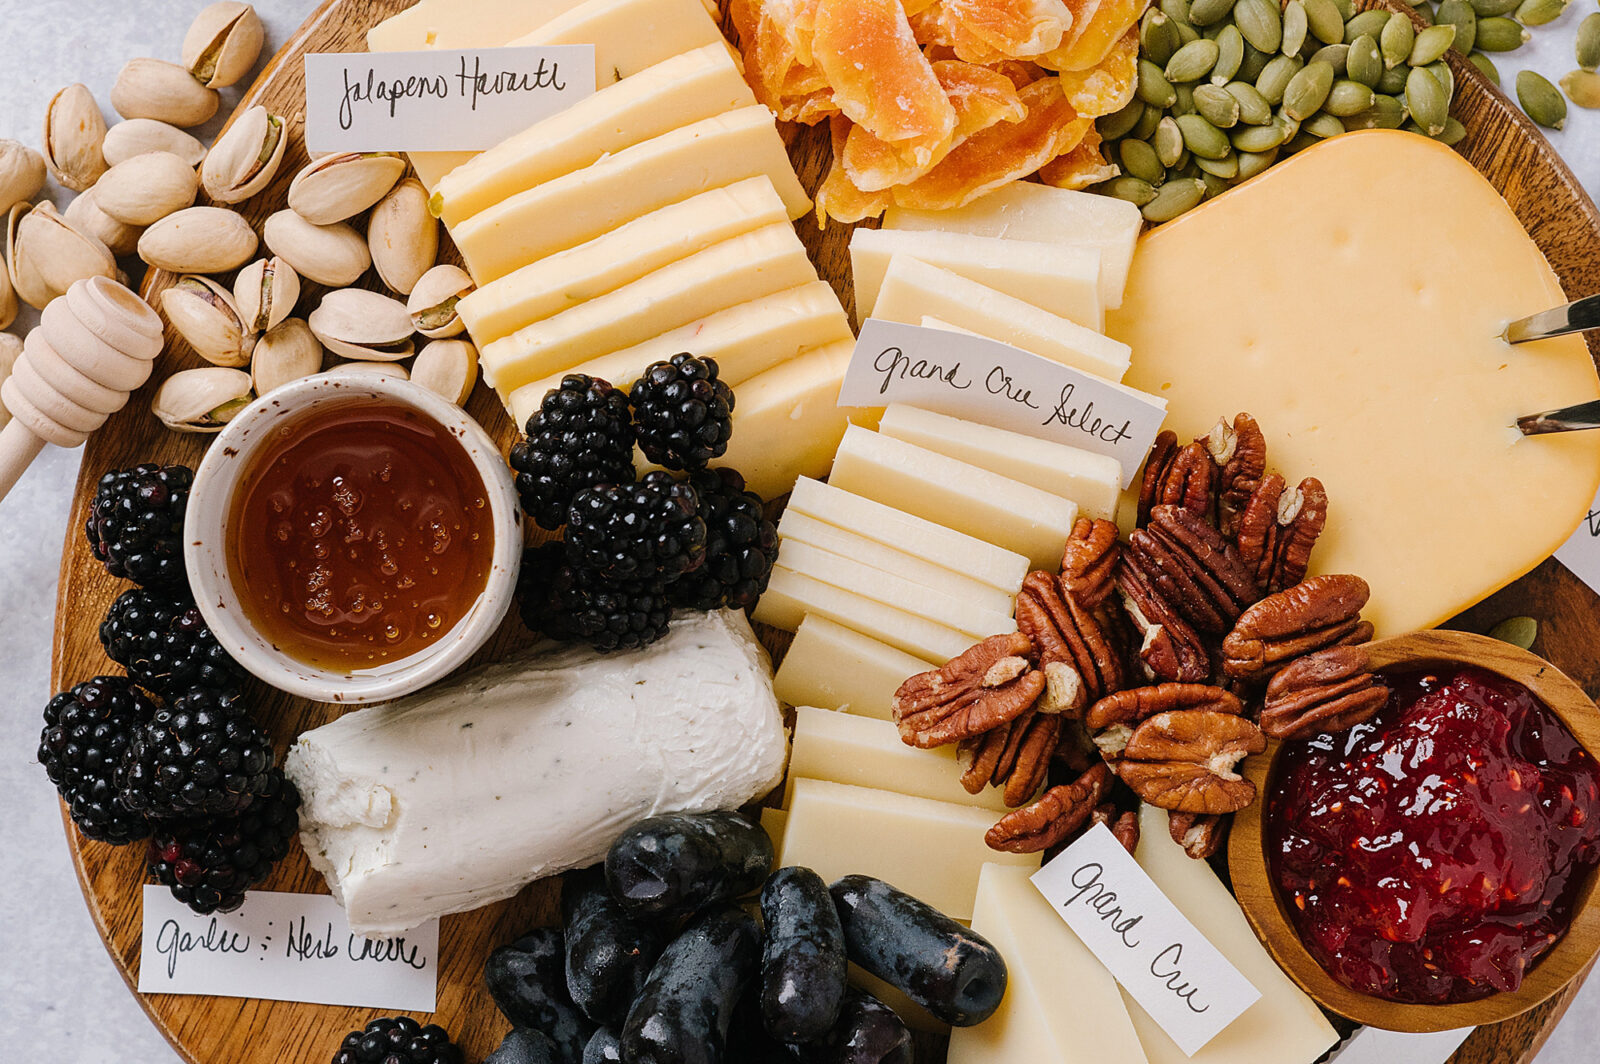
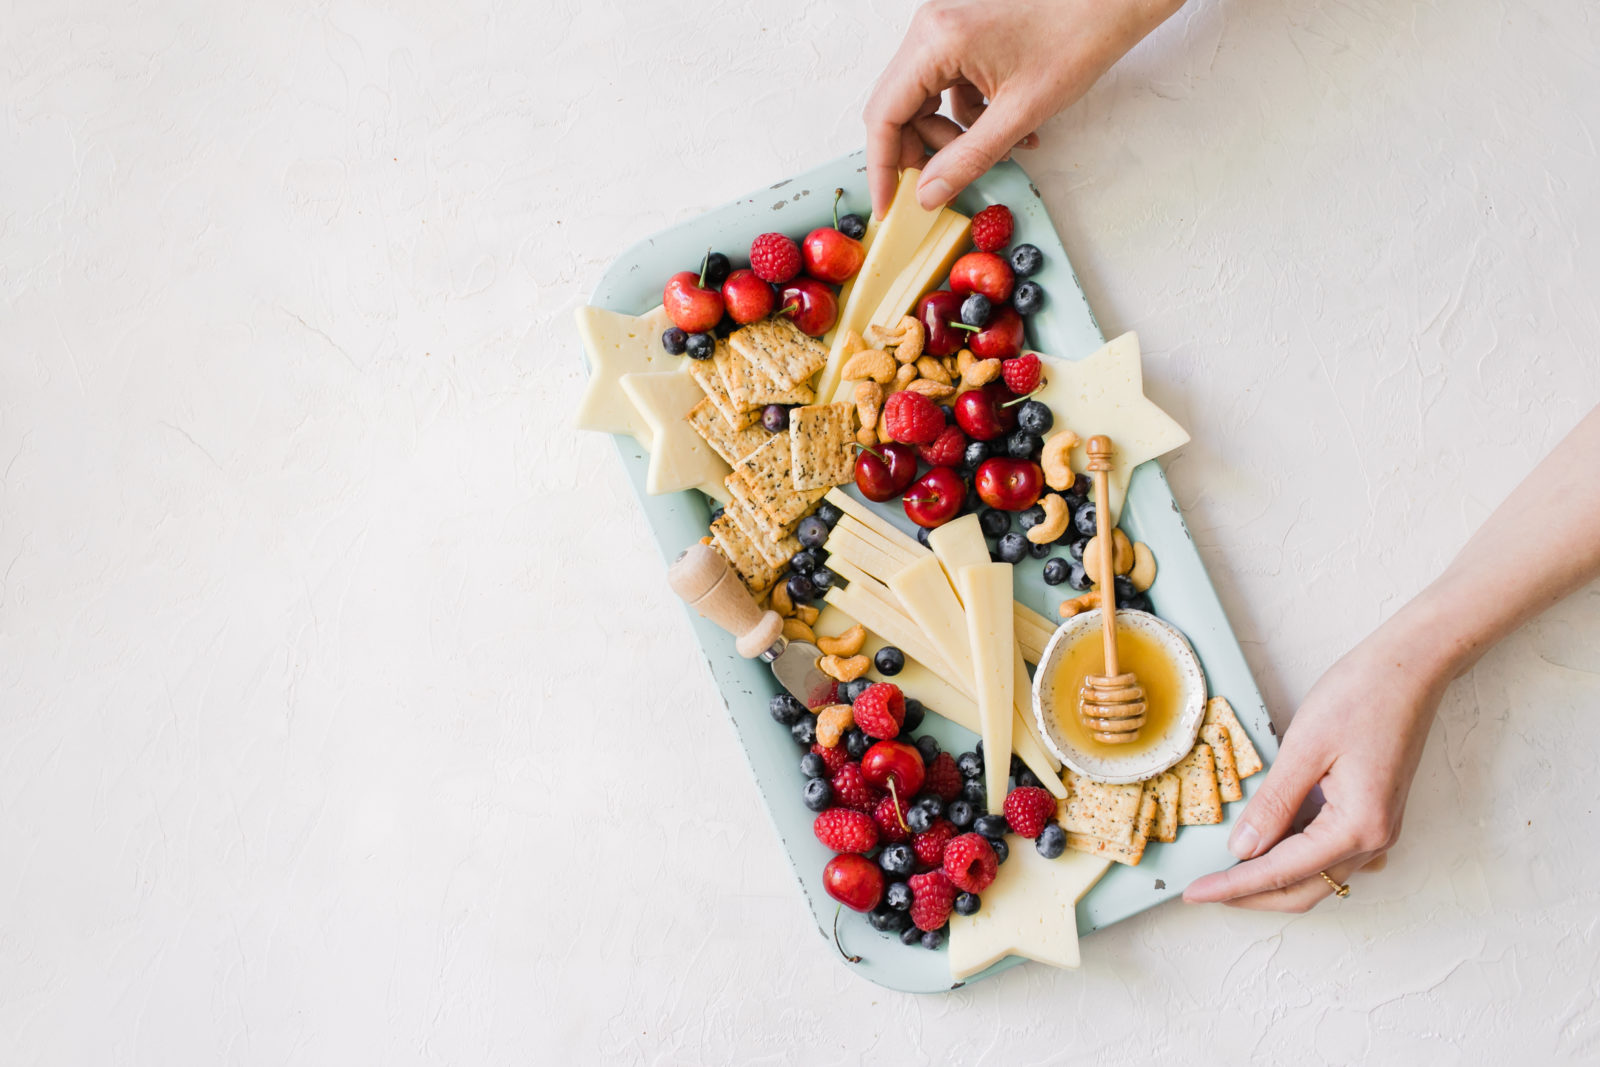
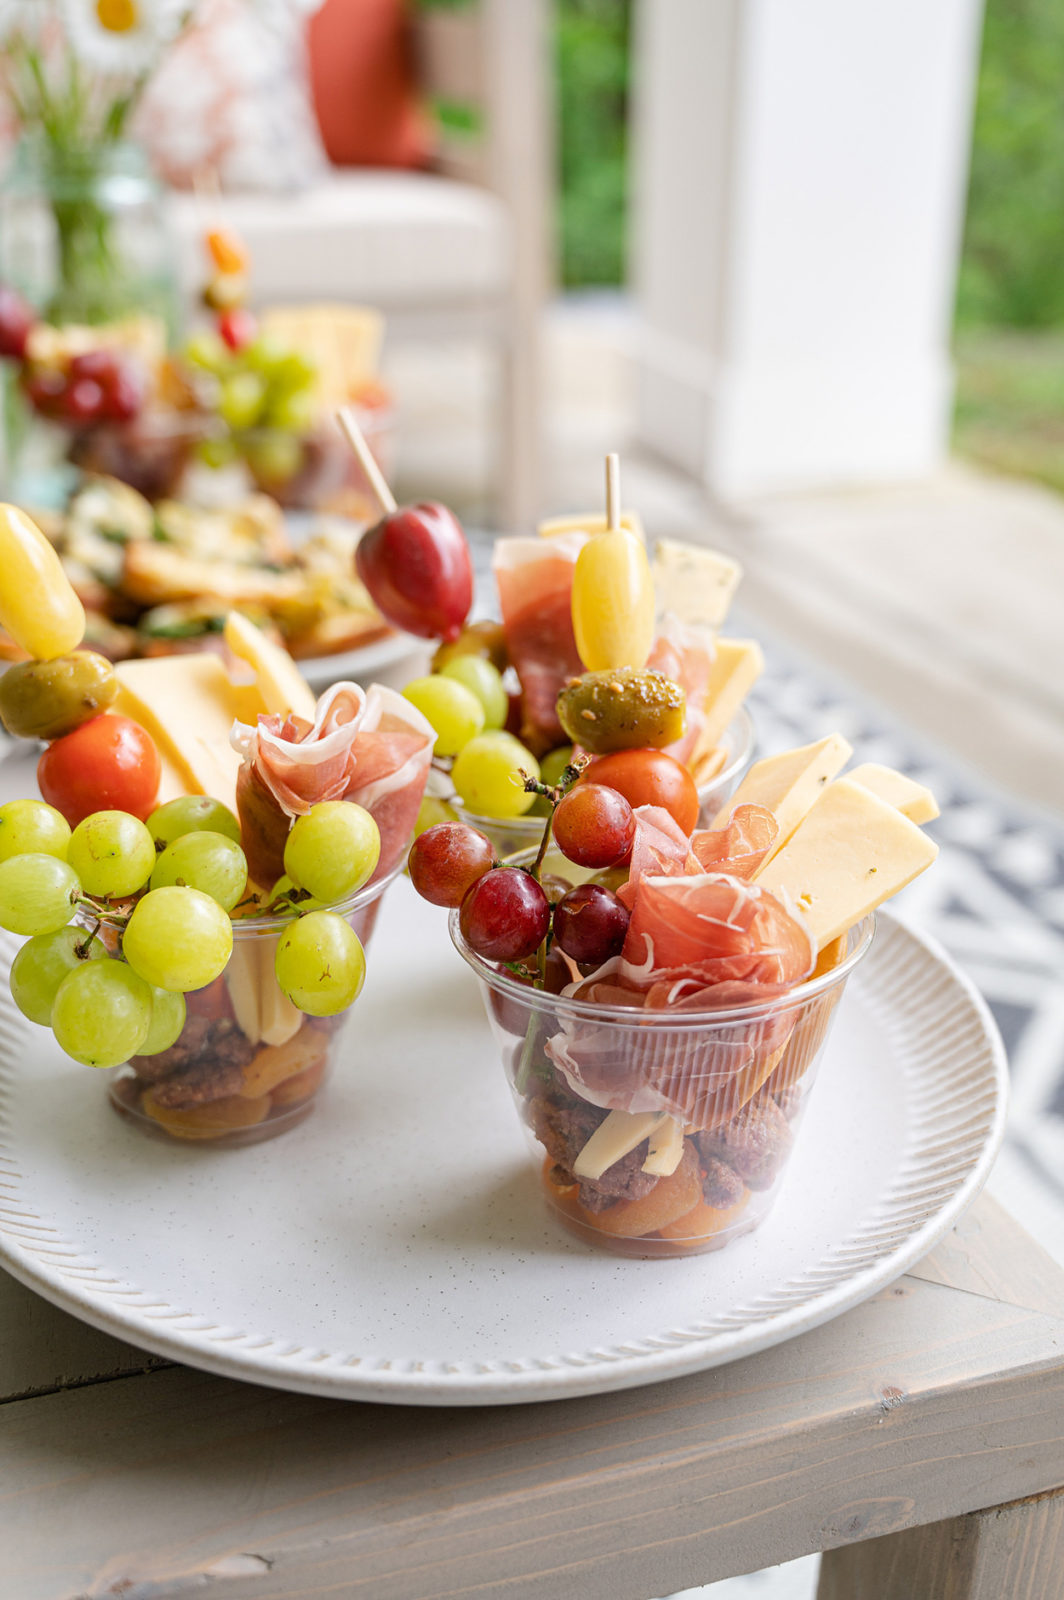
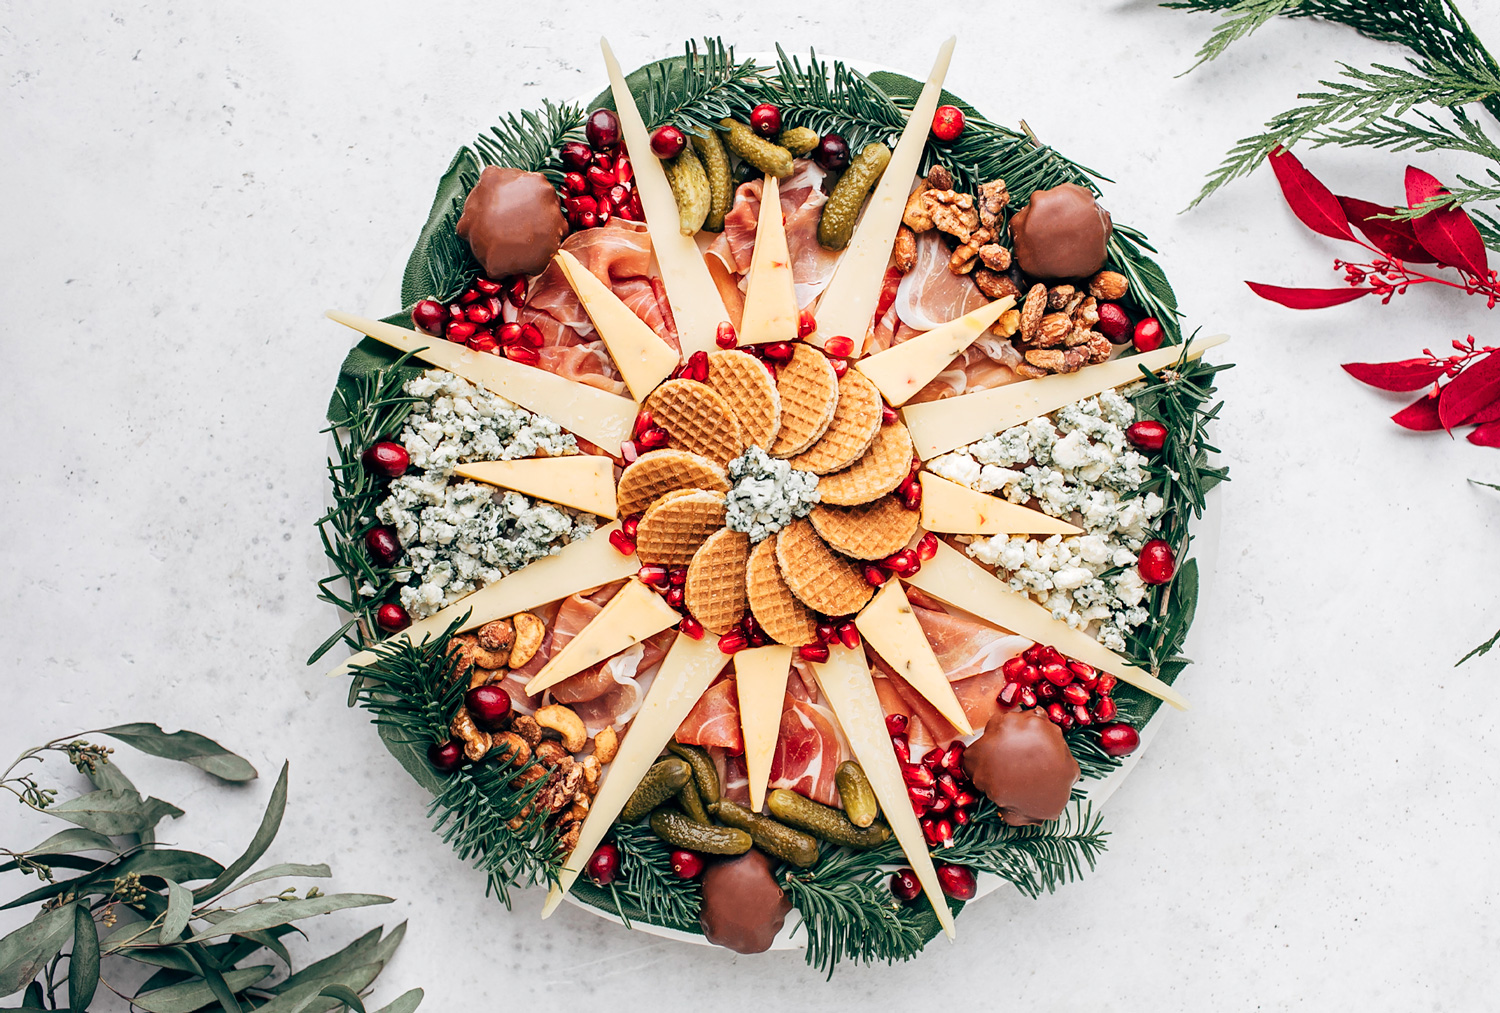
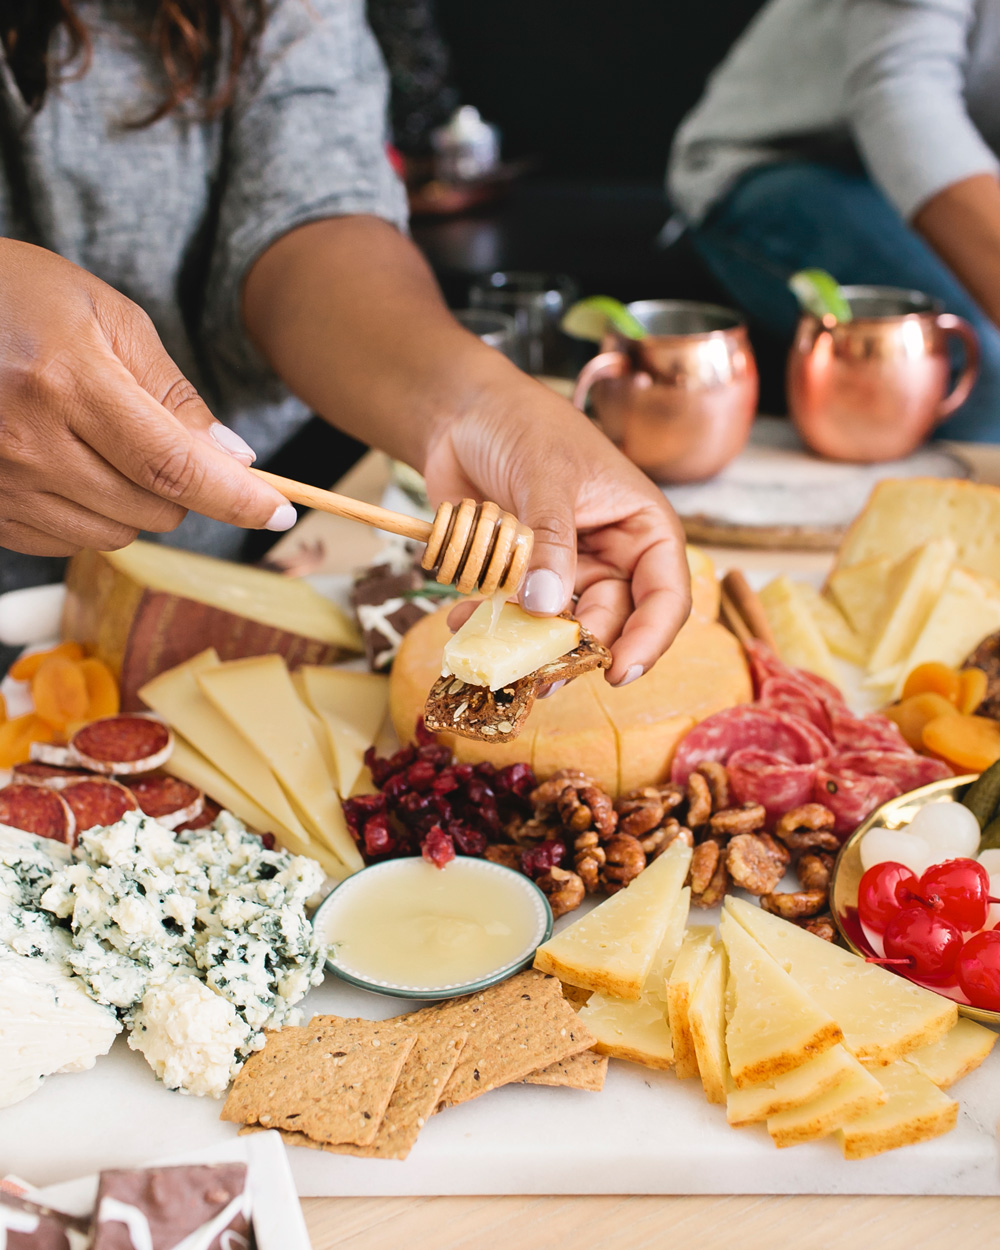
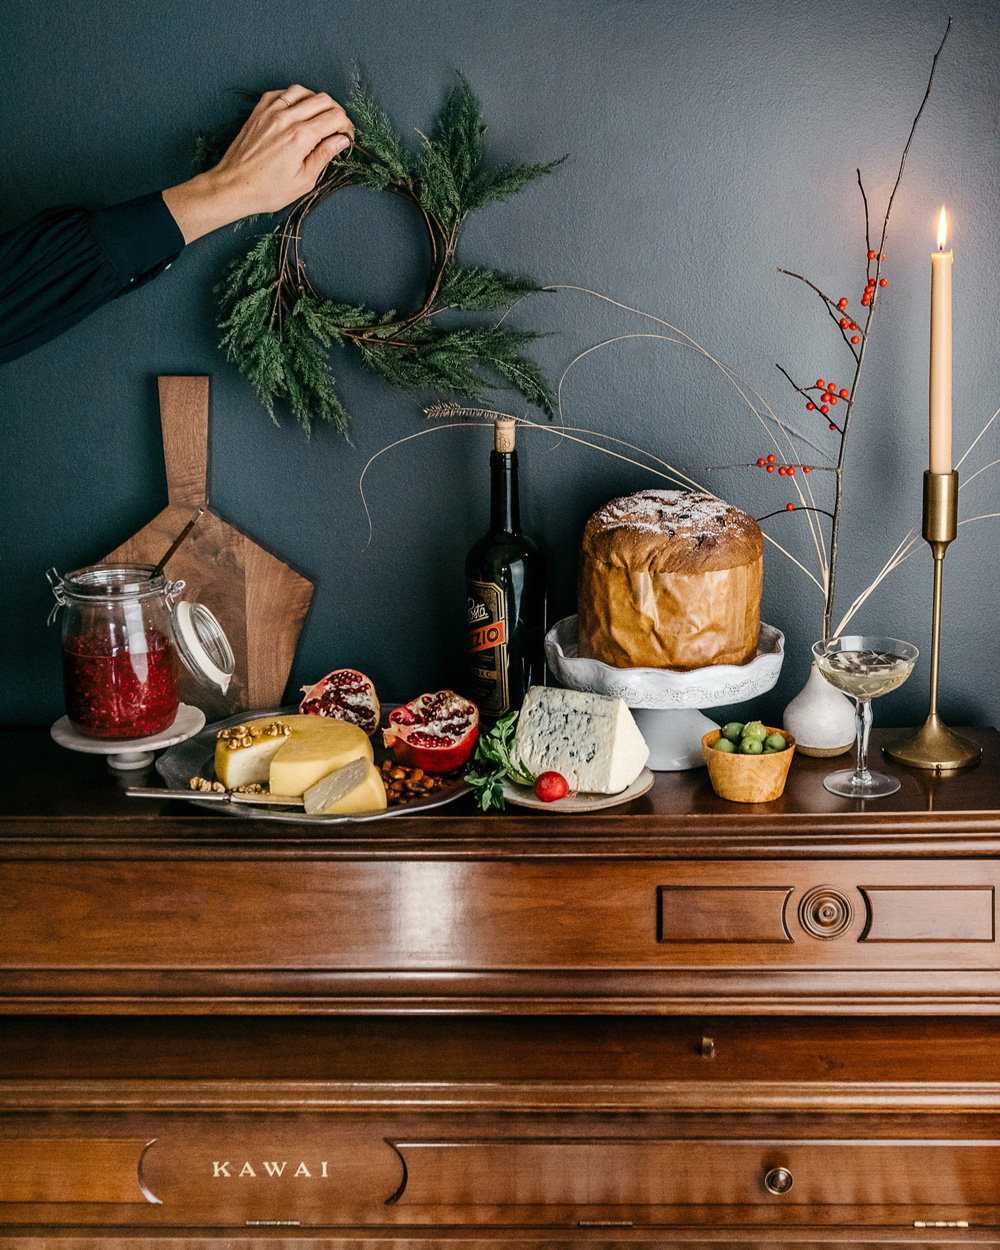
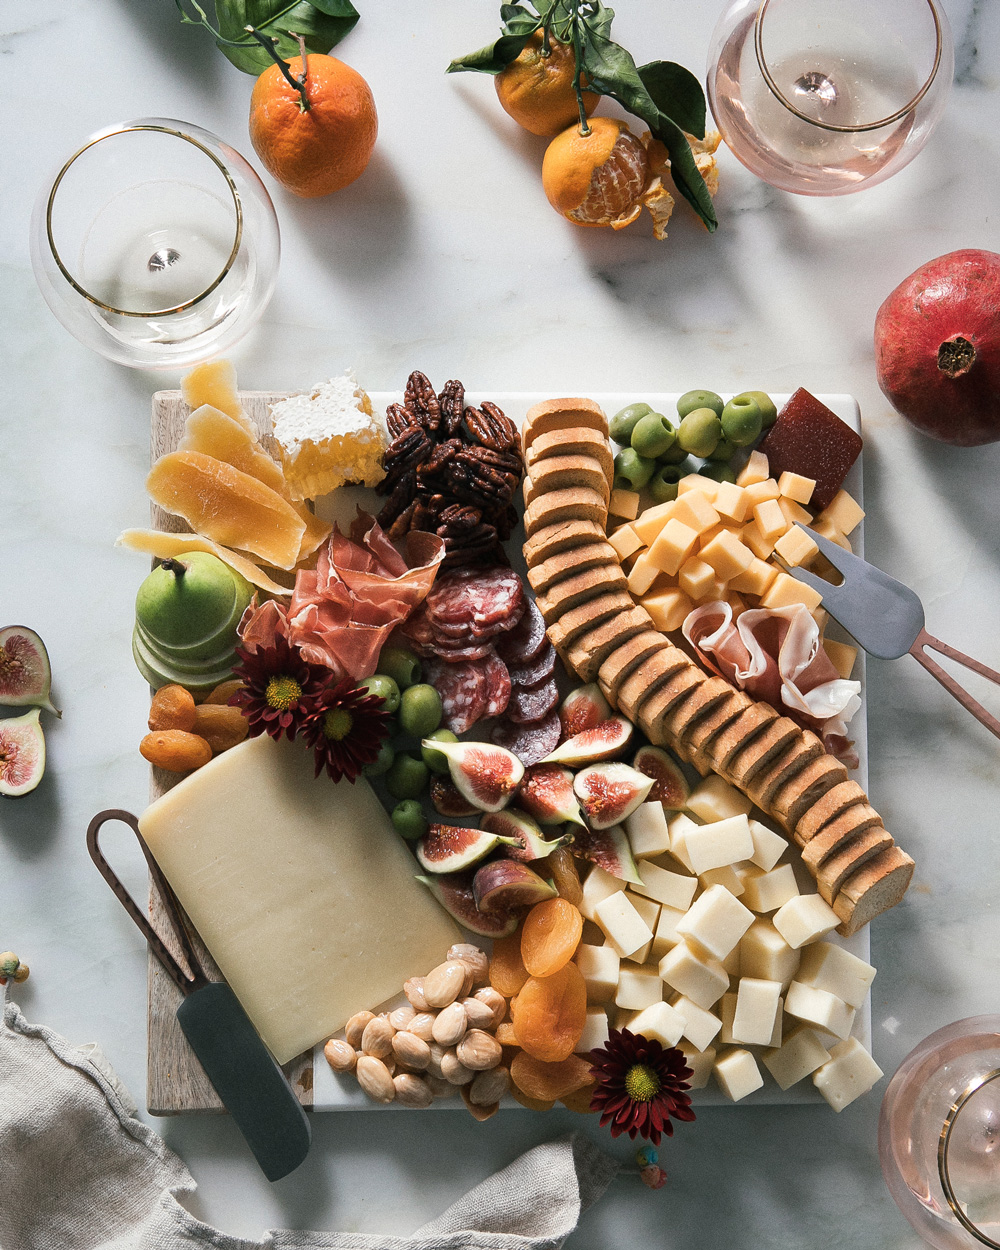
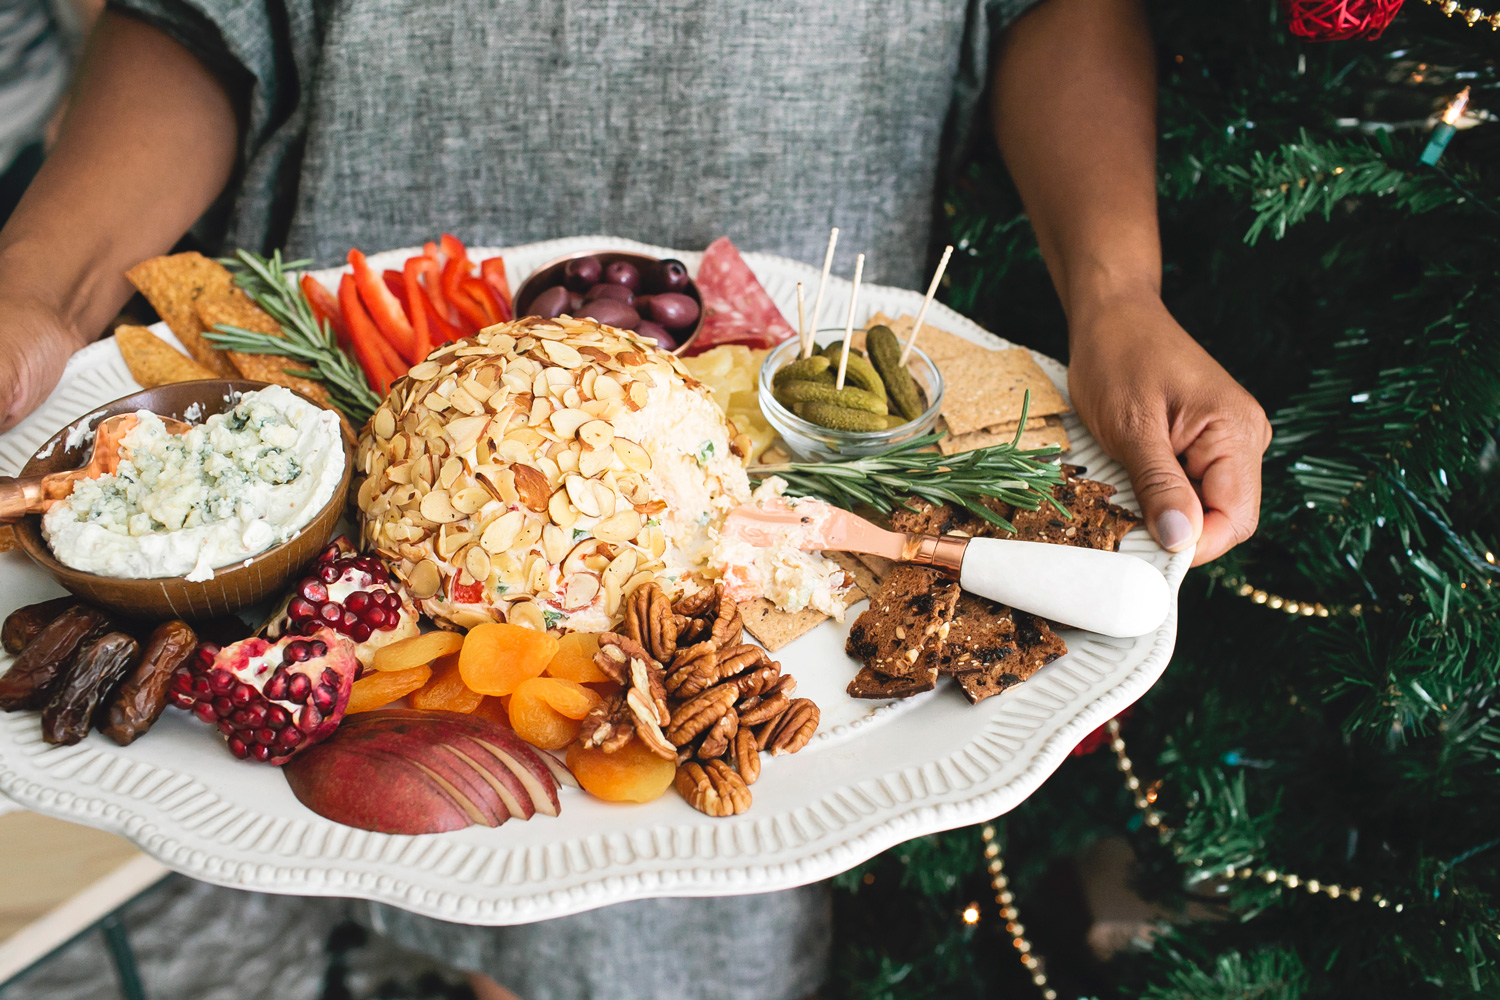
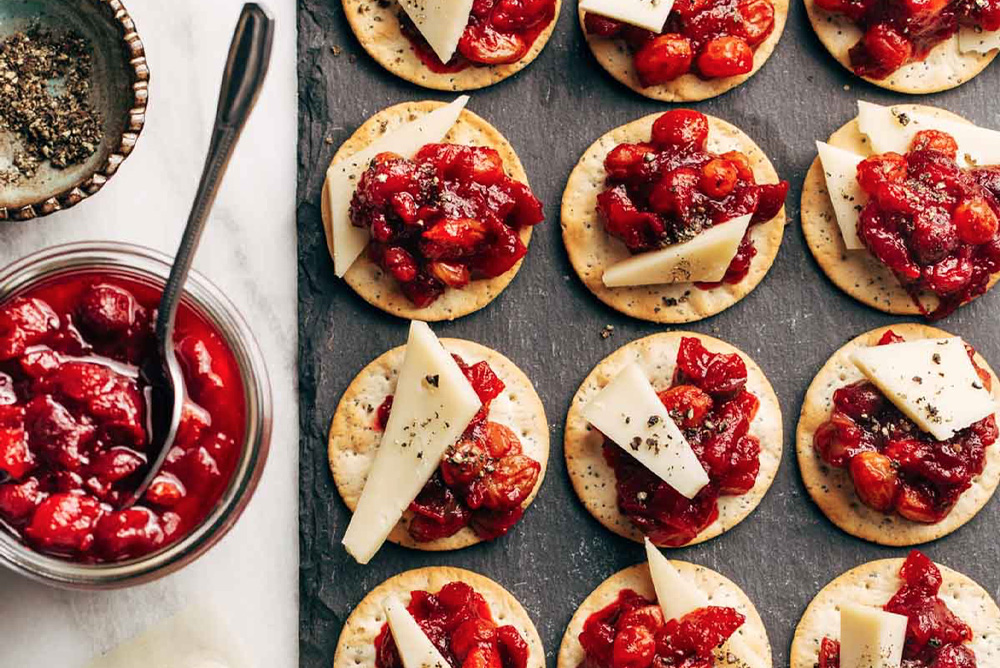
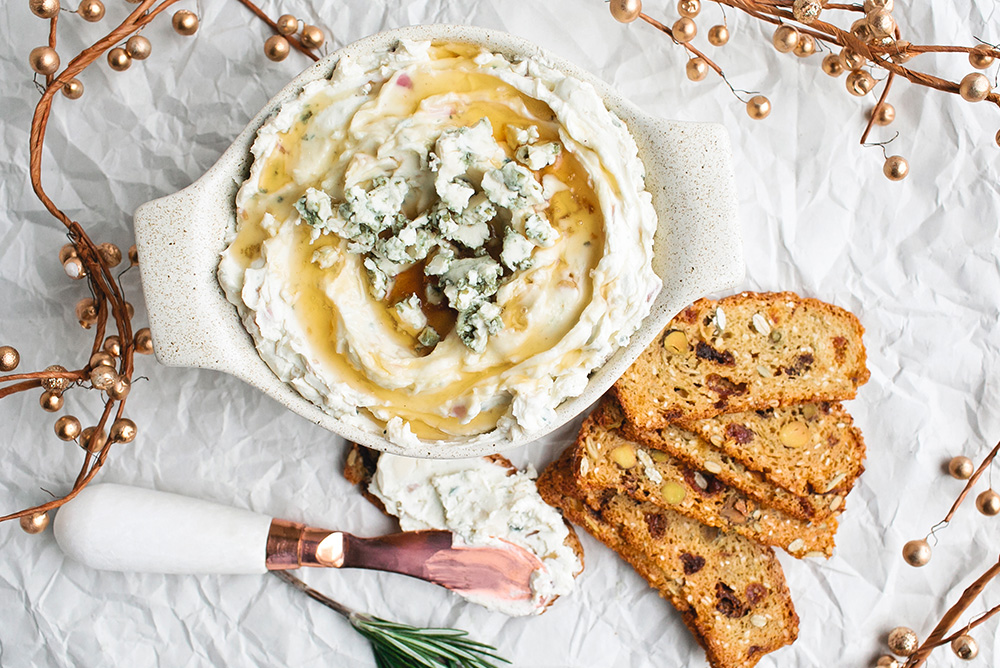
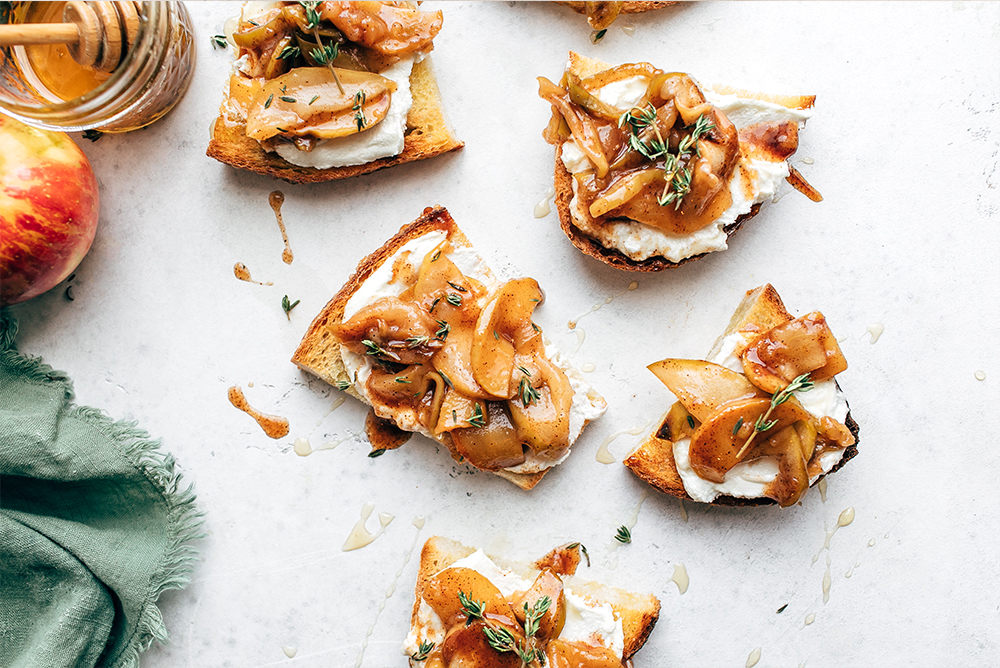
Make a cheeseboard! Meats and cheeses and jams and nuts all on the same plate? Yes please.
Use it in desserts… or as dessert! Yes, you read that right. Goat cheese cheesecake, baked into pies (we love Gouda & pecan pie), a small cheese plate after dinner, or a plated cheese course. (We had a plated cheese course at our wedding, and it was my favorite detail of the entire meal.)
How to Serve Cheese //
Now that we know how we can use cheese (I didn’t even scratch the surface!), let’s talk about how to serve cheese.
Serve at room temperature. Cheese for eating is best served at room temperature. Take it out at least 30 minutes before you are planning on serving it.
Arrange on a cheeseboard. Obviously a personal favorite. Check out this guide for helpful holiday cheeseboard tips!
Serving a crowd? Make a grazing table. People will ooh and ahh to find an oversized spread like that at your event. Or make a few different boards and place them around the room so people can mingle and everyone won’t stand in the same place.
Having kids over? Make a kid’s cheeseboard. It’s funny, I used to do this when my children were little and the adults would eat the Goldfish crackers and kids’ snacks, and hover over the kid’s plate. So now I just add the same stuff to the “adult’s” board.
How much cheese per person? You can assume someone will eat 1 to 2 ounces of cheese on a cheeseboard. If you’re expecting a gathering of crazy cheese lovers, double that amount.
How to store leftover cheese? Take the cheese out of its original packaging and wrap it in cheese paper or parchment paper. Put the wrapped cheese in a large zip-top bag, squeeze out the excess air, and keep it in the fridge until next time. Here are more tips for storing cheese.
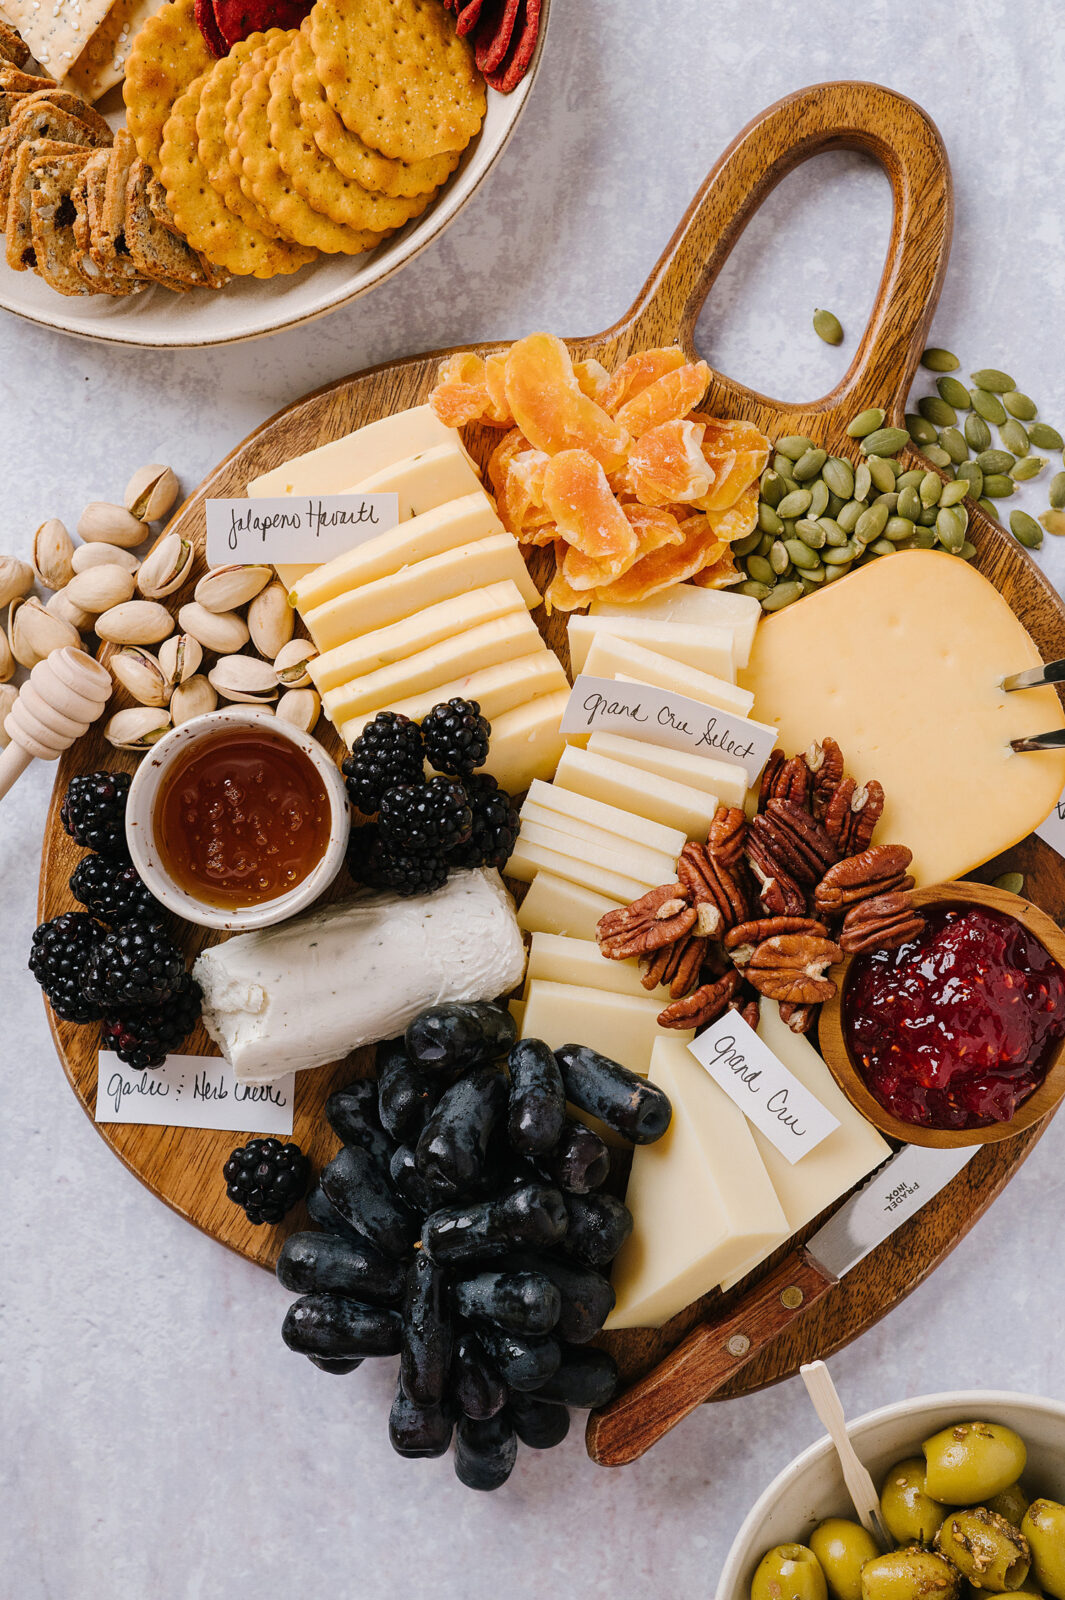
Label. When you put out cheese for guests, label it! You can buy cheese tags or just stick a small card with the name of the cheese into the board. They might even put a note about their favorite cheese on their phone.
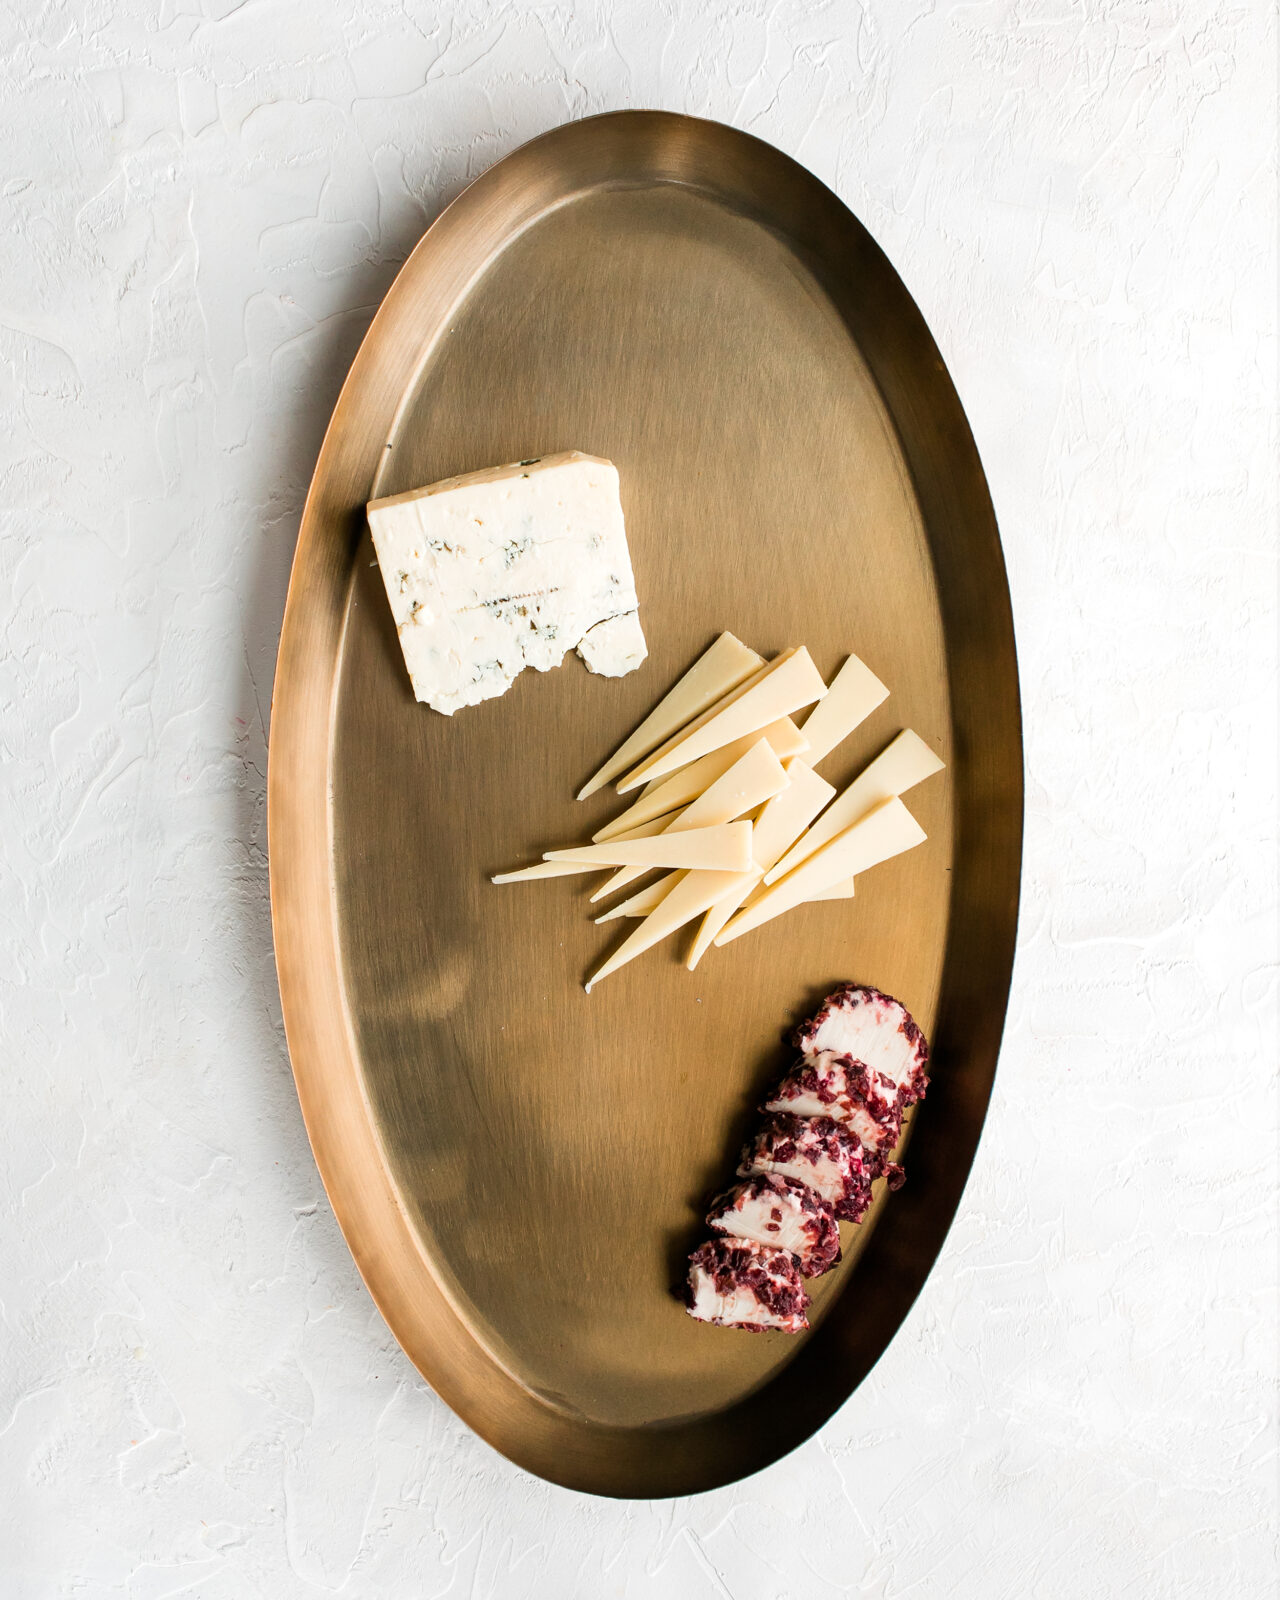
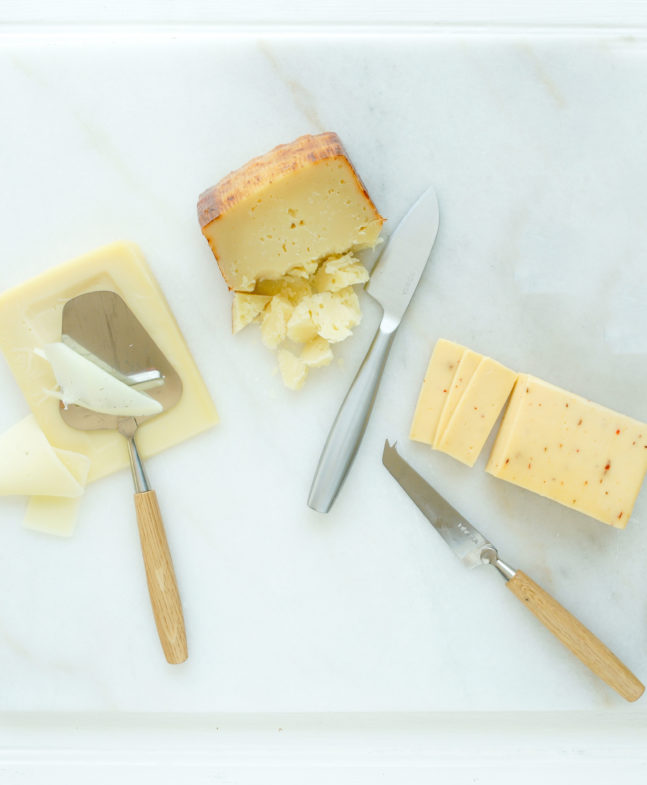
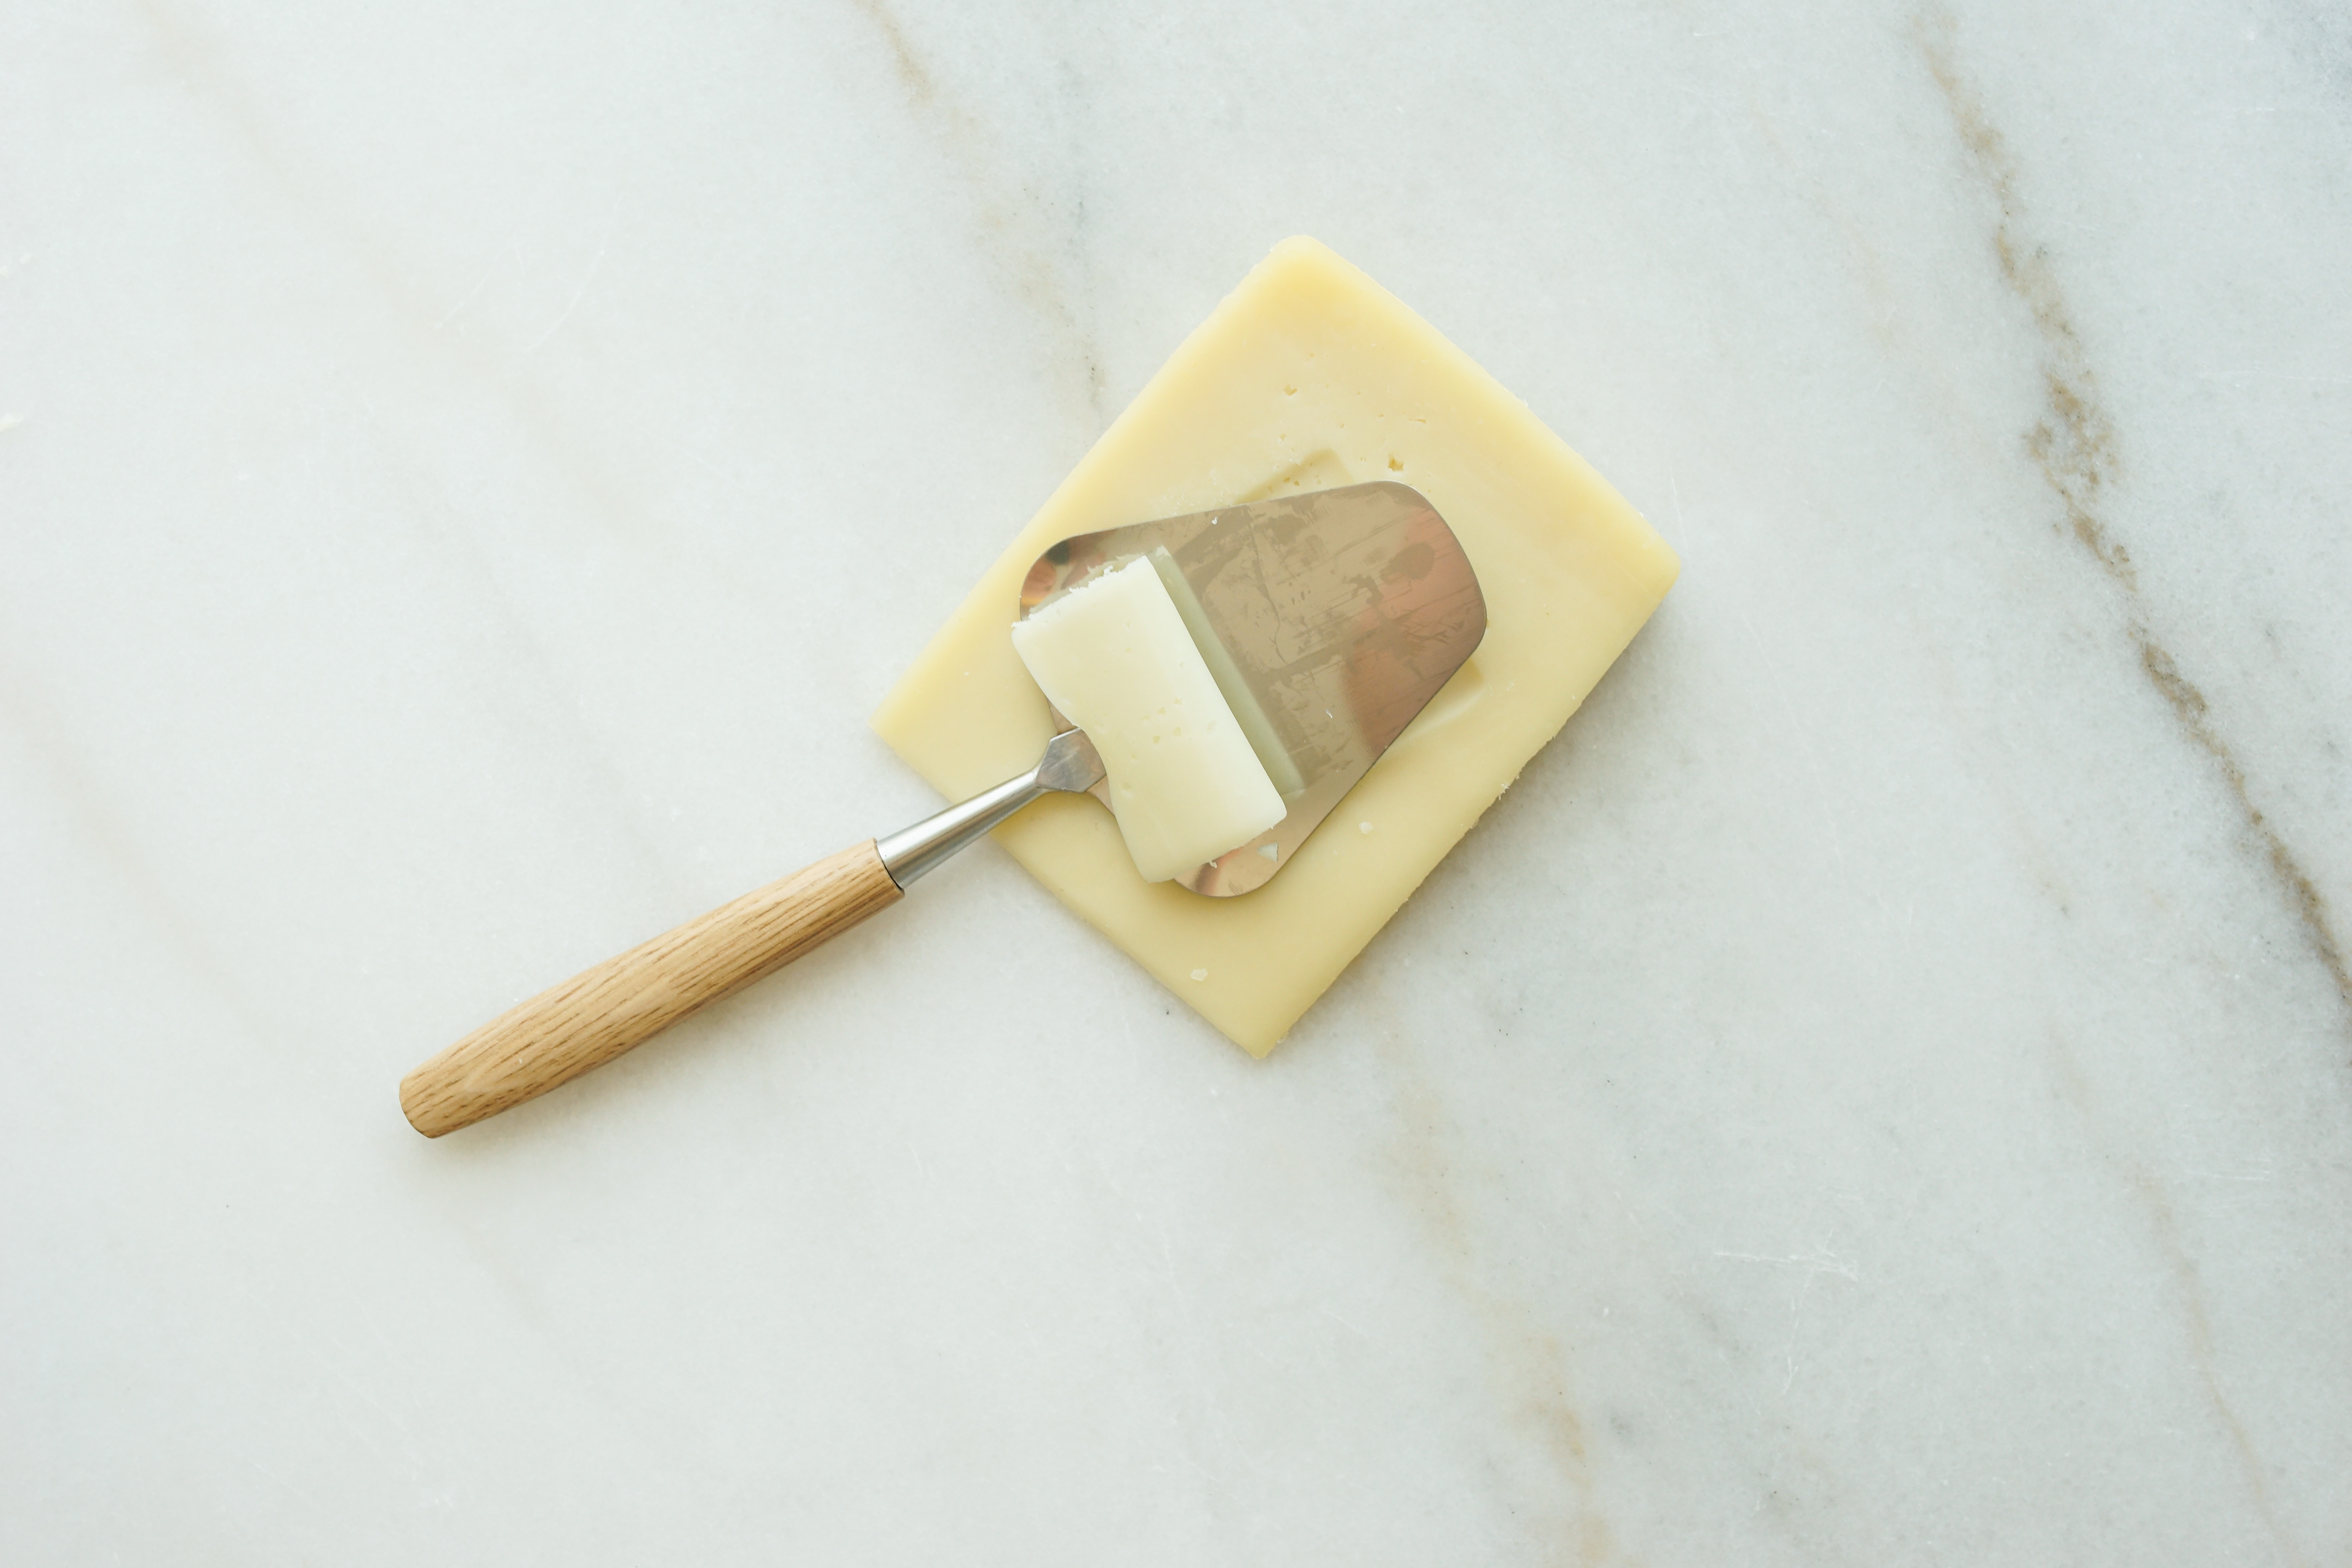
Vary the way you serve cheese. Keep some wedges whole, slice some into triangles, cut some into smaller wedges, and/or crumble hard cheeses into chunks. More tips on cutting here.
Try a one cheese tasting board. Like blue cheese? Buy a few varieties. A mellow blue like Buttermilk Blue® is interesting to compare side-by-side with Moody Blue, a smoked blue cheese, and a Gorgonzola. Taste them all to see how they are similar and different.
Limit to 5. It’s a fun idea to put 10 kinds of cheese on a board, but it will be a) expensive and b) overwhelming. Serve different varieties with different flavors, textures, and kinds of milk, but keep it to five, tops.
Shredding cheese? The bagged stuff is great in a pinch, but shredding and grating your own cheese is a game-changer. You will be able to use quality cheese without any additives. Freeze your cheese for 15 minutes before shredding, then use a food processor or mixer attachment.
Utensils. Give each cheese its own utensil. You don’t want someone to cut into the Garlic Herb Chèvre, then use the same knife to cut Jalapeño Havarti. Each variety should have its own utensil, so flavors don’t get crossed
Hint: A set of cheese knives makes a great hostess gift.
Pair it with something delicious to drink. Wine and cheese are the most obvious pairing. But hard ciders are so good with alpine-style cheeses like Grand Cru® or a cocktail made with fall fruits (try our favorite seasonal pairings here. Not sure what to drink with your cheese? Ask the person behind the cheese counter!
As you can see, cheese is one of the most versatile and adaptable foods around. If you have cheese, you have a meal at the ready all throughout the holiday season.


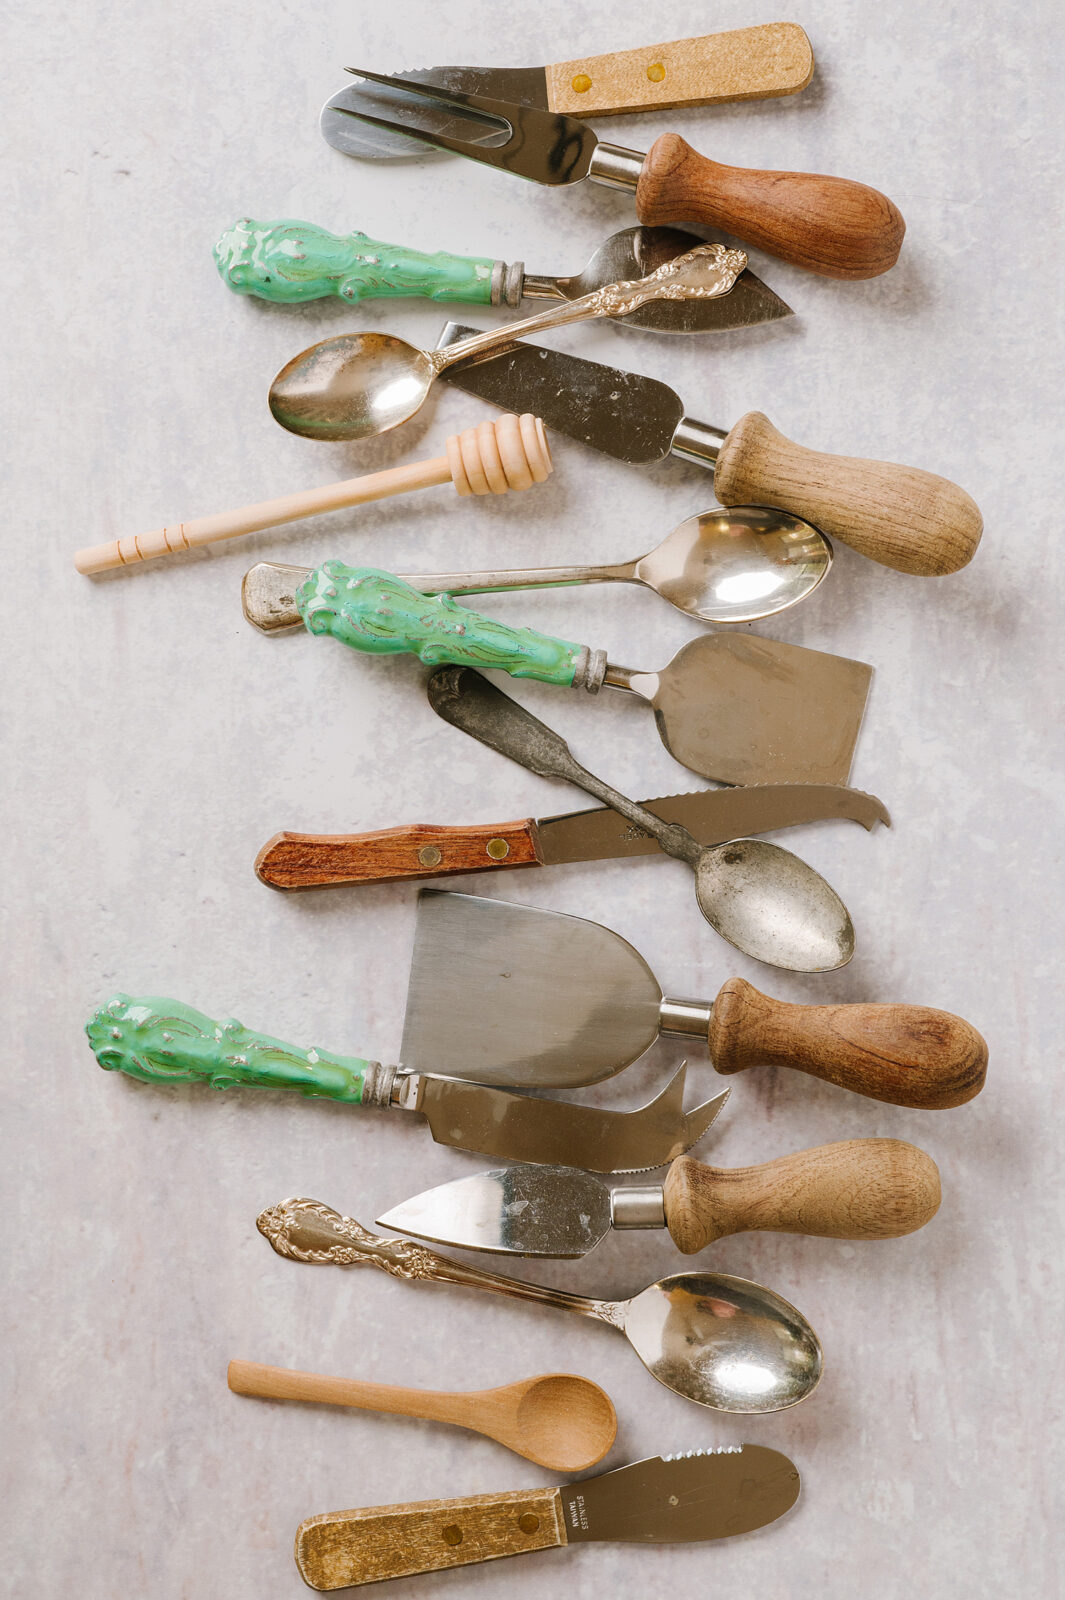


 Cheese Plane
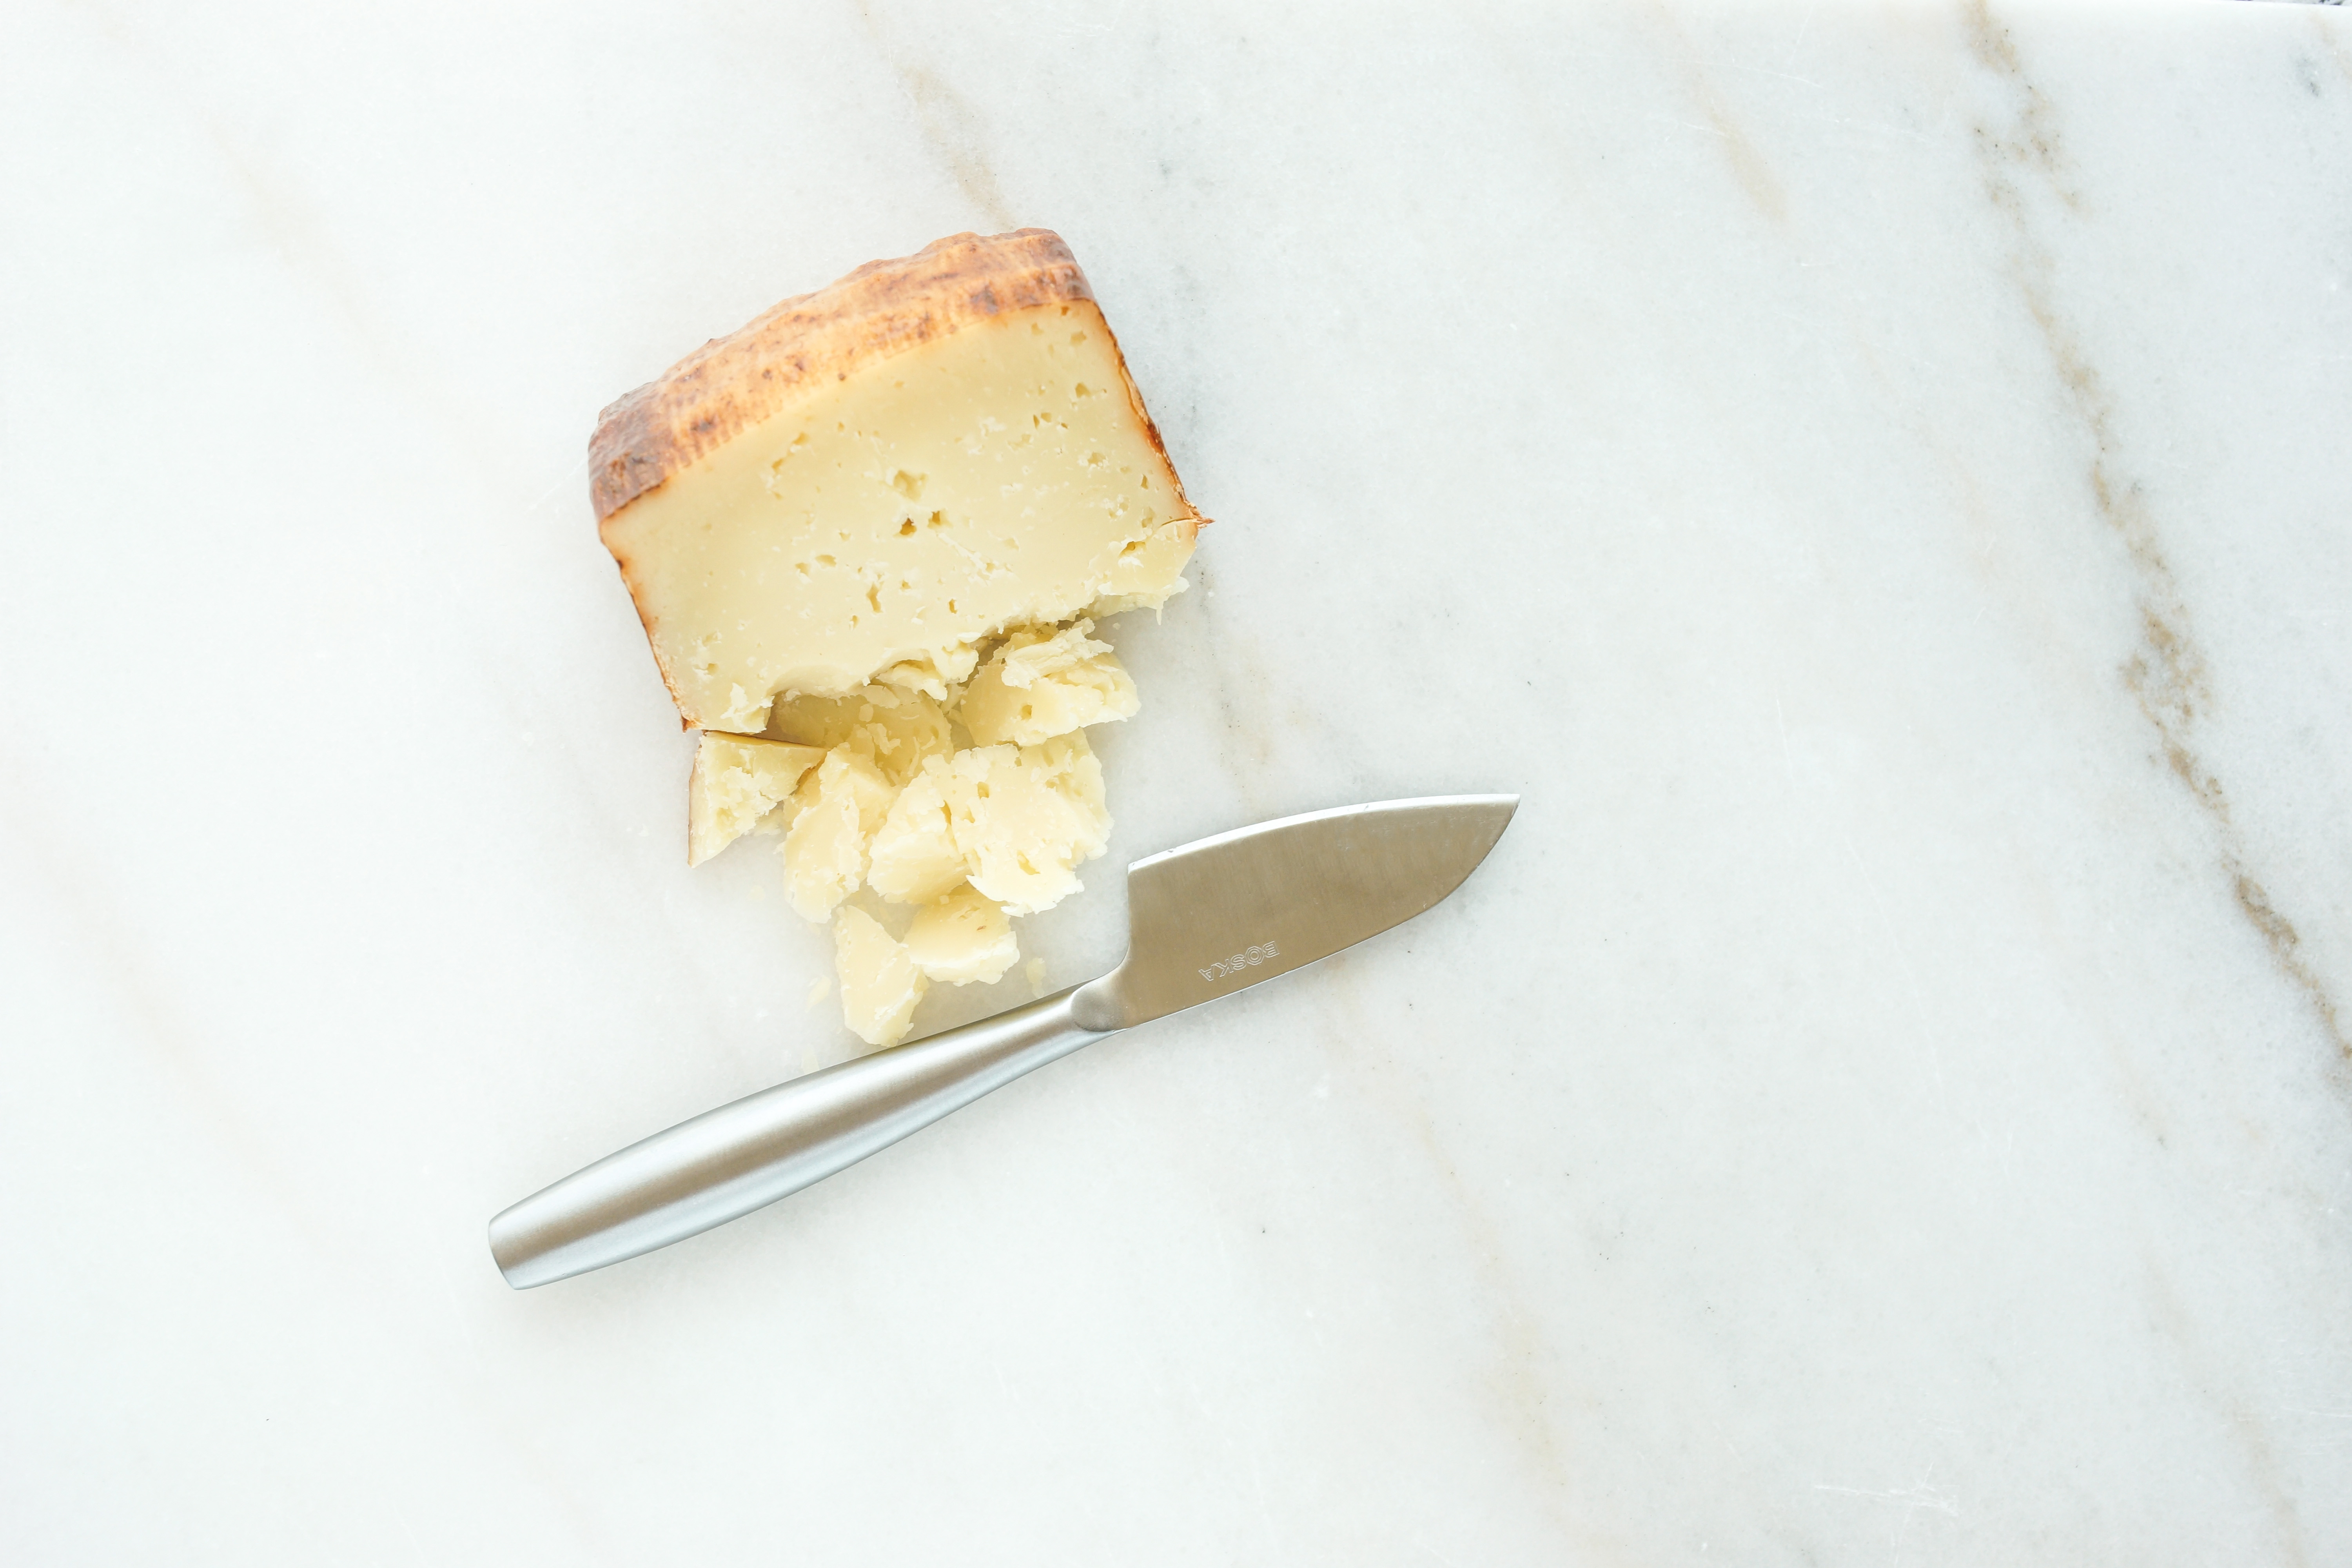 Parmesan Knife
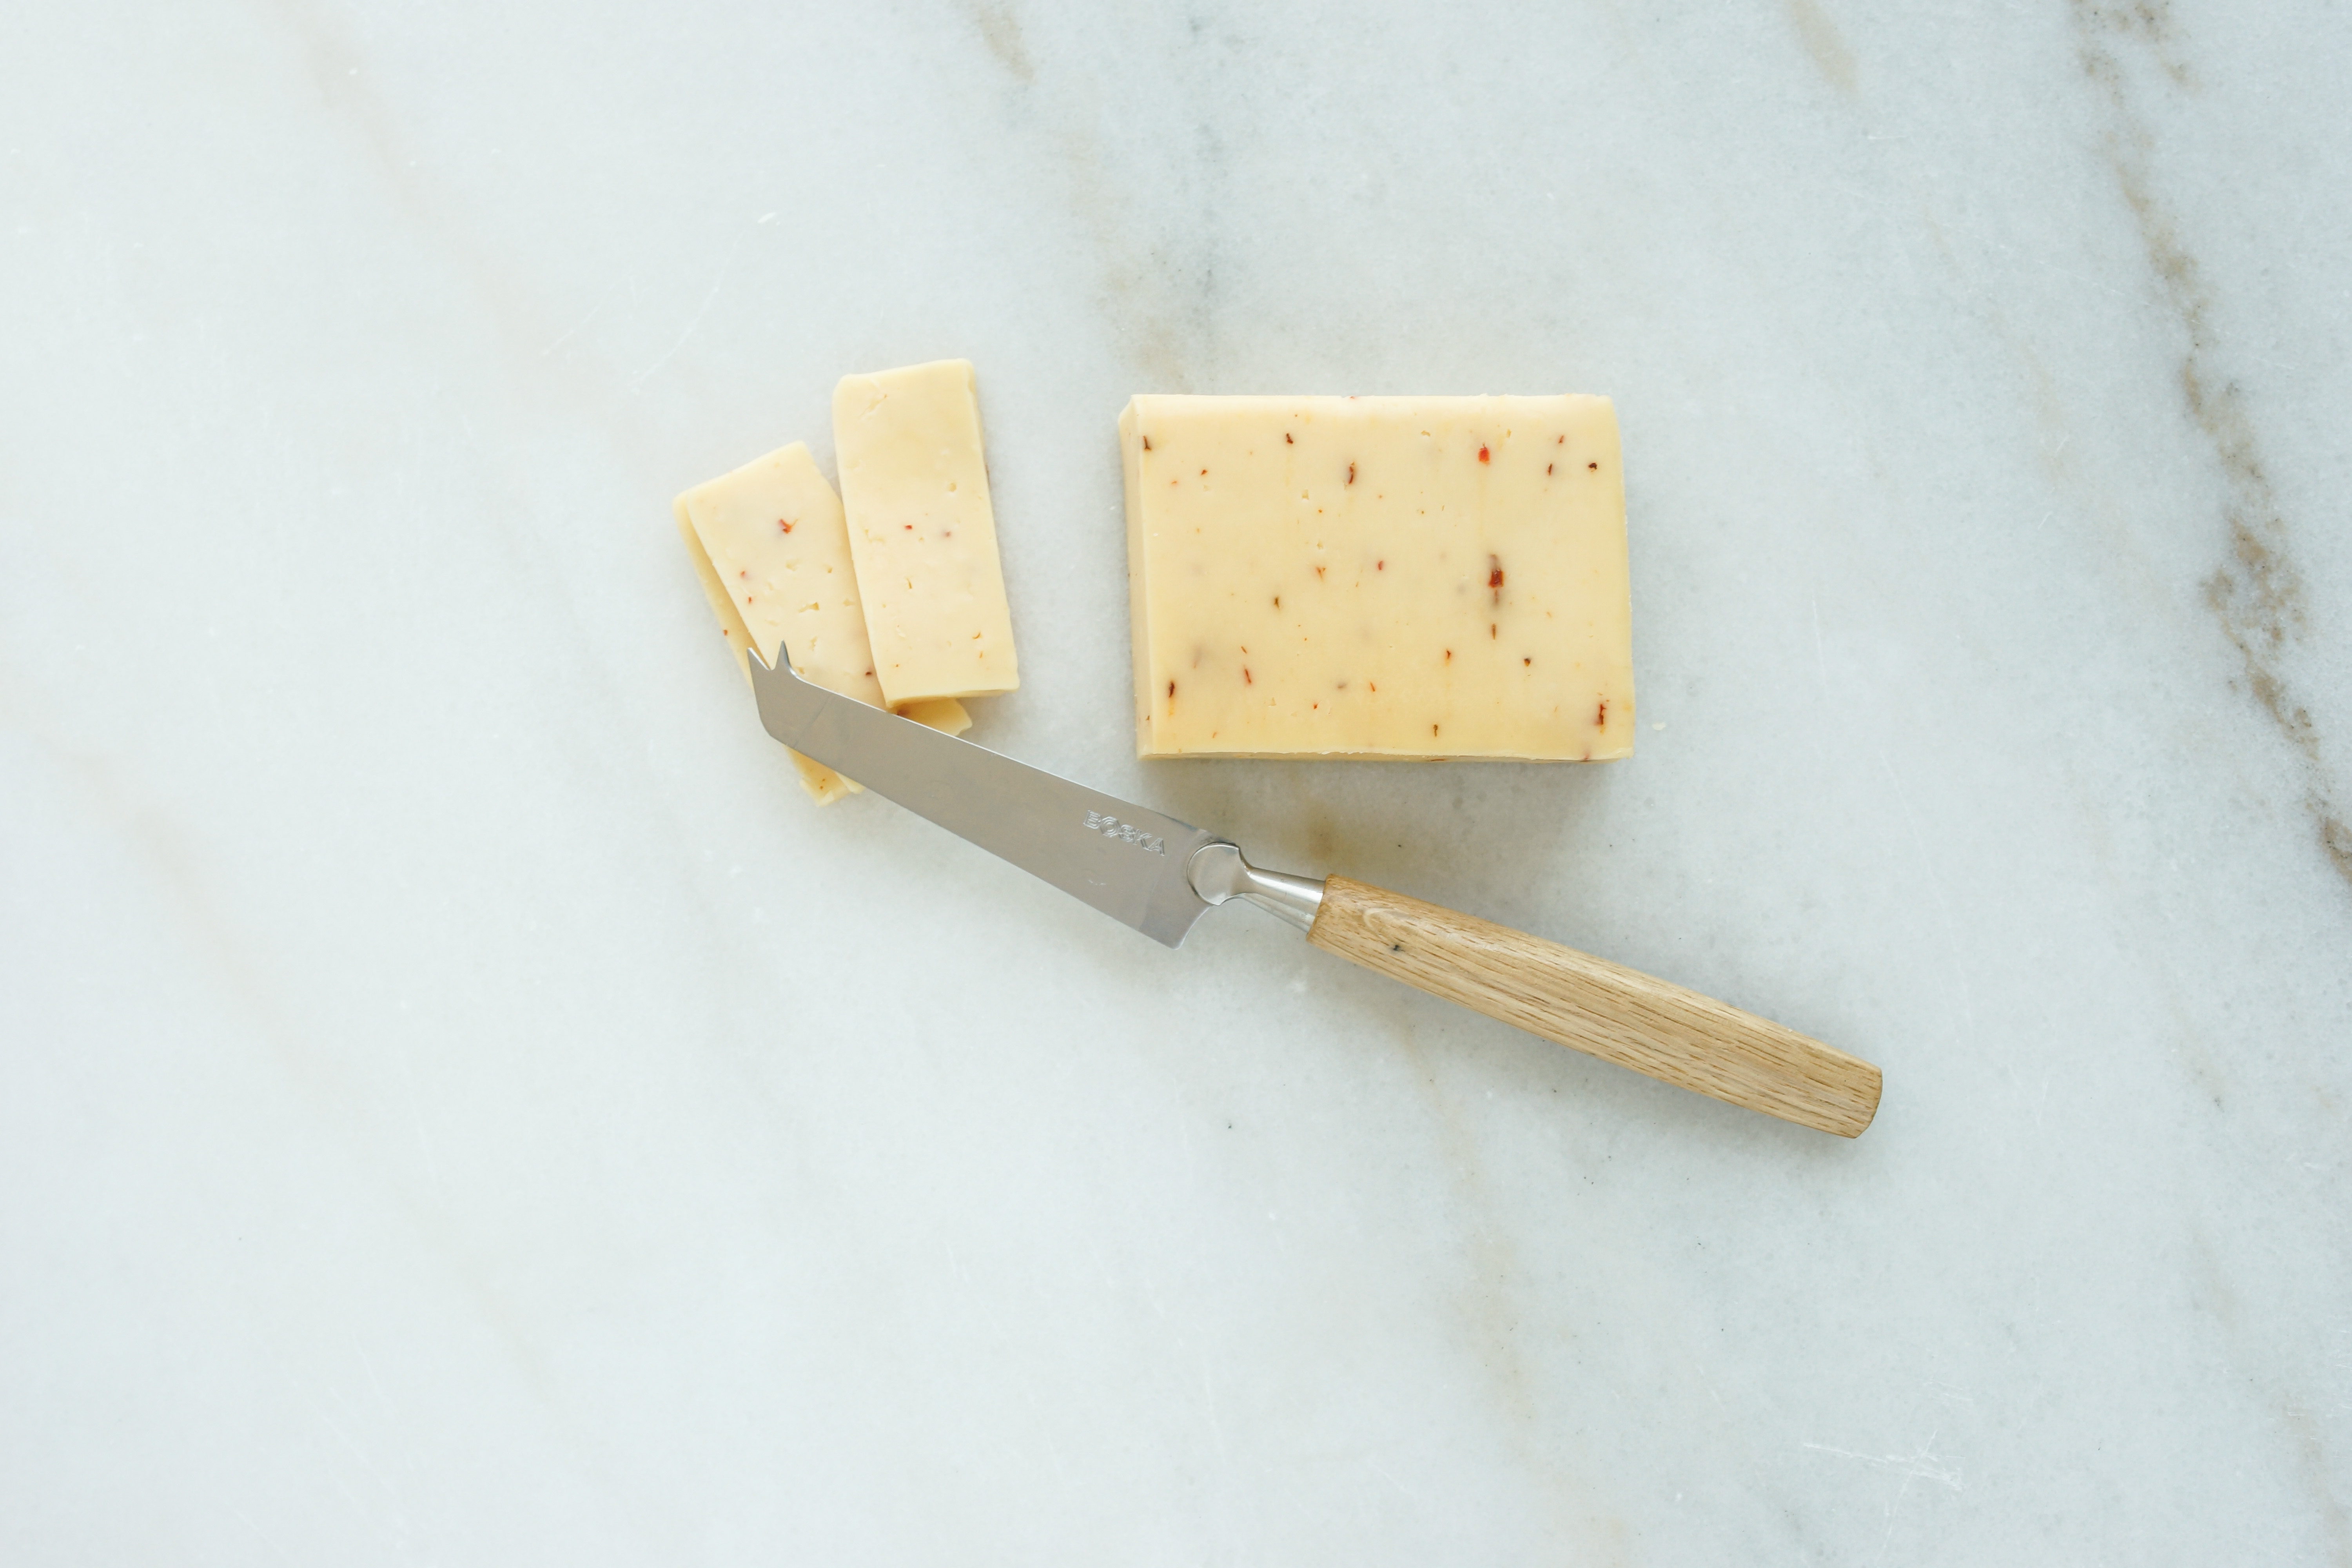 The Classic Cheese Knife